Silvertone 1478 – Bridge Swap, Bone Nut Carve and Setup
 |
 |
 |
 |
 |
 |
 |
 |
 |
This was one of those “every once and a while” projects that are lots of fun to do. And interestingly enough, the first guitar repair job I’ve done in Austin that I got because I previously worked at Subway Guitars in Berkeley, CA.
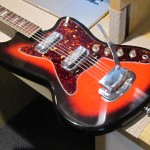
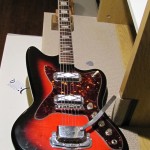
First off, this Silvertone was as pristine and original as the day it was purchased back in the 60’s. You don’t see many guitars this old, in this good of condition and was a real treat to have the opportunity to work on.
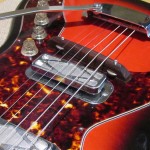
The guitar had traded owners over the years and was most recently purchased from Denny’s Guitars in Oahu, Hawaii. The issue with the guitar for the customer, occurred when the he bended any strings on any of the higher frets – the bridge would literally slide to the side with them! Denny, the owner suggested the customer switch the wooden floating bridge out with a piece of stainless steel which would drill into the body to secure.
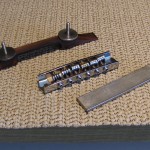
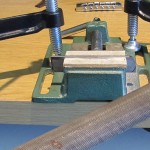
The tricky thing was, no such manufactured plate exists for the bridge to sit on, so one needed to be crafted out of a strip of stainless steel. After rounding the corners of a piece of stainless steel, two holes were measured and drilled. They needed to be just wide enough holes for the two threaded rods to be epoxied into perpendicularly, which the second half of the bridge with saddles rests.
The last needed step to the bridge of the customer’s wishes, was to secure it onto the top of the guitar body with screws countersunk into the bridge plate. Now, at this point, there are probably some people’s jaws dropping at the thought of drilling holes into the body of an all-original Silvertone guitar. My philosophy is: make your guitar your own and play its best. The only real value in an instrument that’s worth maintaining, is sentimental. Of course, there are guitars worth big bucks, but those tend to be the ones that end up sitting in a case, or on display, or whatever… but they don’t fulfill their natural purpose… TO BE PLAYED!
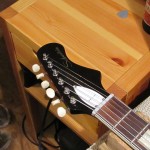
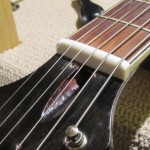
Anyhoo, after the bridge was securely fastened to the body, a bone nut was carved to replace the cheap, plastic one, the guitar was setup with a low action and was then ready to start anew, to rock another day.
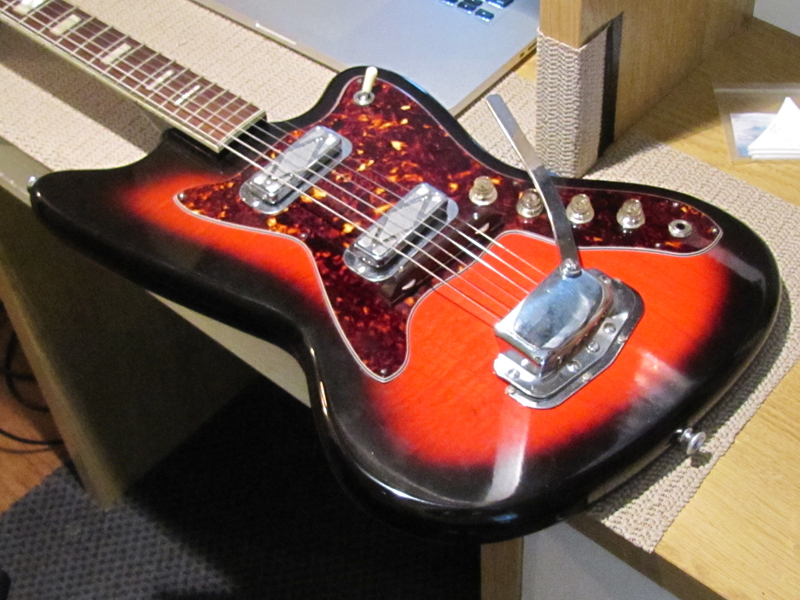
[…] aid the neck height. I cut the new bone nut, (which I’ve explained my process in a few other blog entries), strung the guitar up and VIOLIA! This guitar’s got a brand new start in […]