Brendon Small GhostHorse Explorer Headstock Re-Build
South Austin Guitar Repair
Another day, another headstock repair. Angled headstocks are the sworn enemies of short grain wood, solid surfaces, string tension, gravity, aircraft cabin air pressure, small gaps within hard cases, angry ex-wives, and the list goes on. This Epiphone Explorer, however, was the result of logistics companies not respecting the “Fragile. Handle with Care” sticker on the shipping box. That’s not very metal of them.
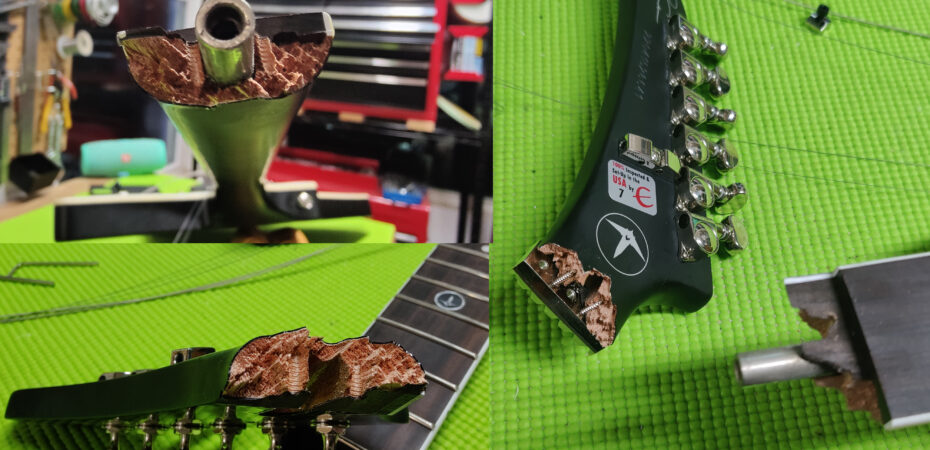
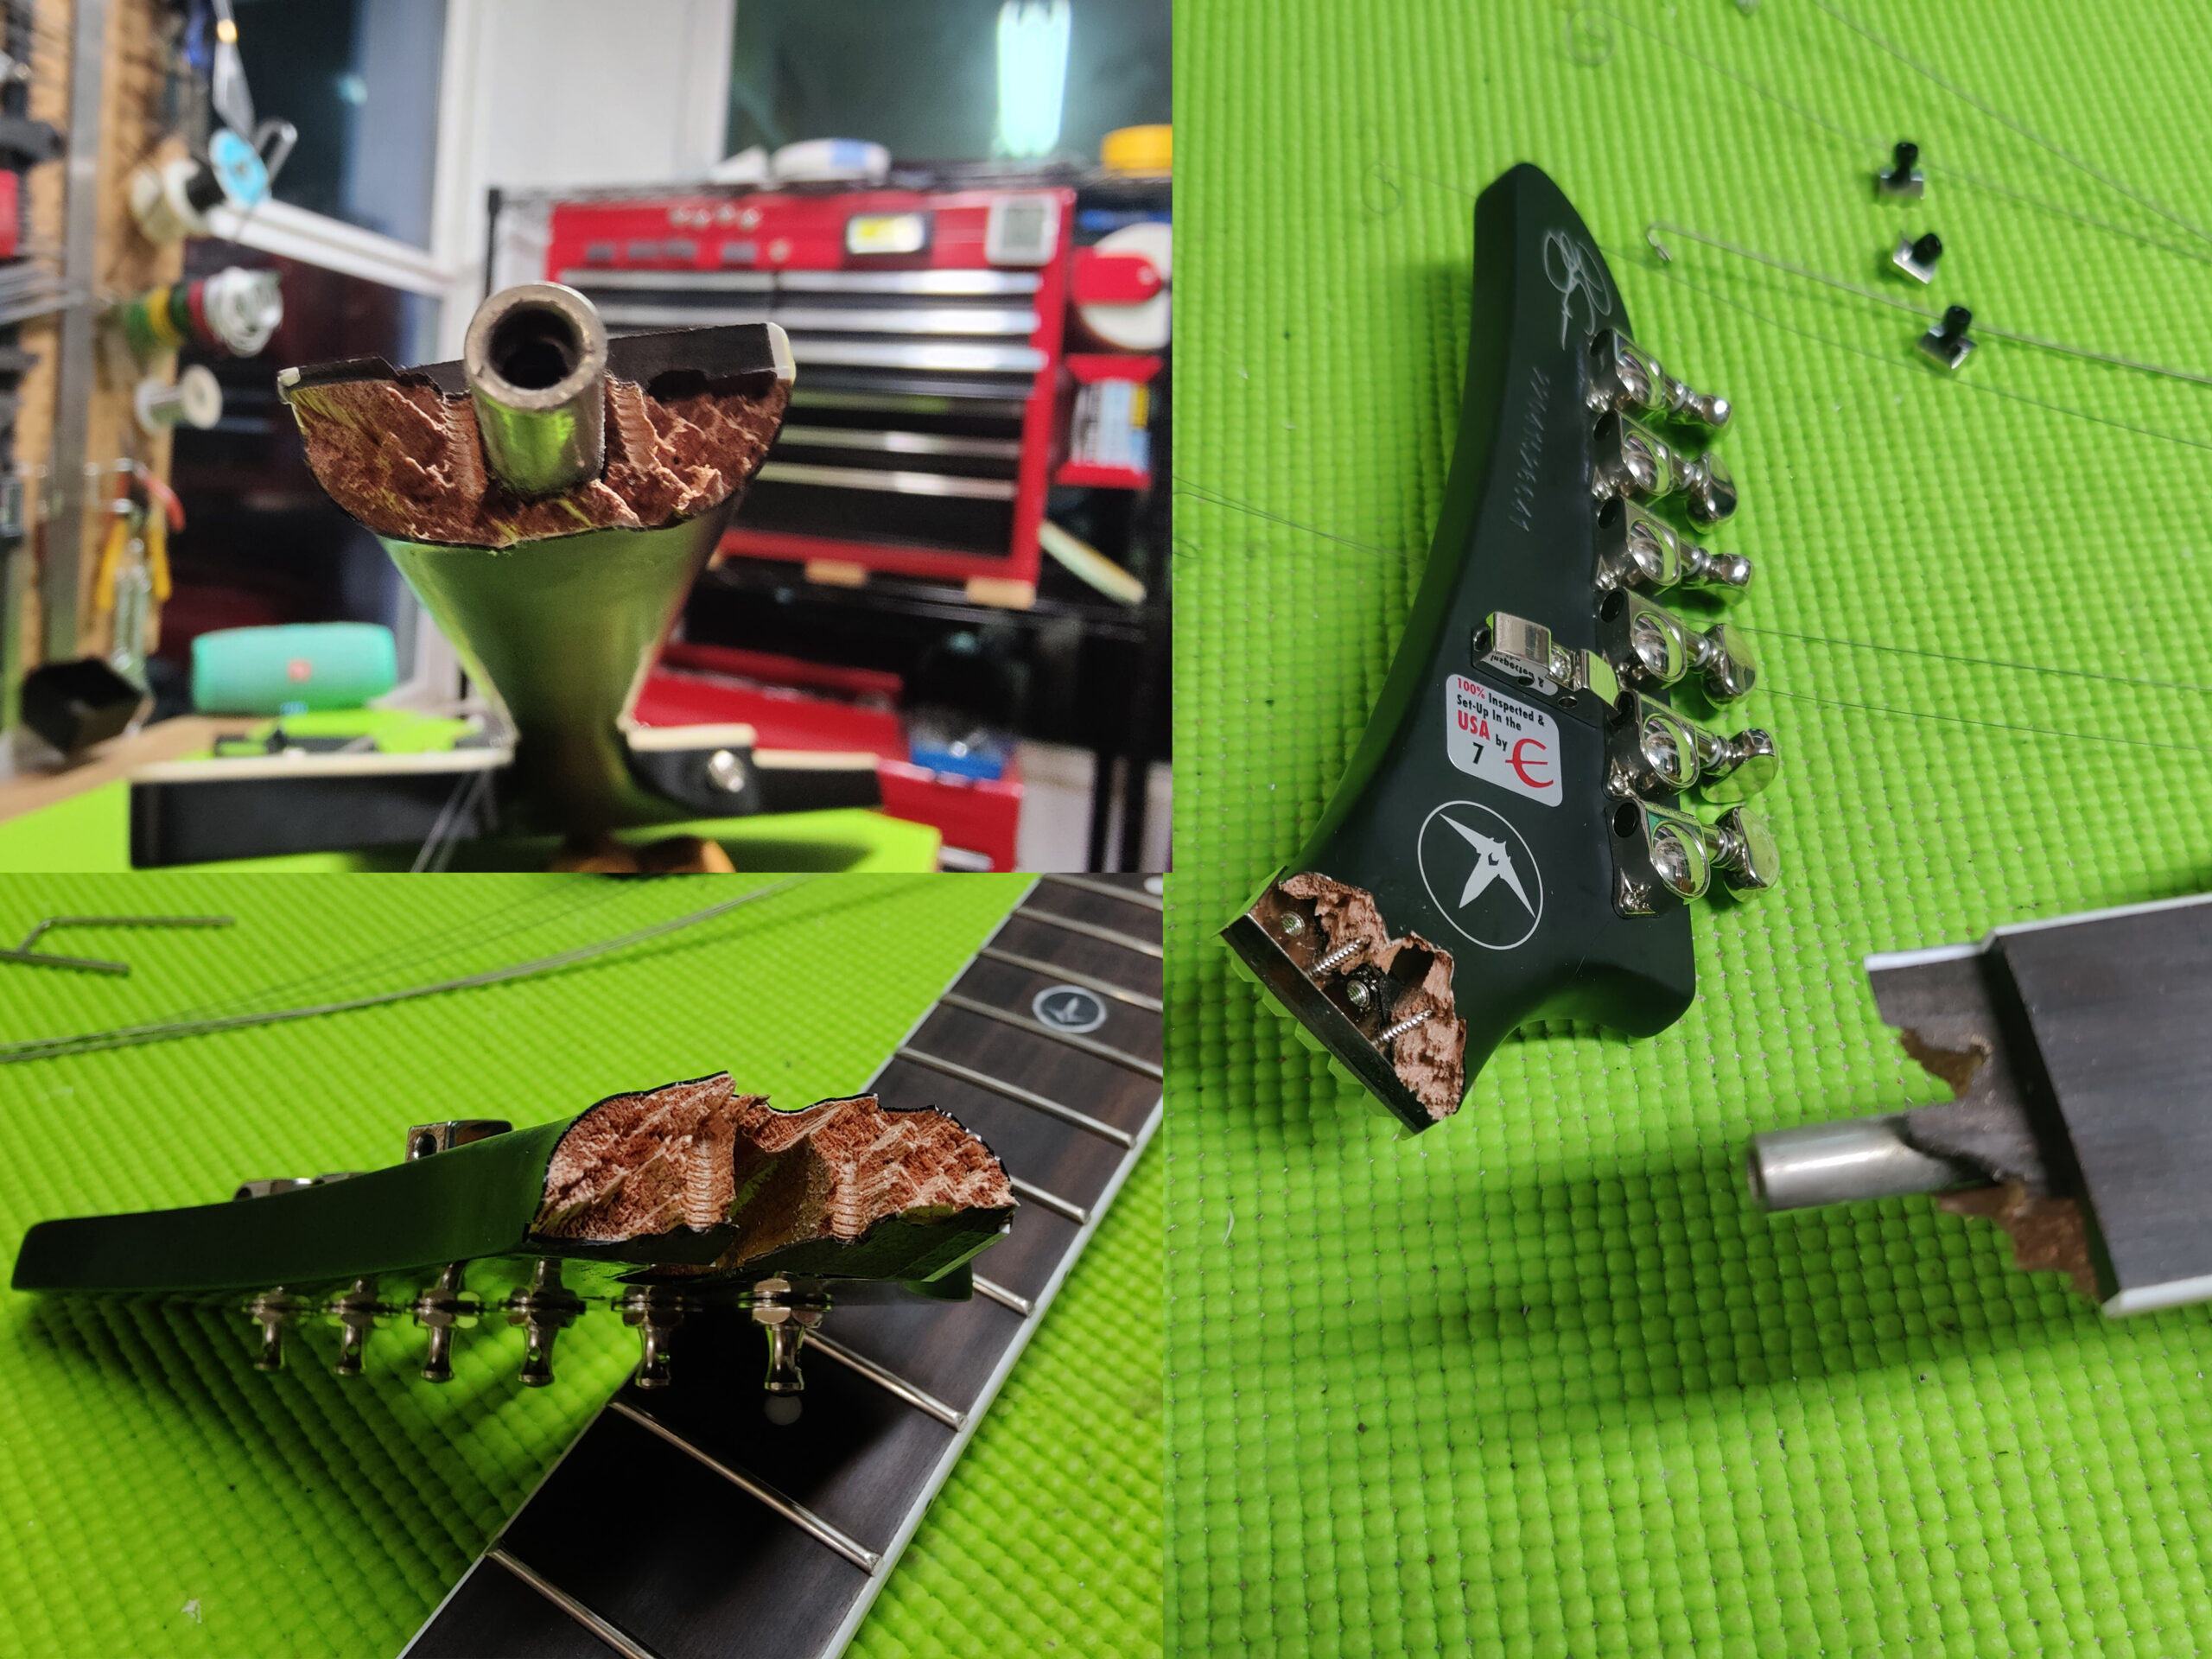
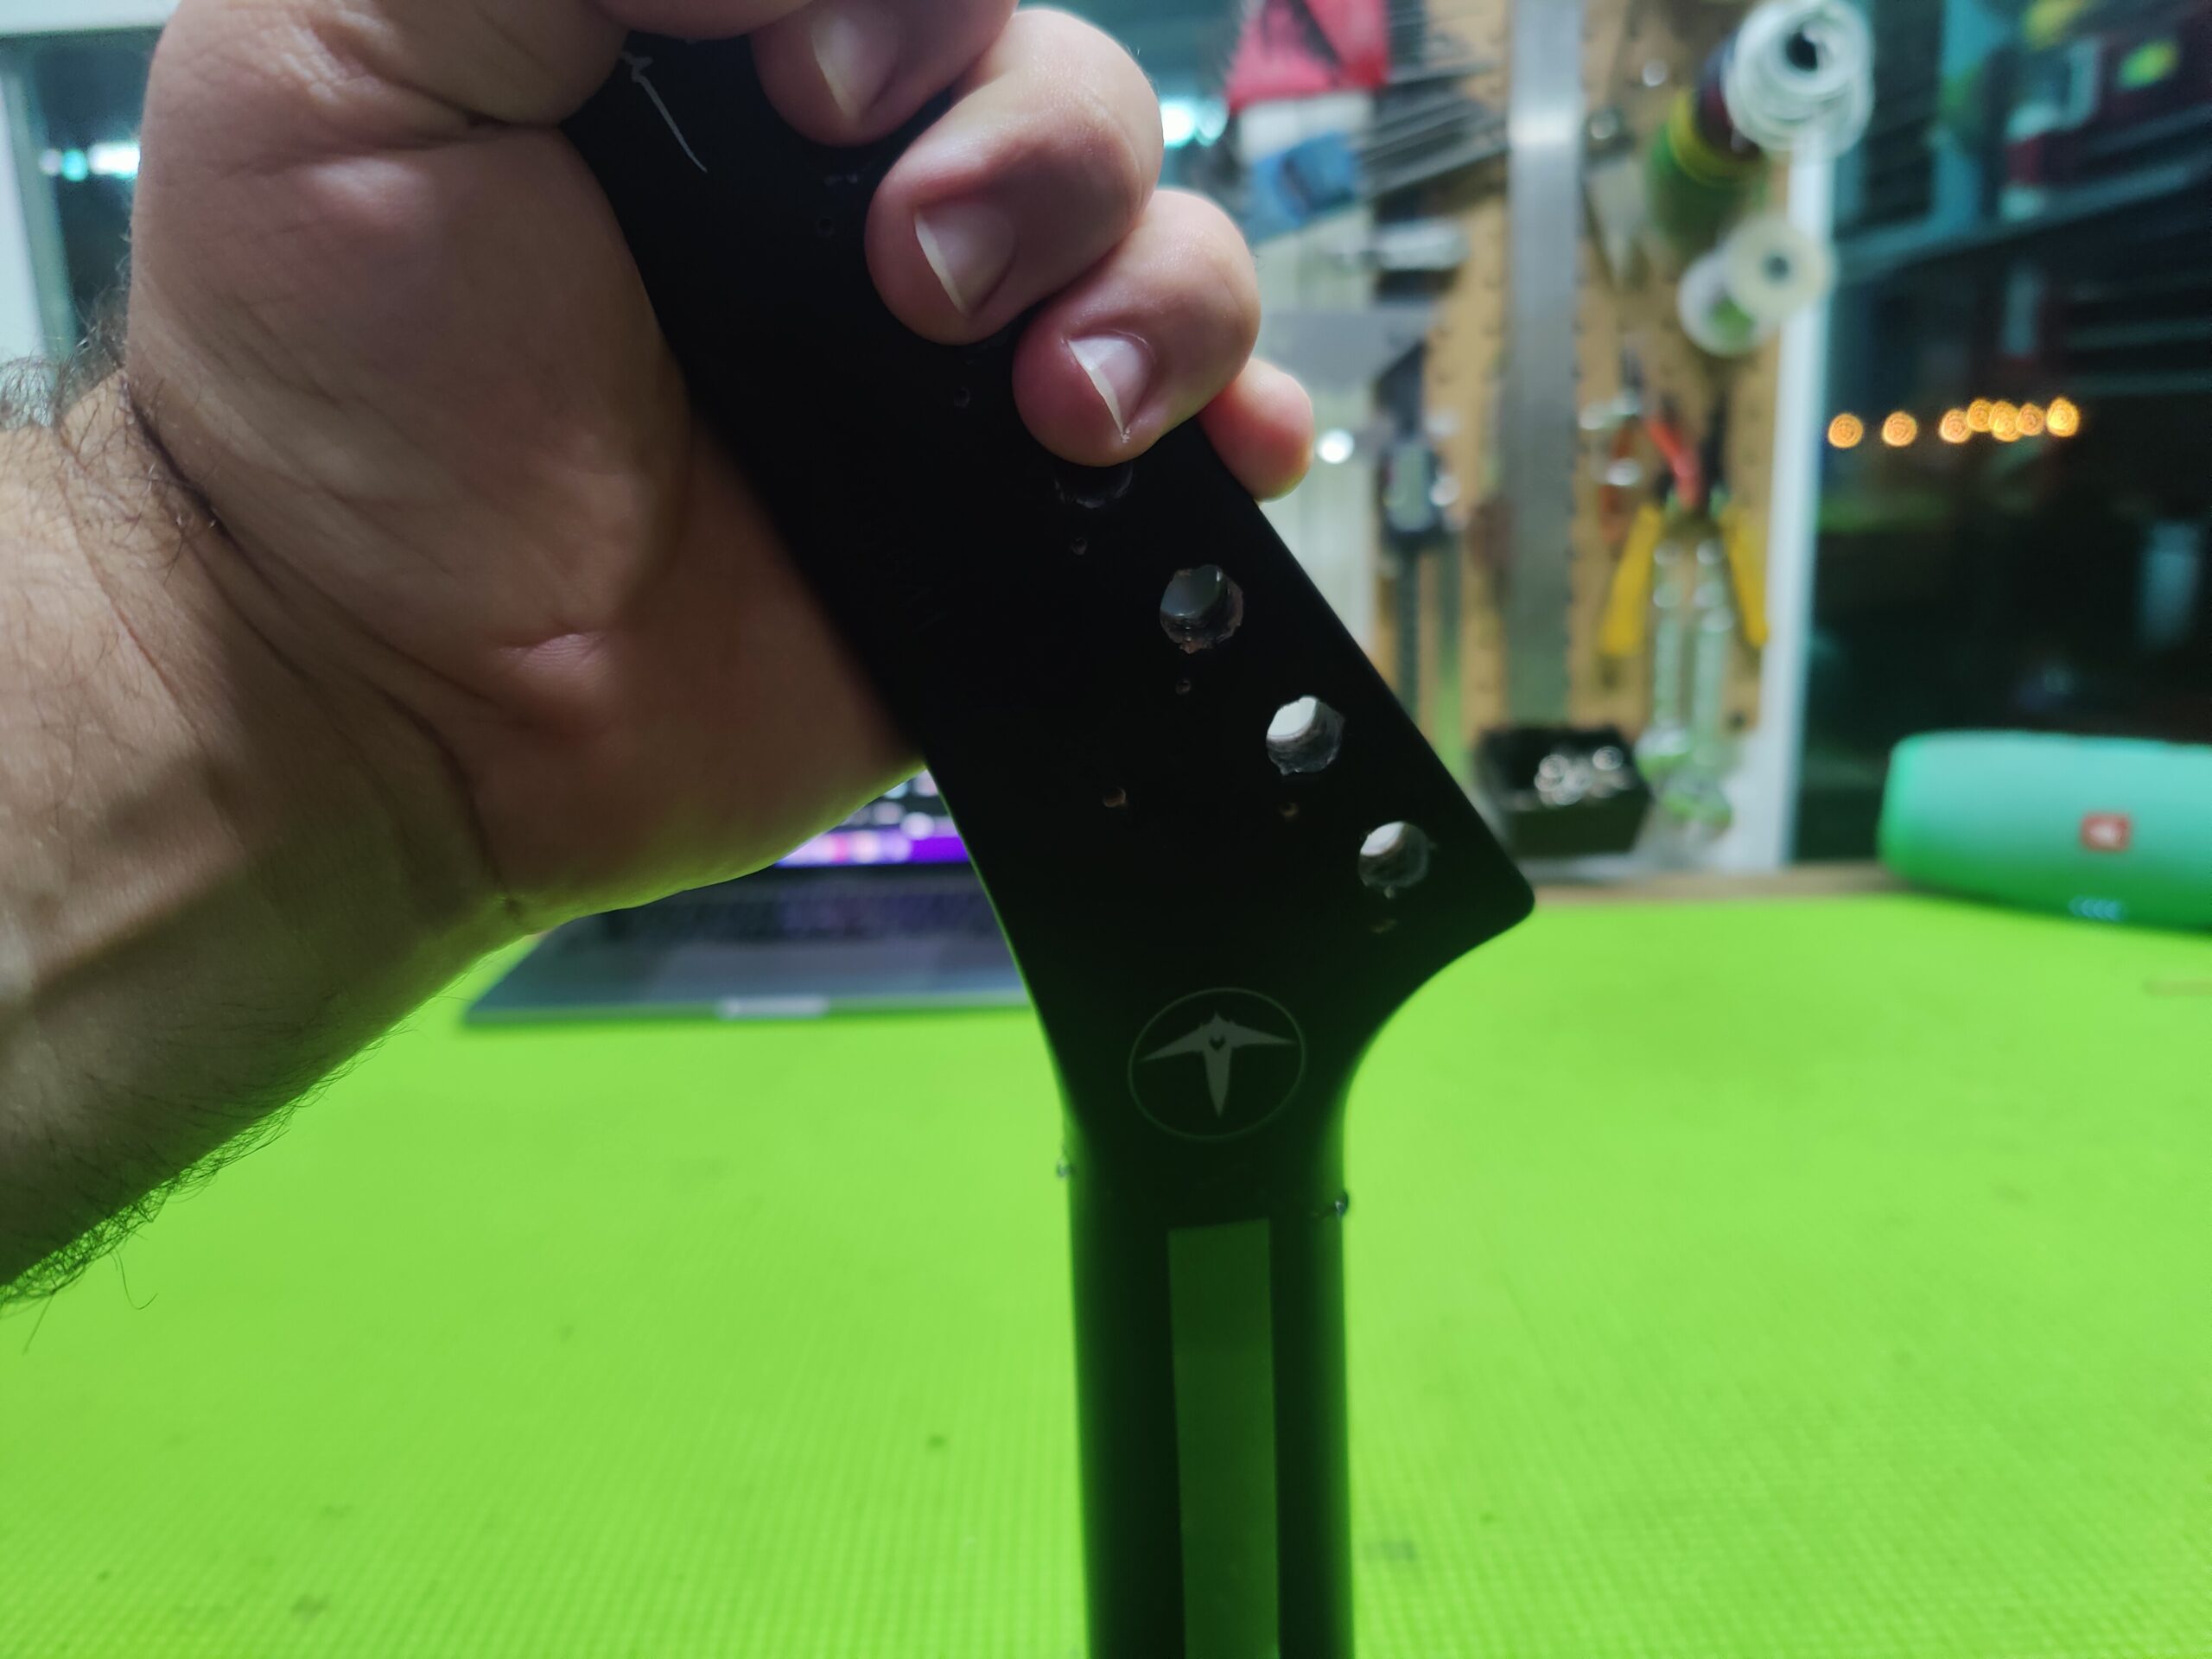
Most often, when a headstock breaks, it’s at an angle. This gives you plenty of bare wood to apply glue and the two sides bond as good as new. The break on this, however, is the dreaded vertical break. A combination of the already-accident-prone-angled headstock coupled with the wrong slab of wood created the break we see here. It will not be enough to simply glue back in place. In this case, I wouldn’t even trust the splines from a former headstock repair I showed. But there is a way. We can re-build it. We have the technology. Better. Stronger. Not particularly any faster though.
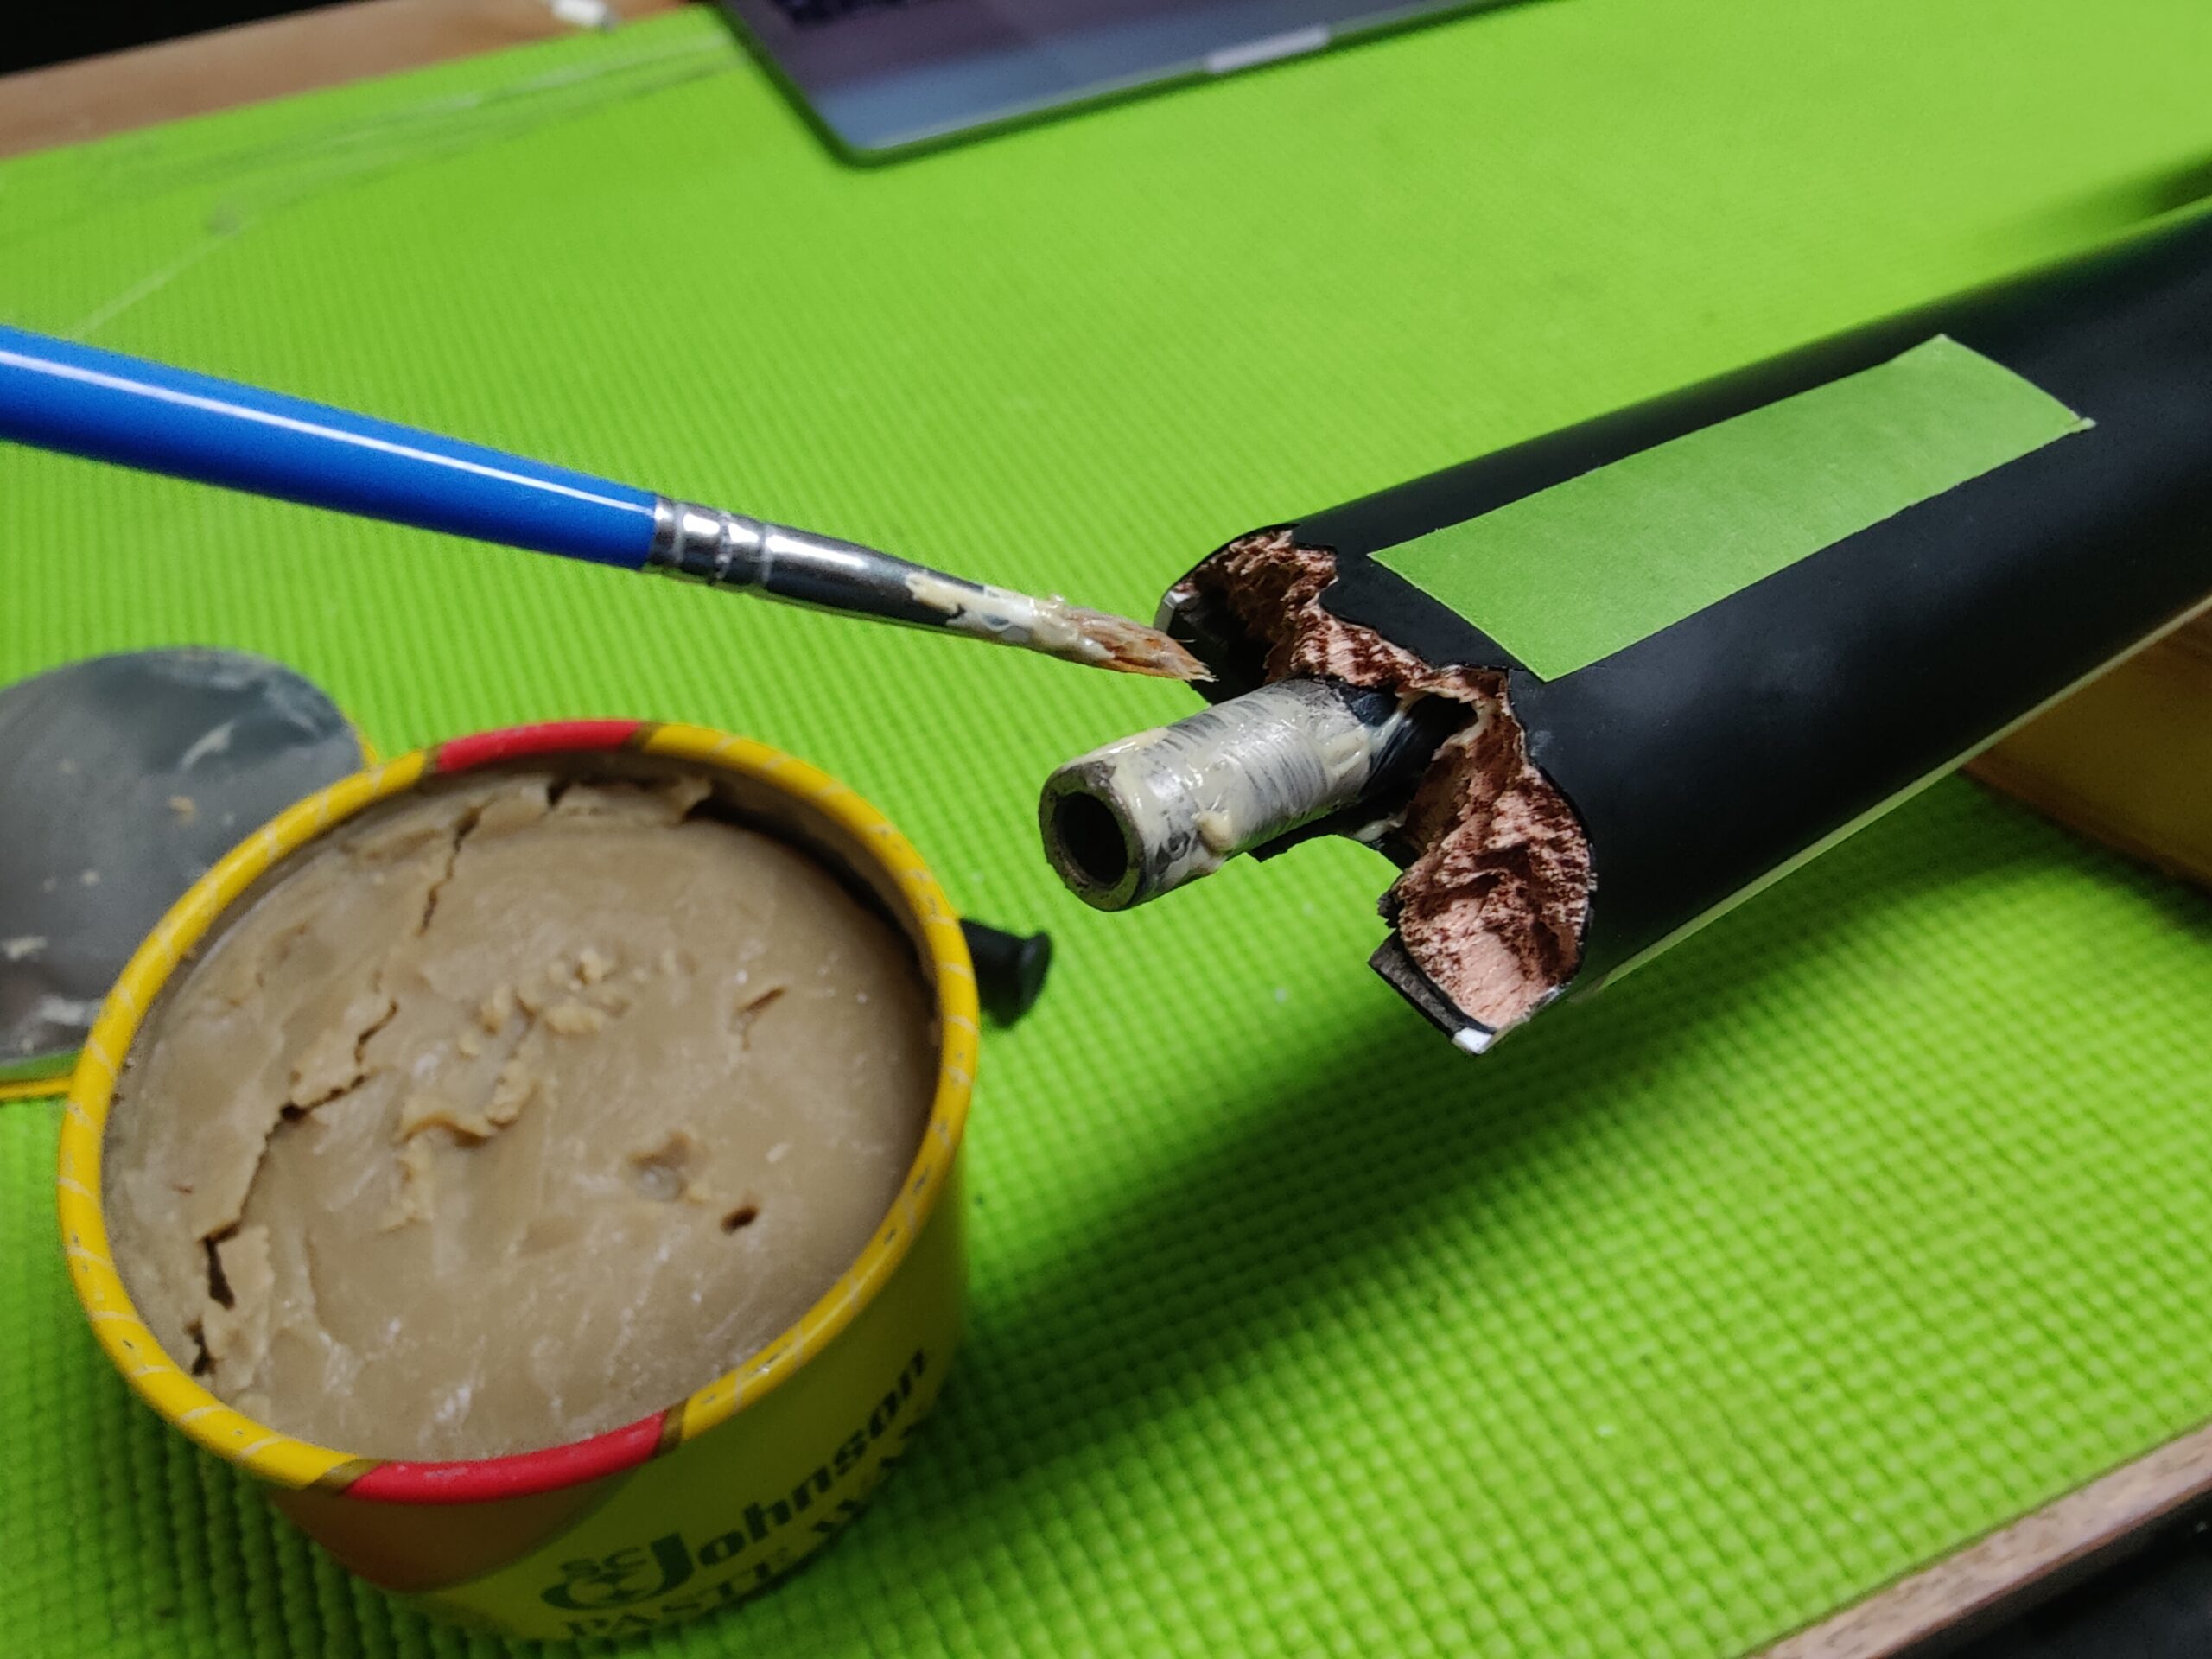
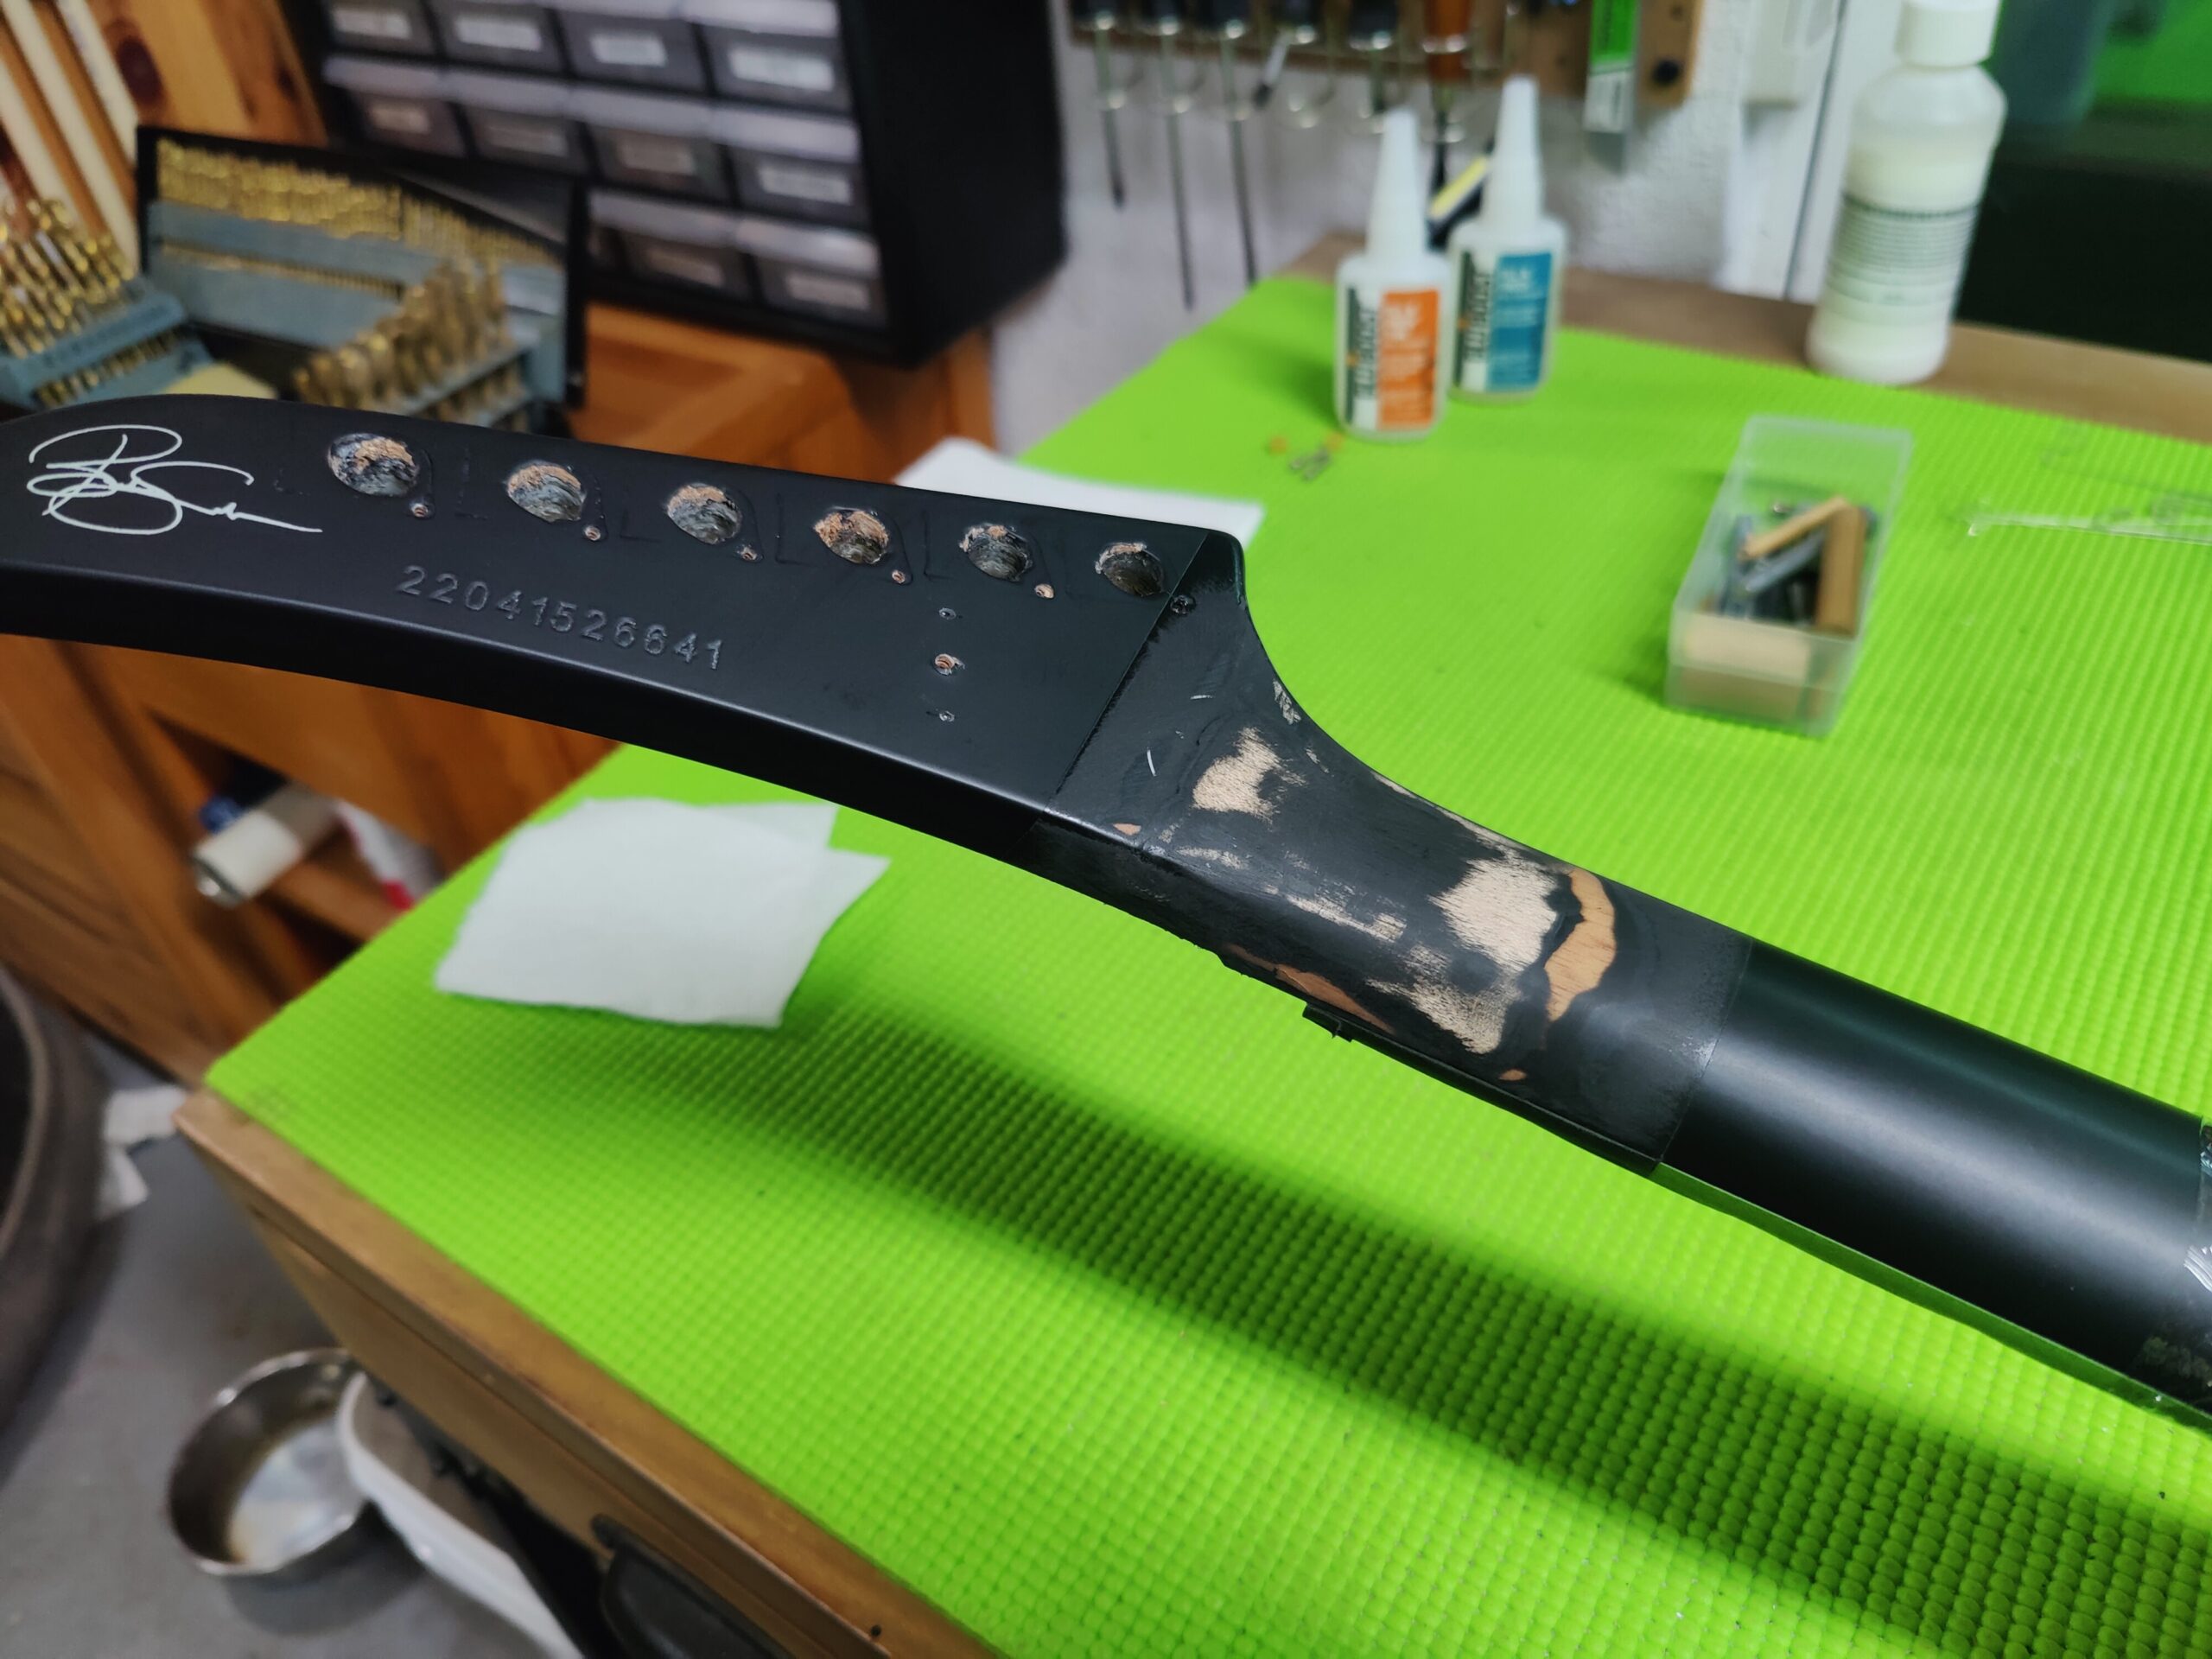
I begin by cleaning the broken wood fibers with a wire brush to knock off any loose chards of wood. With all the edges and points I’m working around, anything that shifts to obstruct the joining of the two pieces is a detriment. I then mark the truss rod area on the back of the neck with a piece of tape and apply wax to the exposed truss rod. This ensures the truss rod will not be fused with any glue as I glue and re-build the joint.
 |
 |
 |
 |
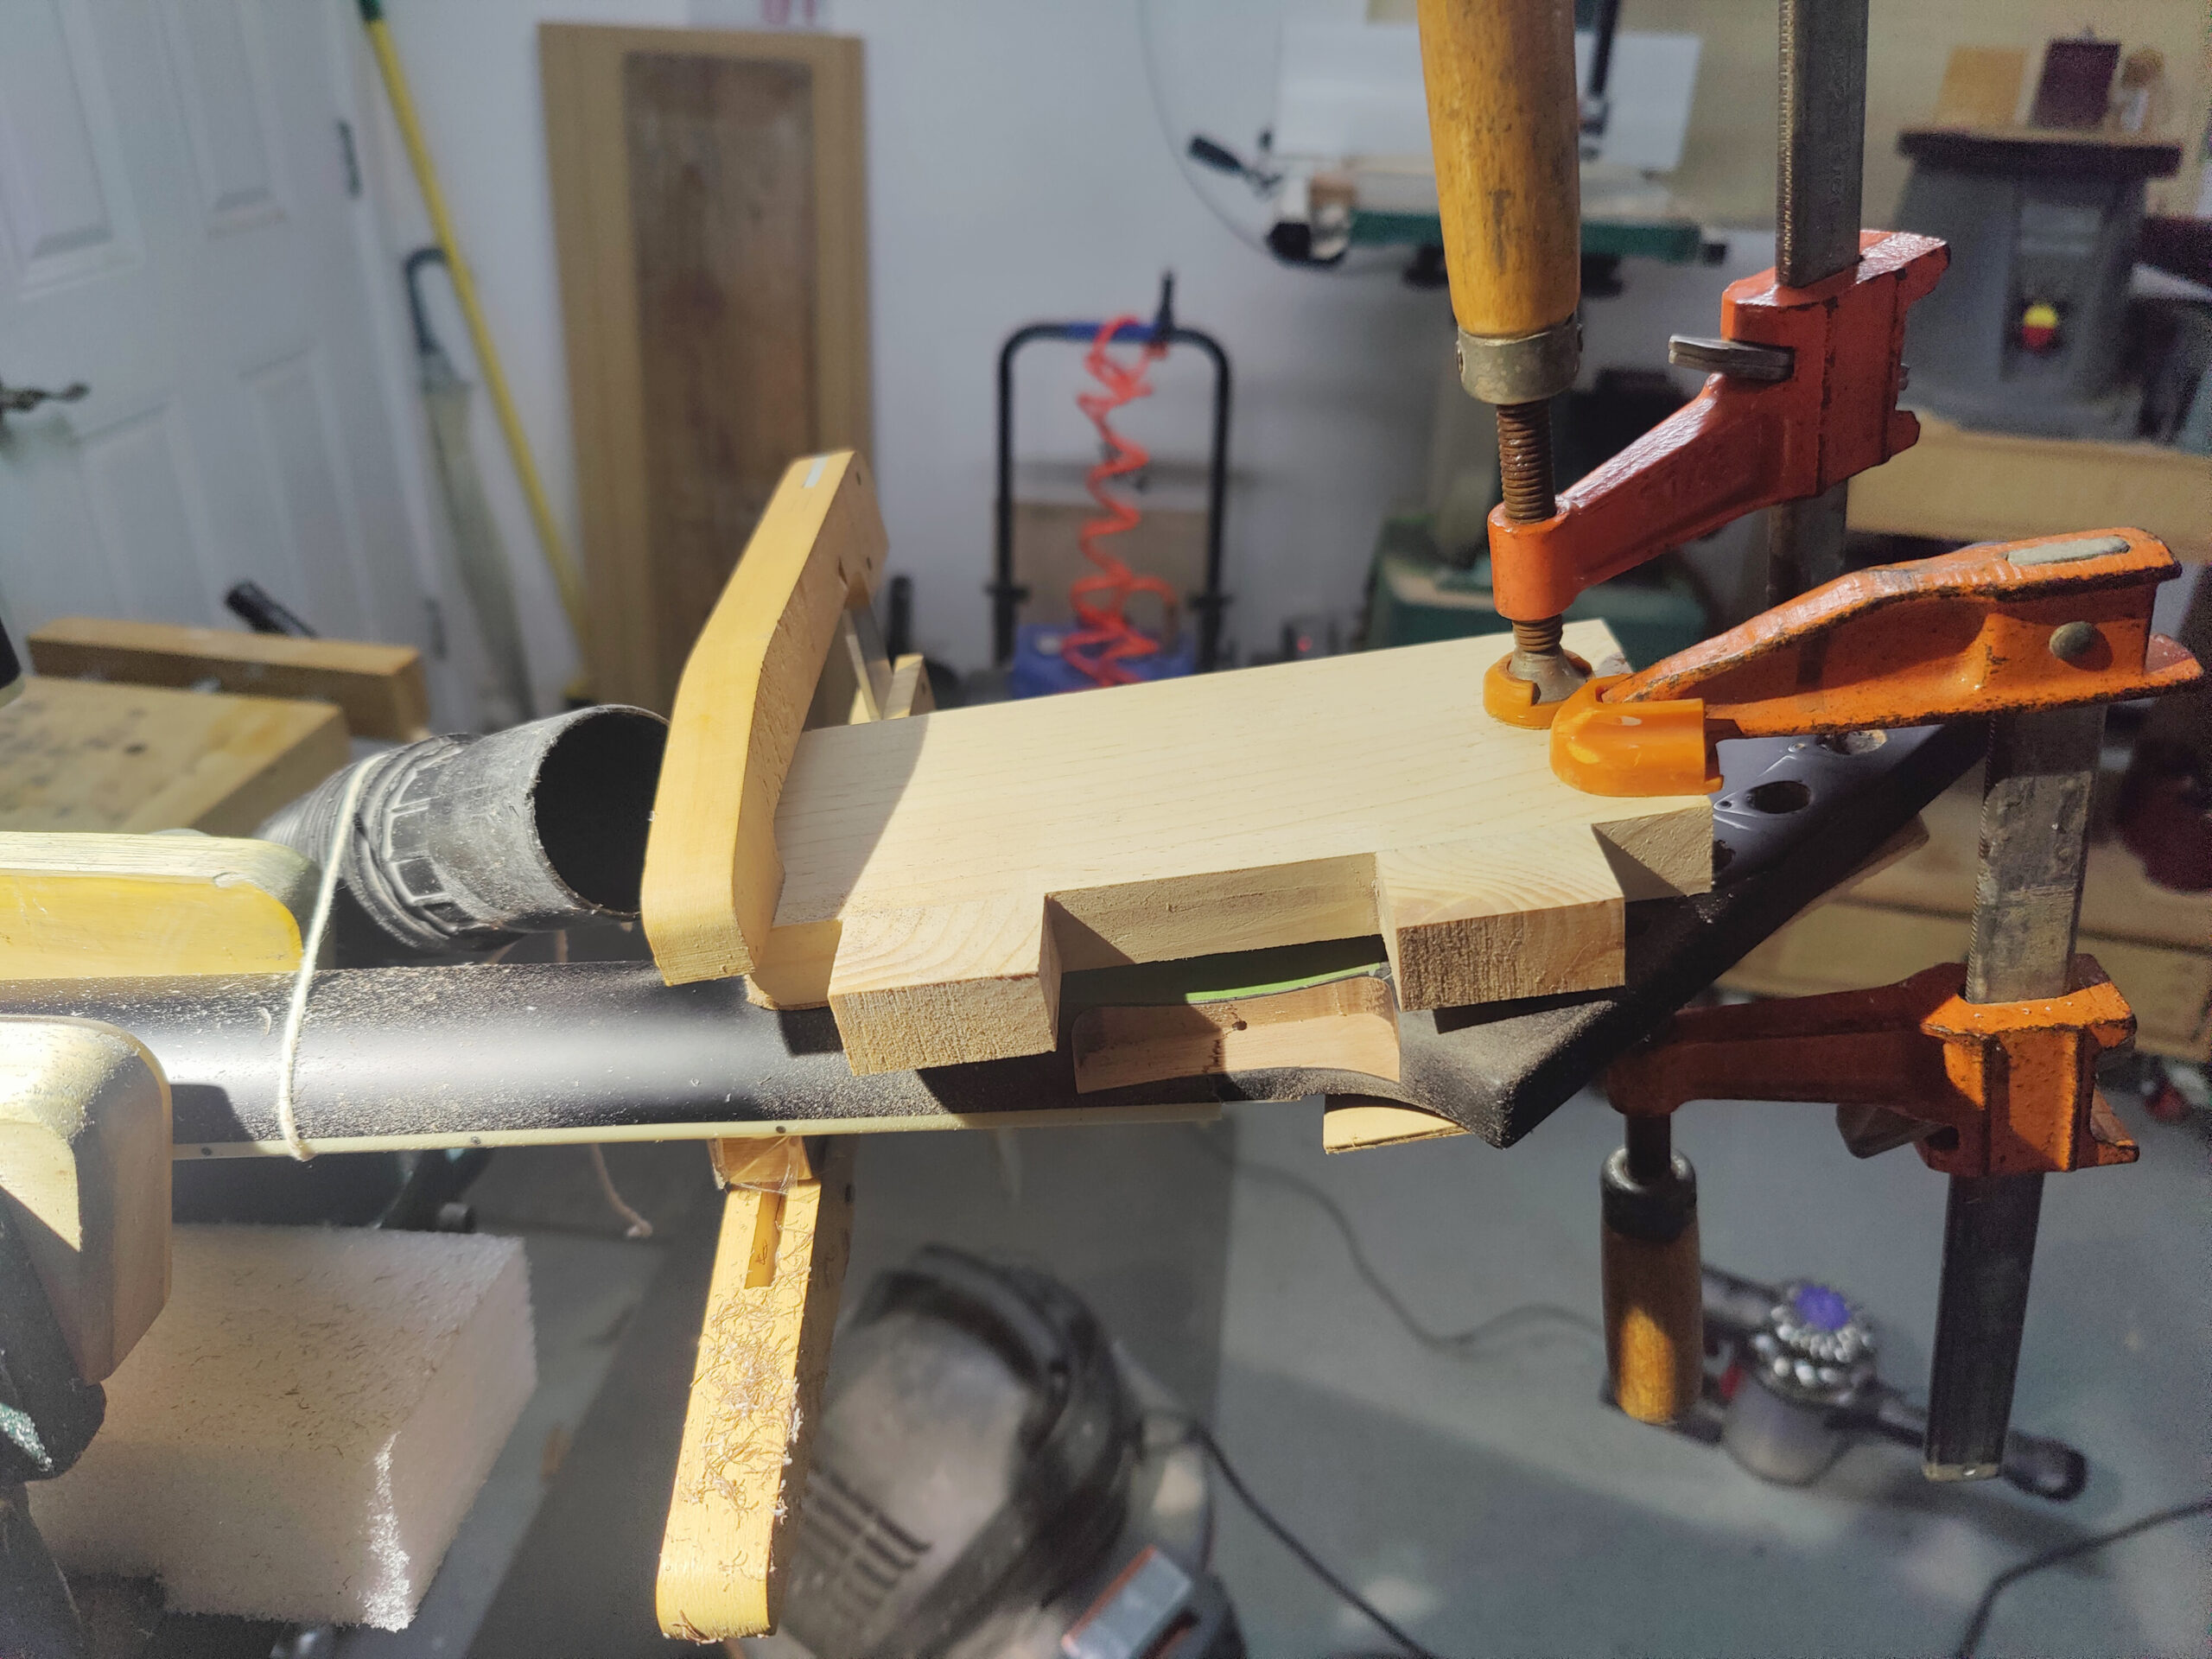 |
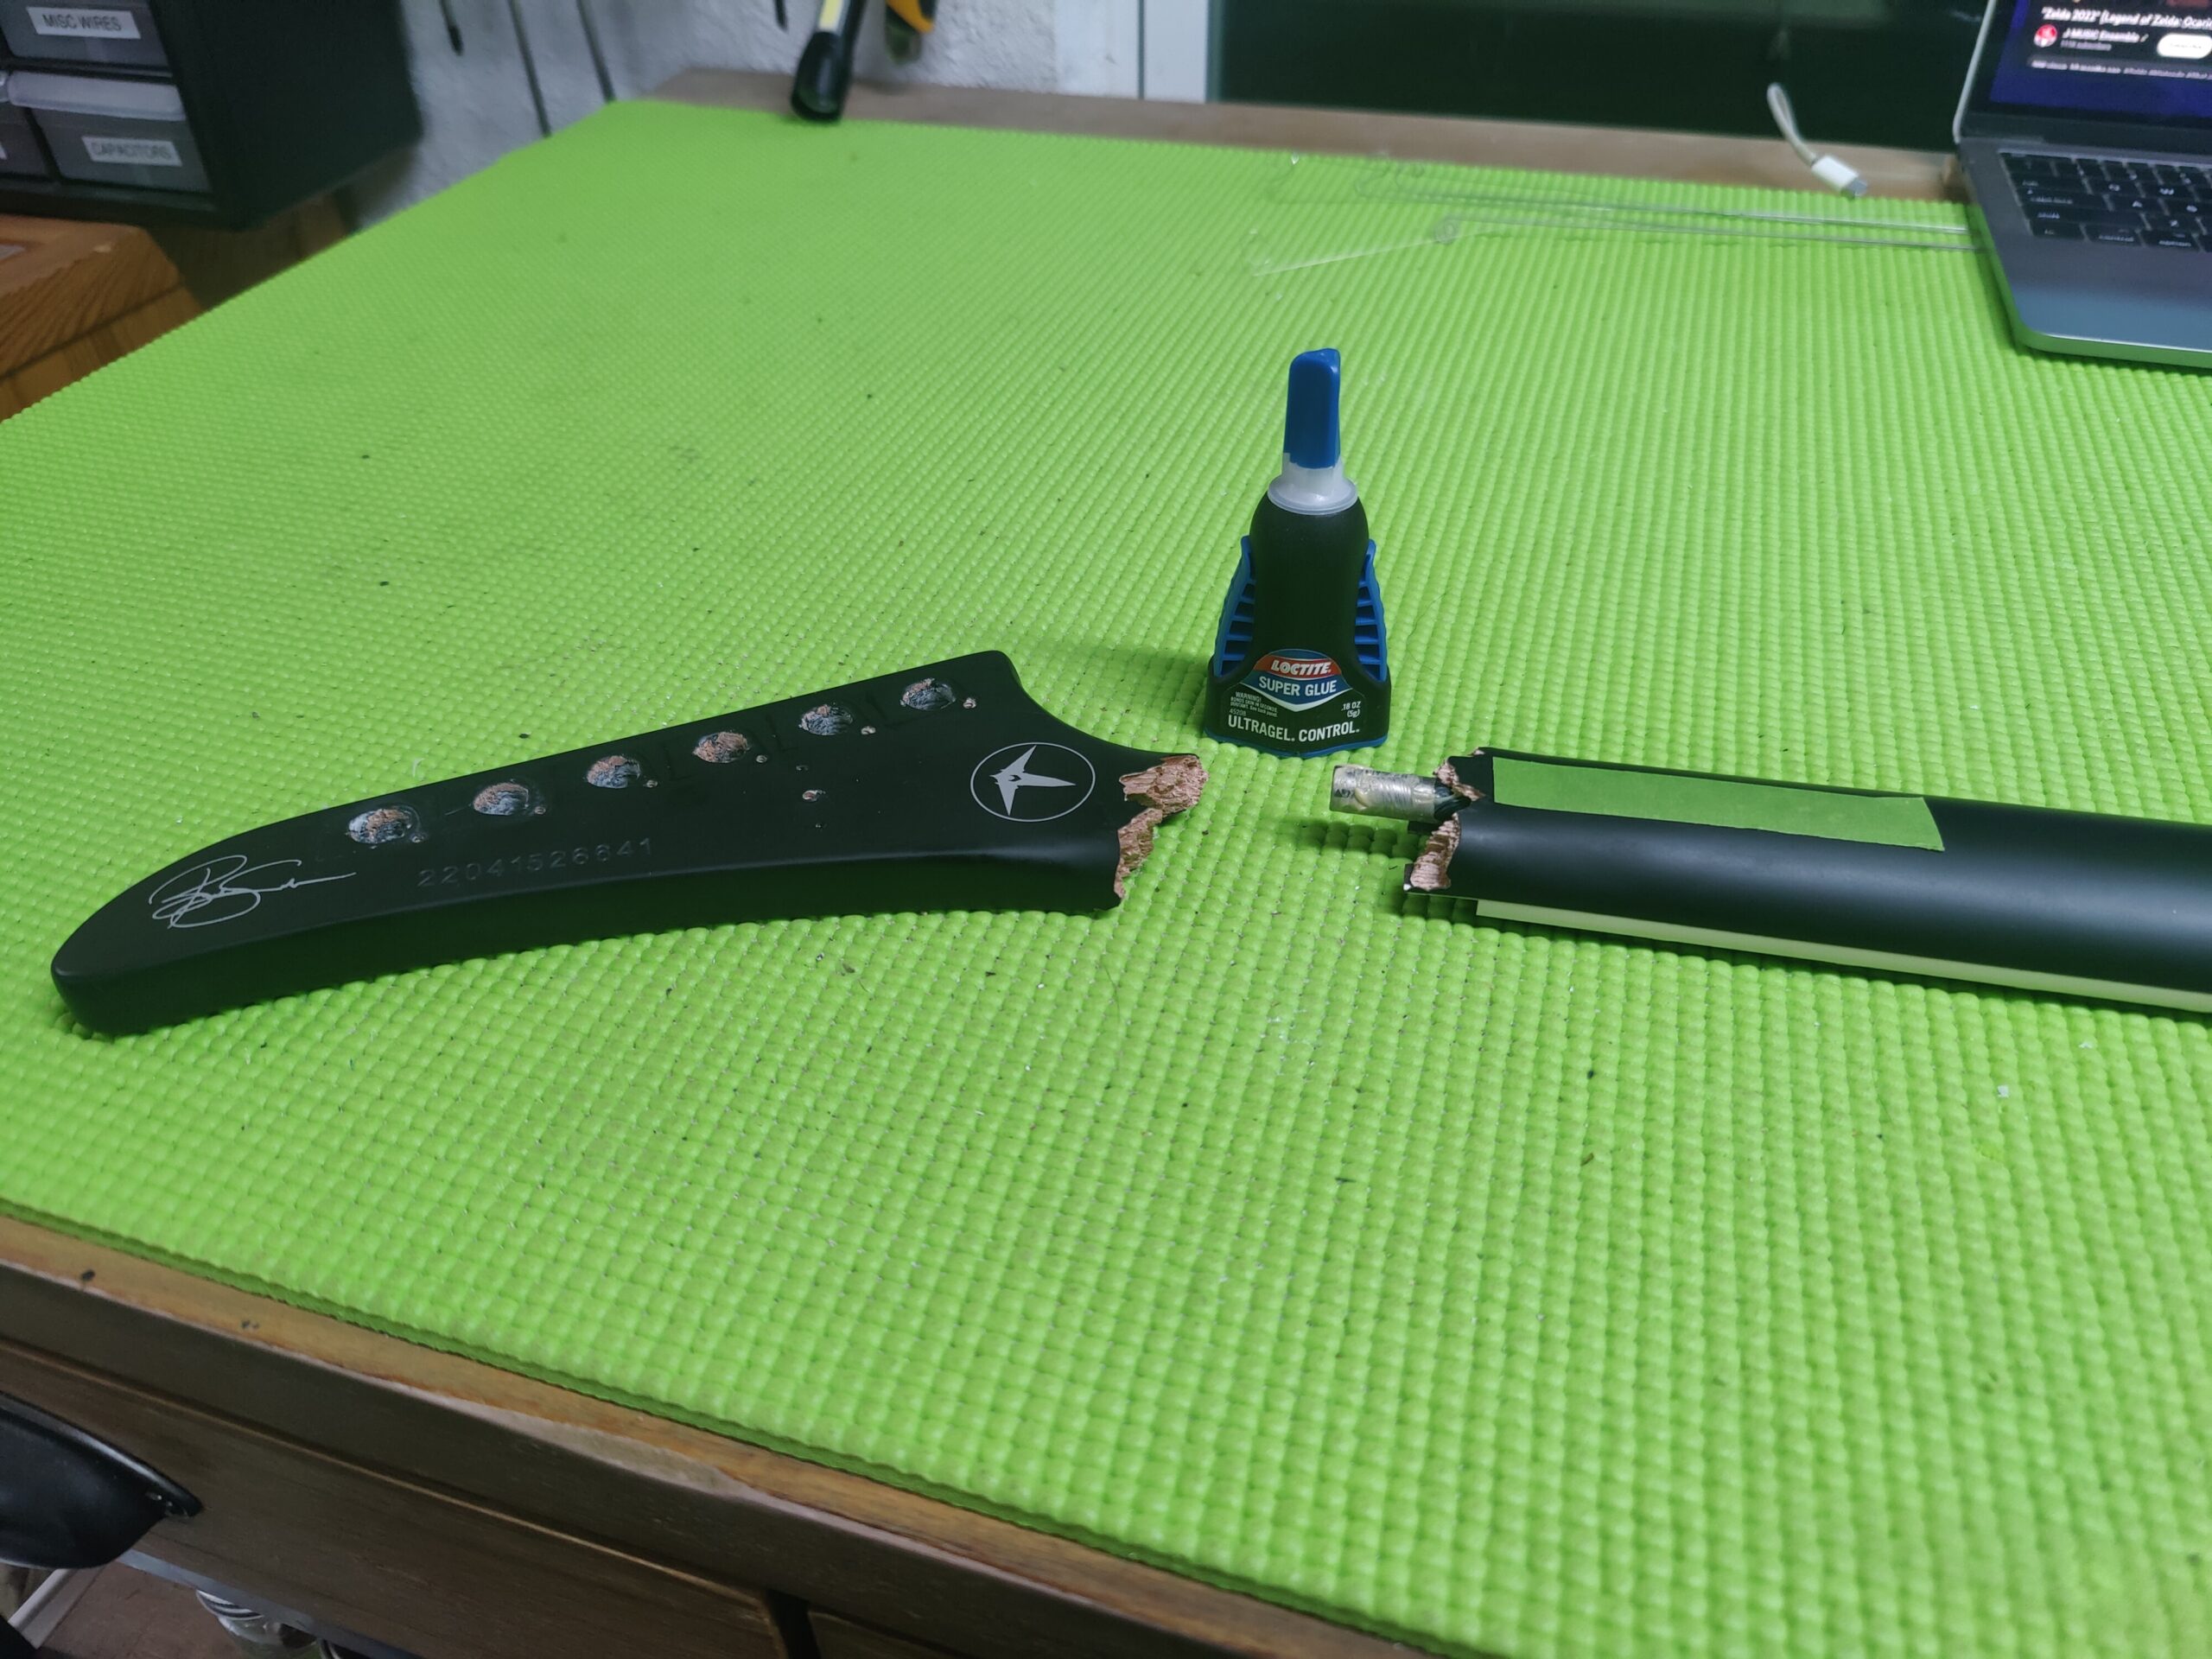
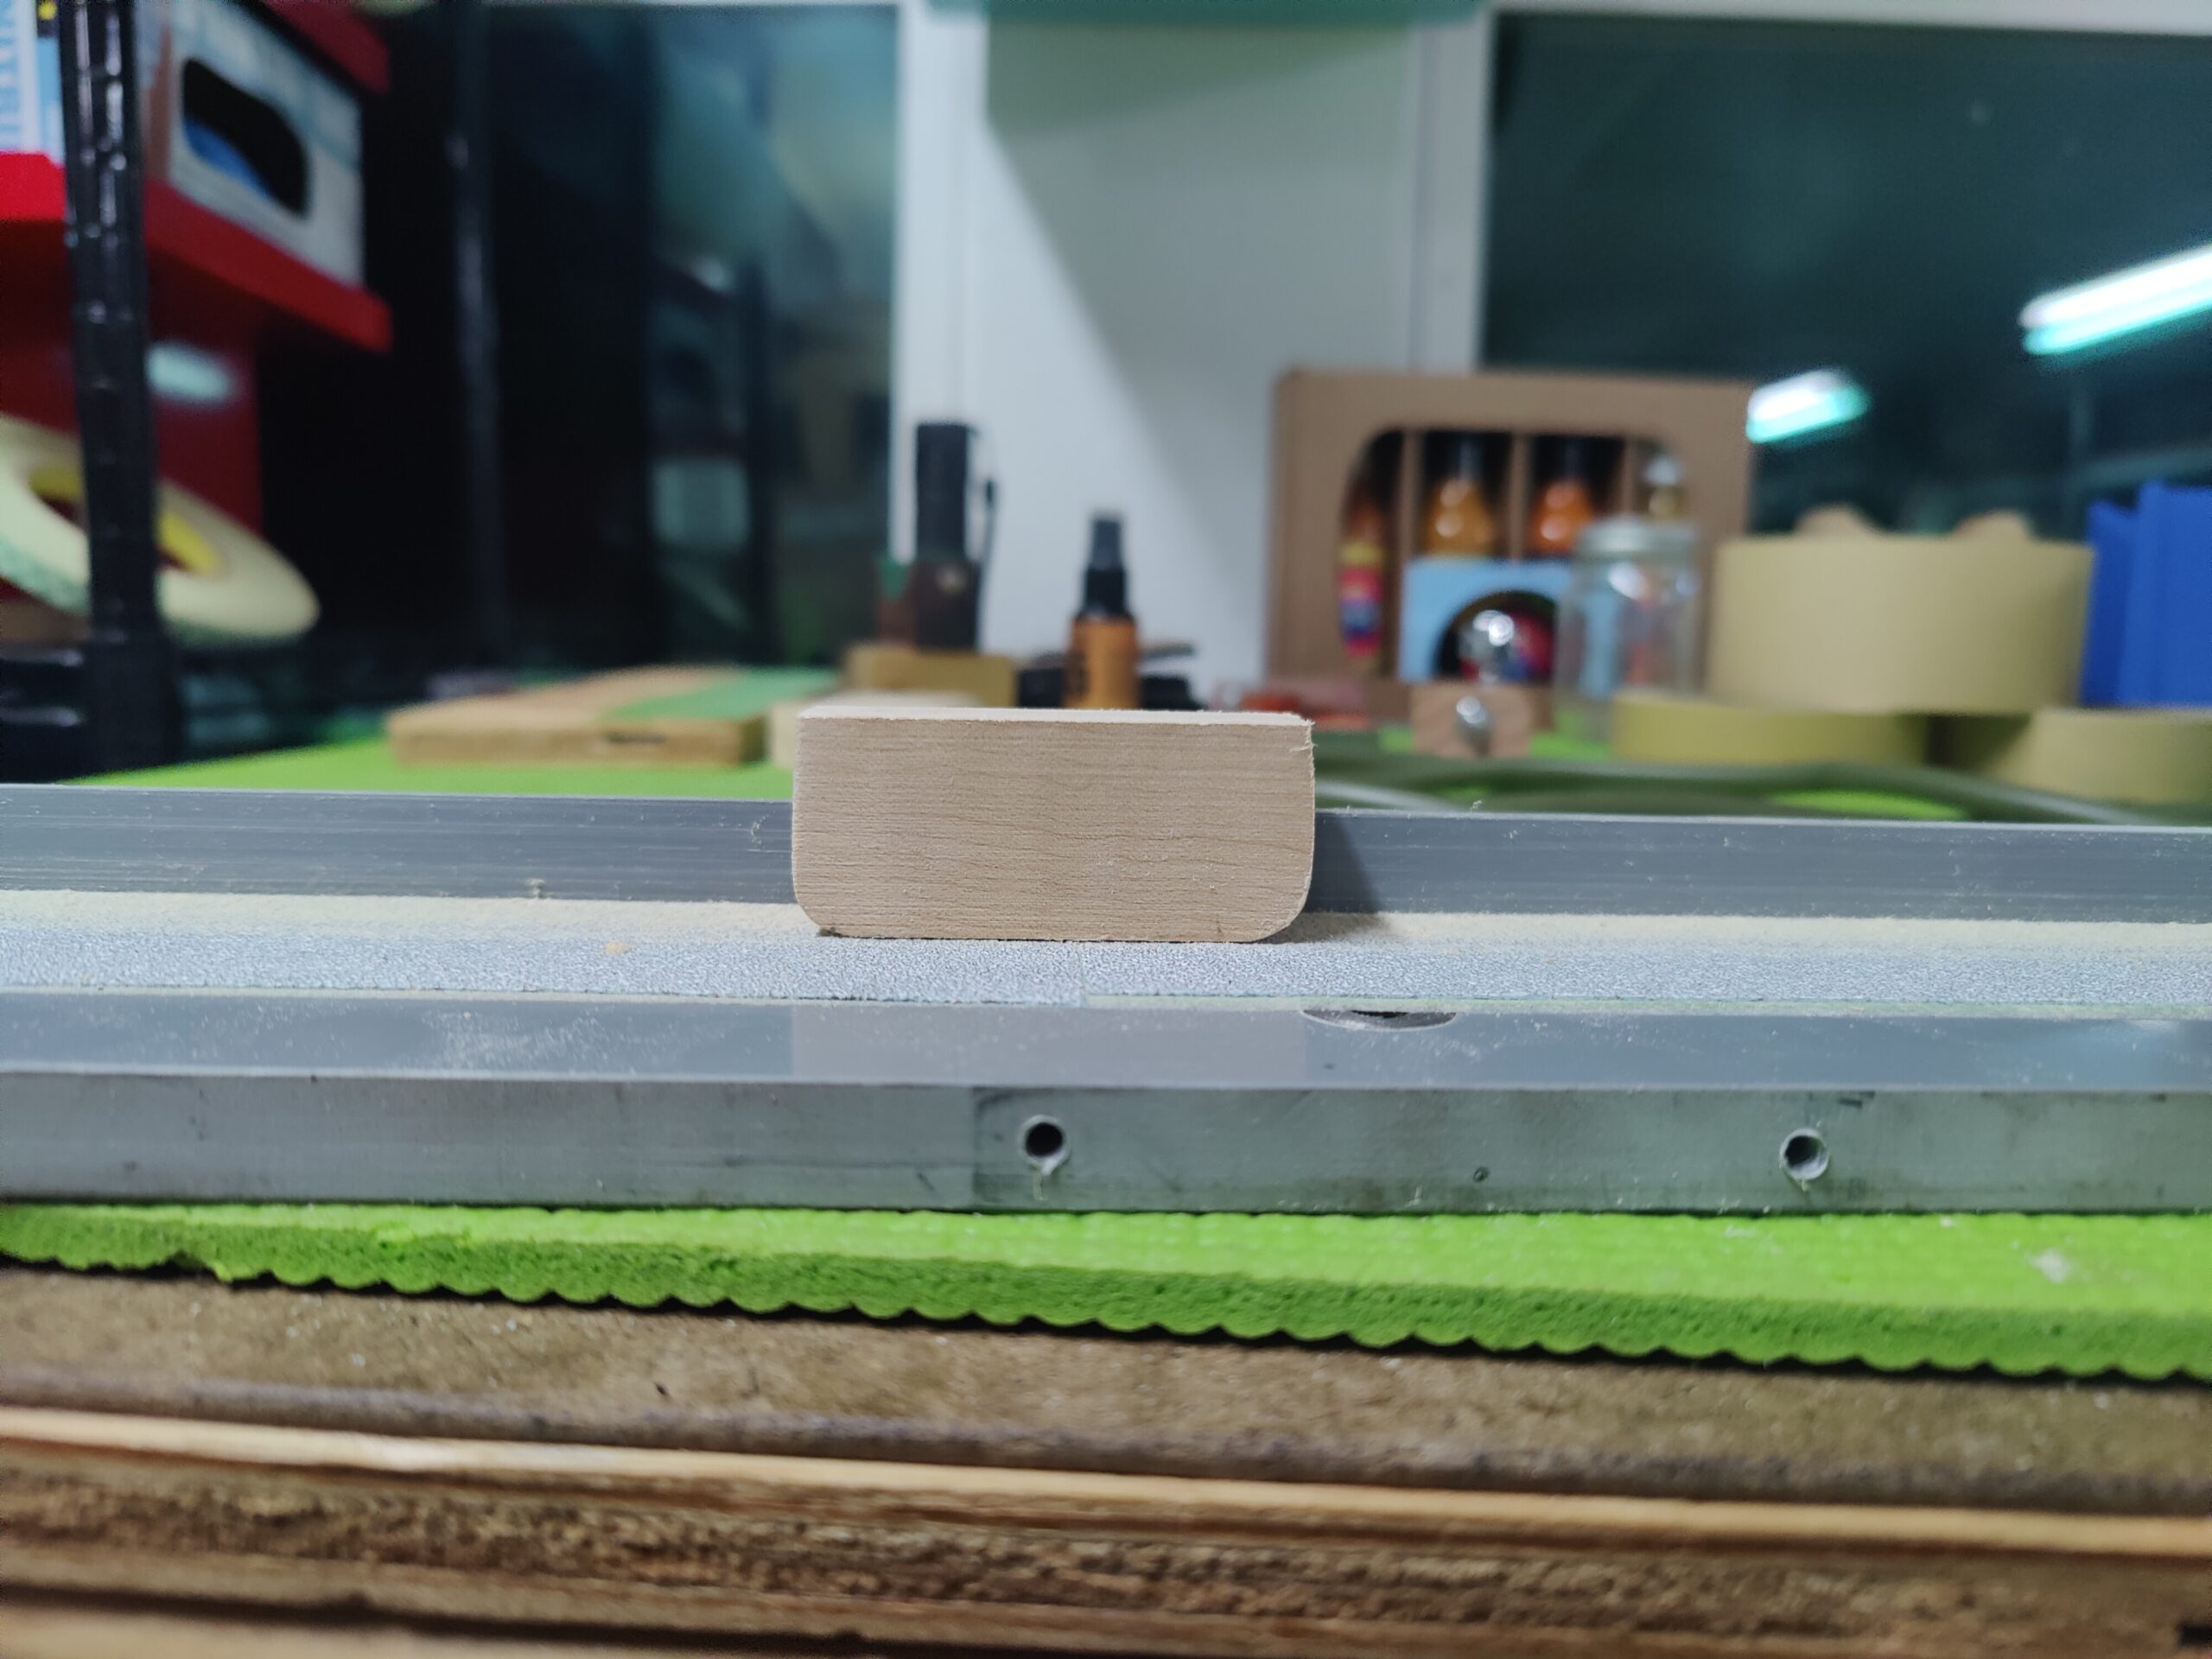
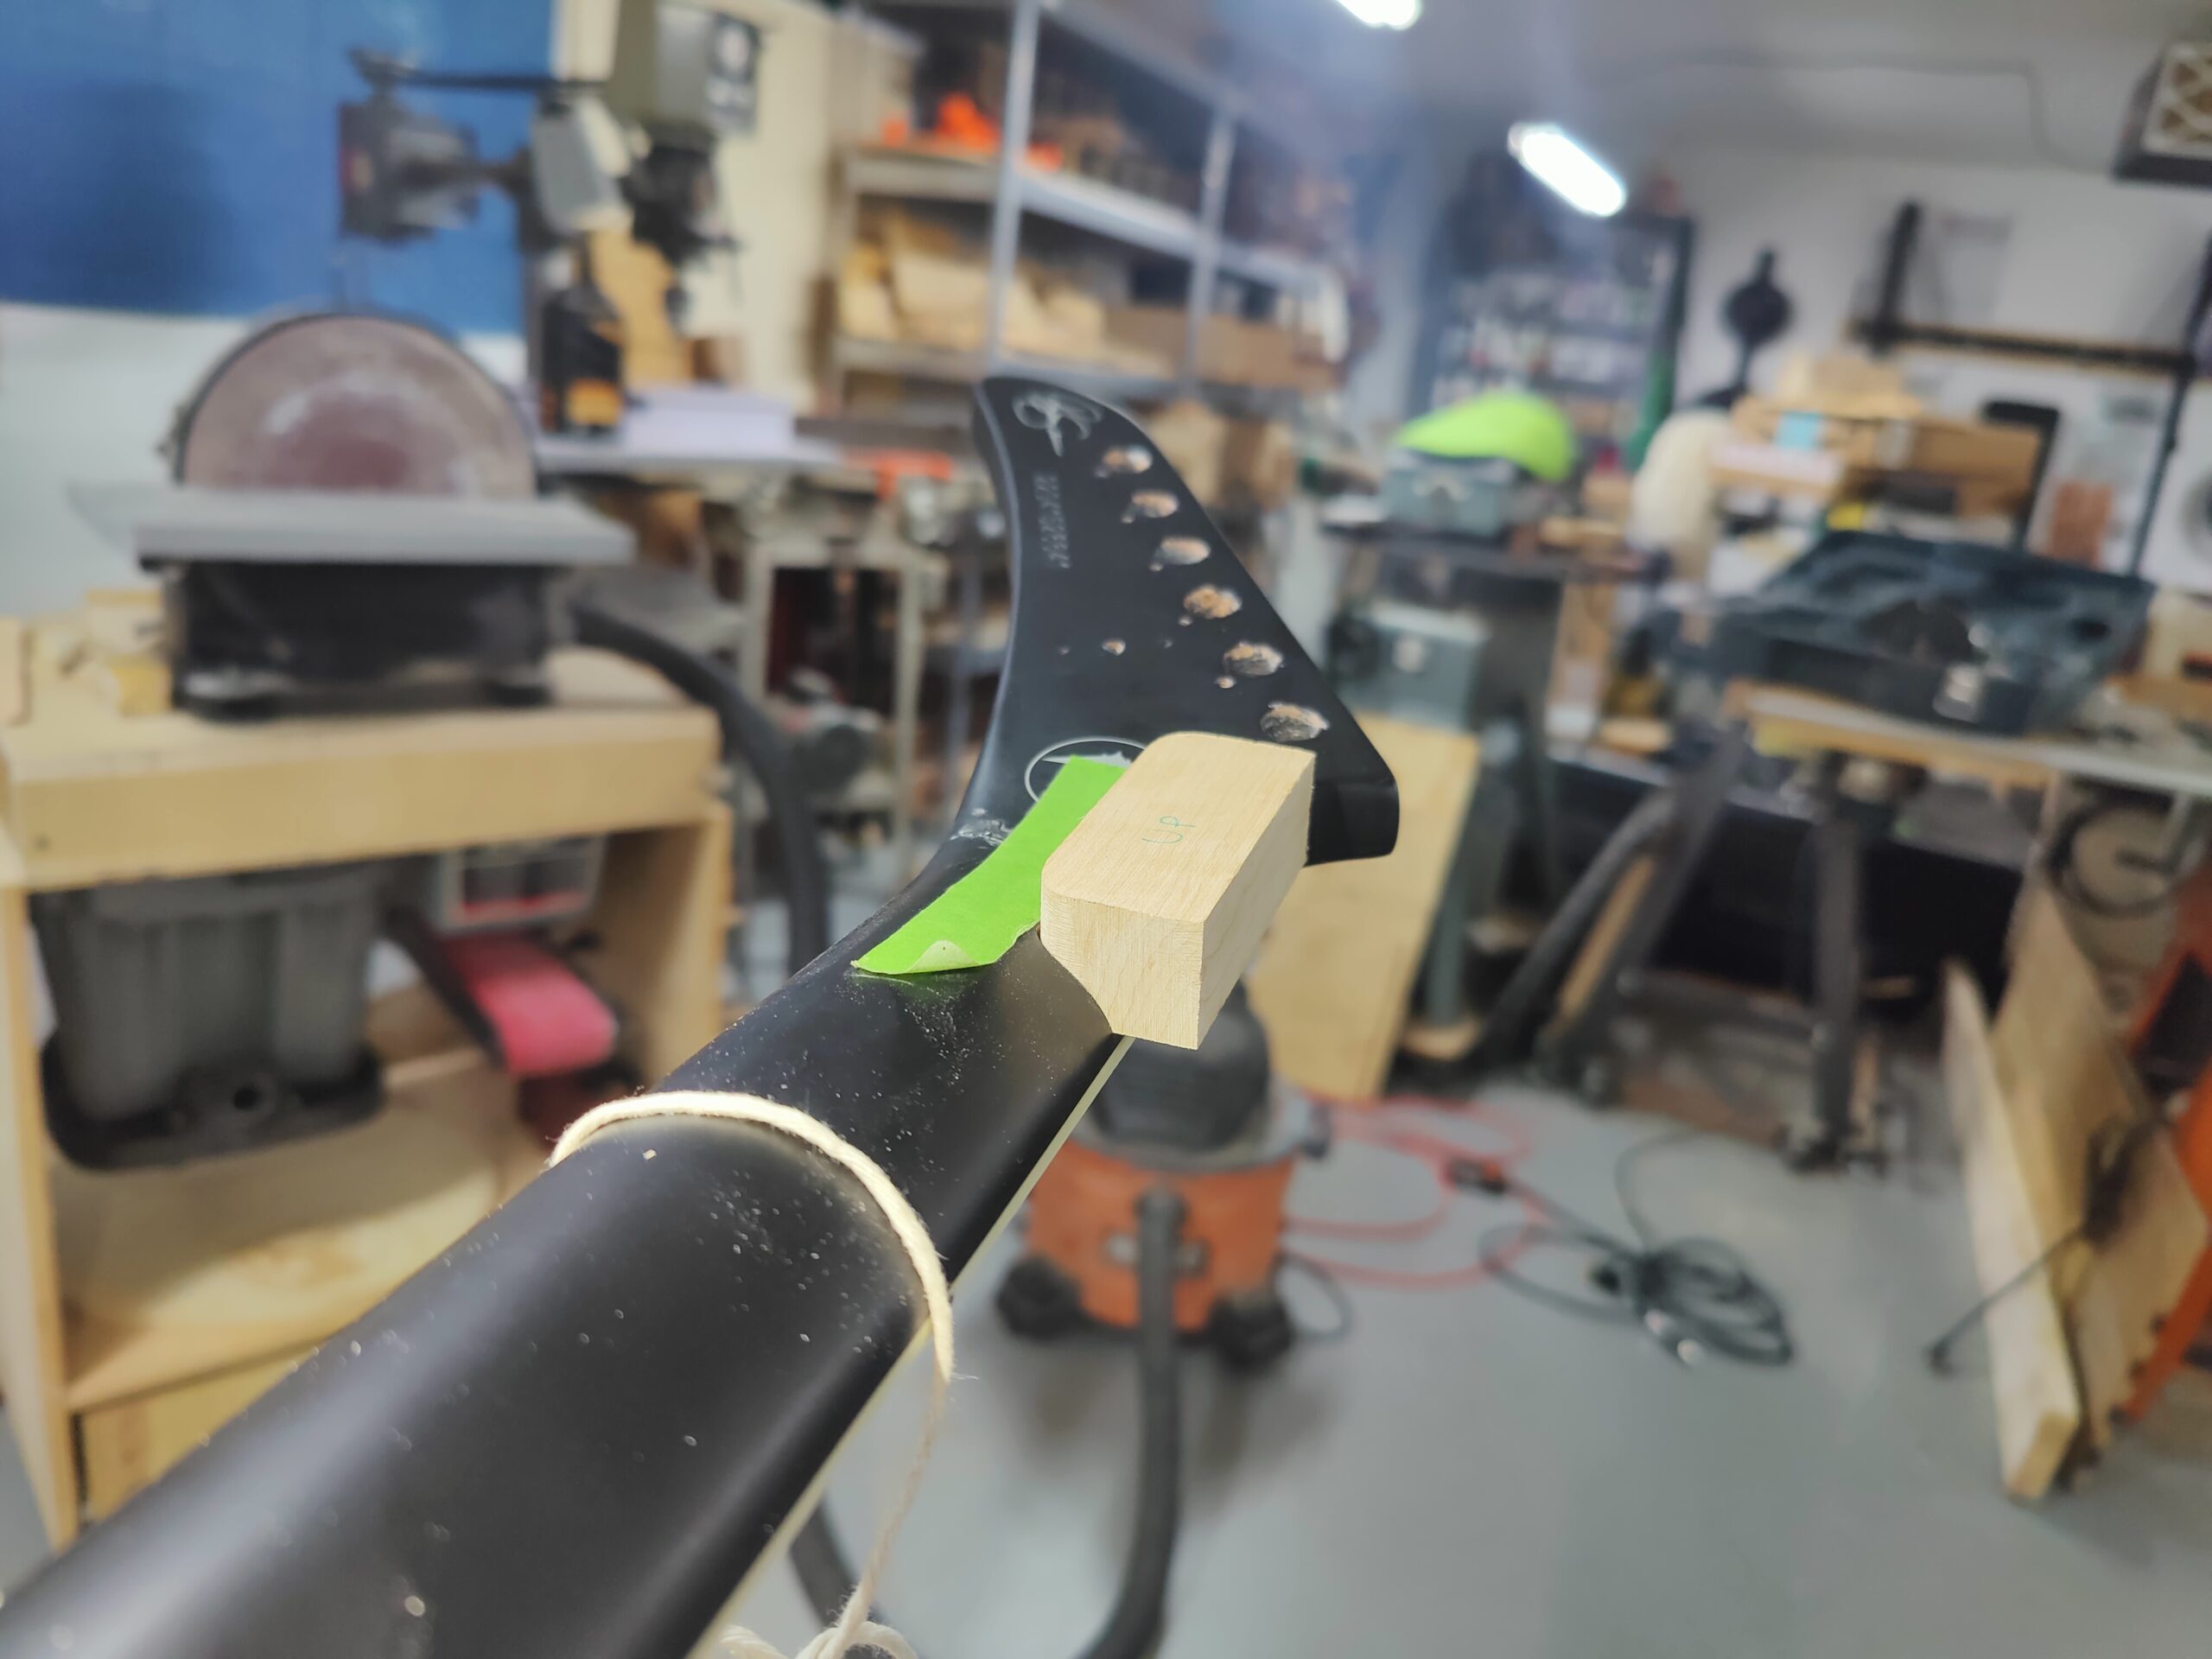
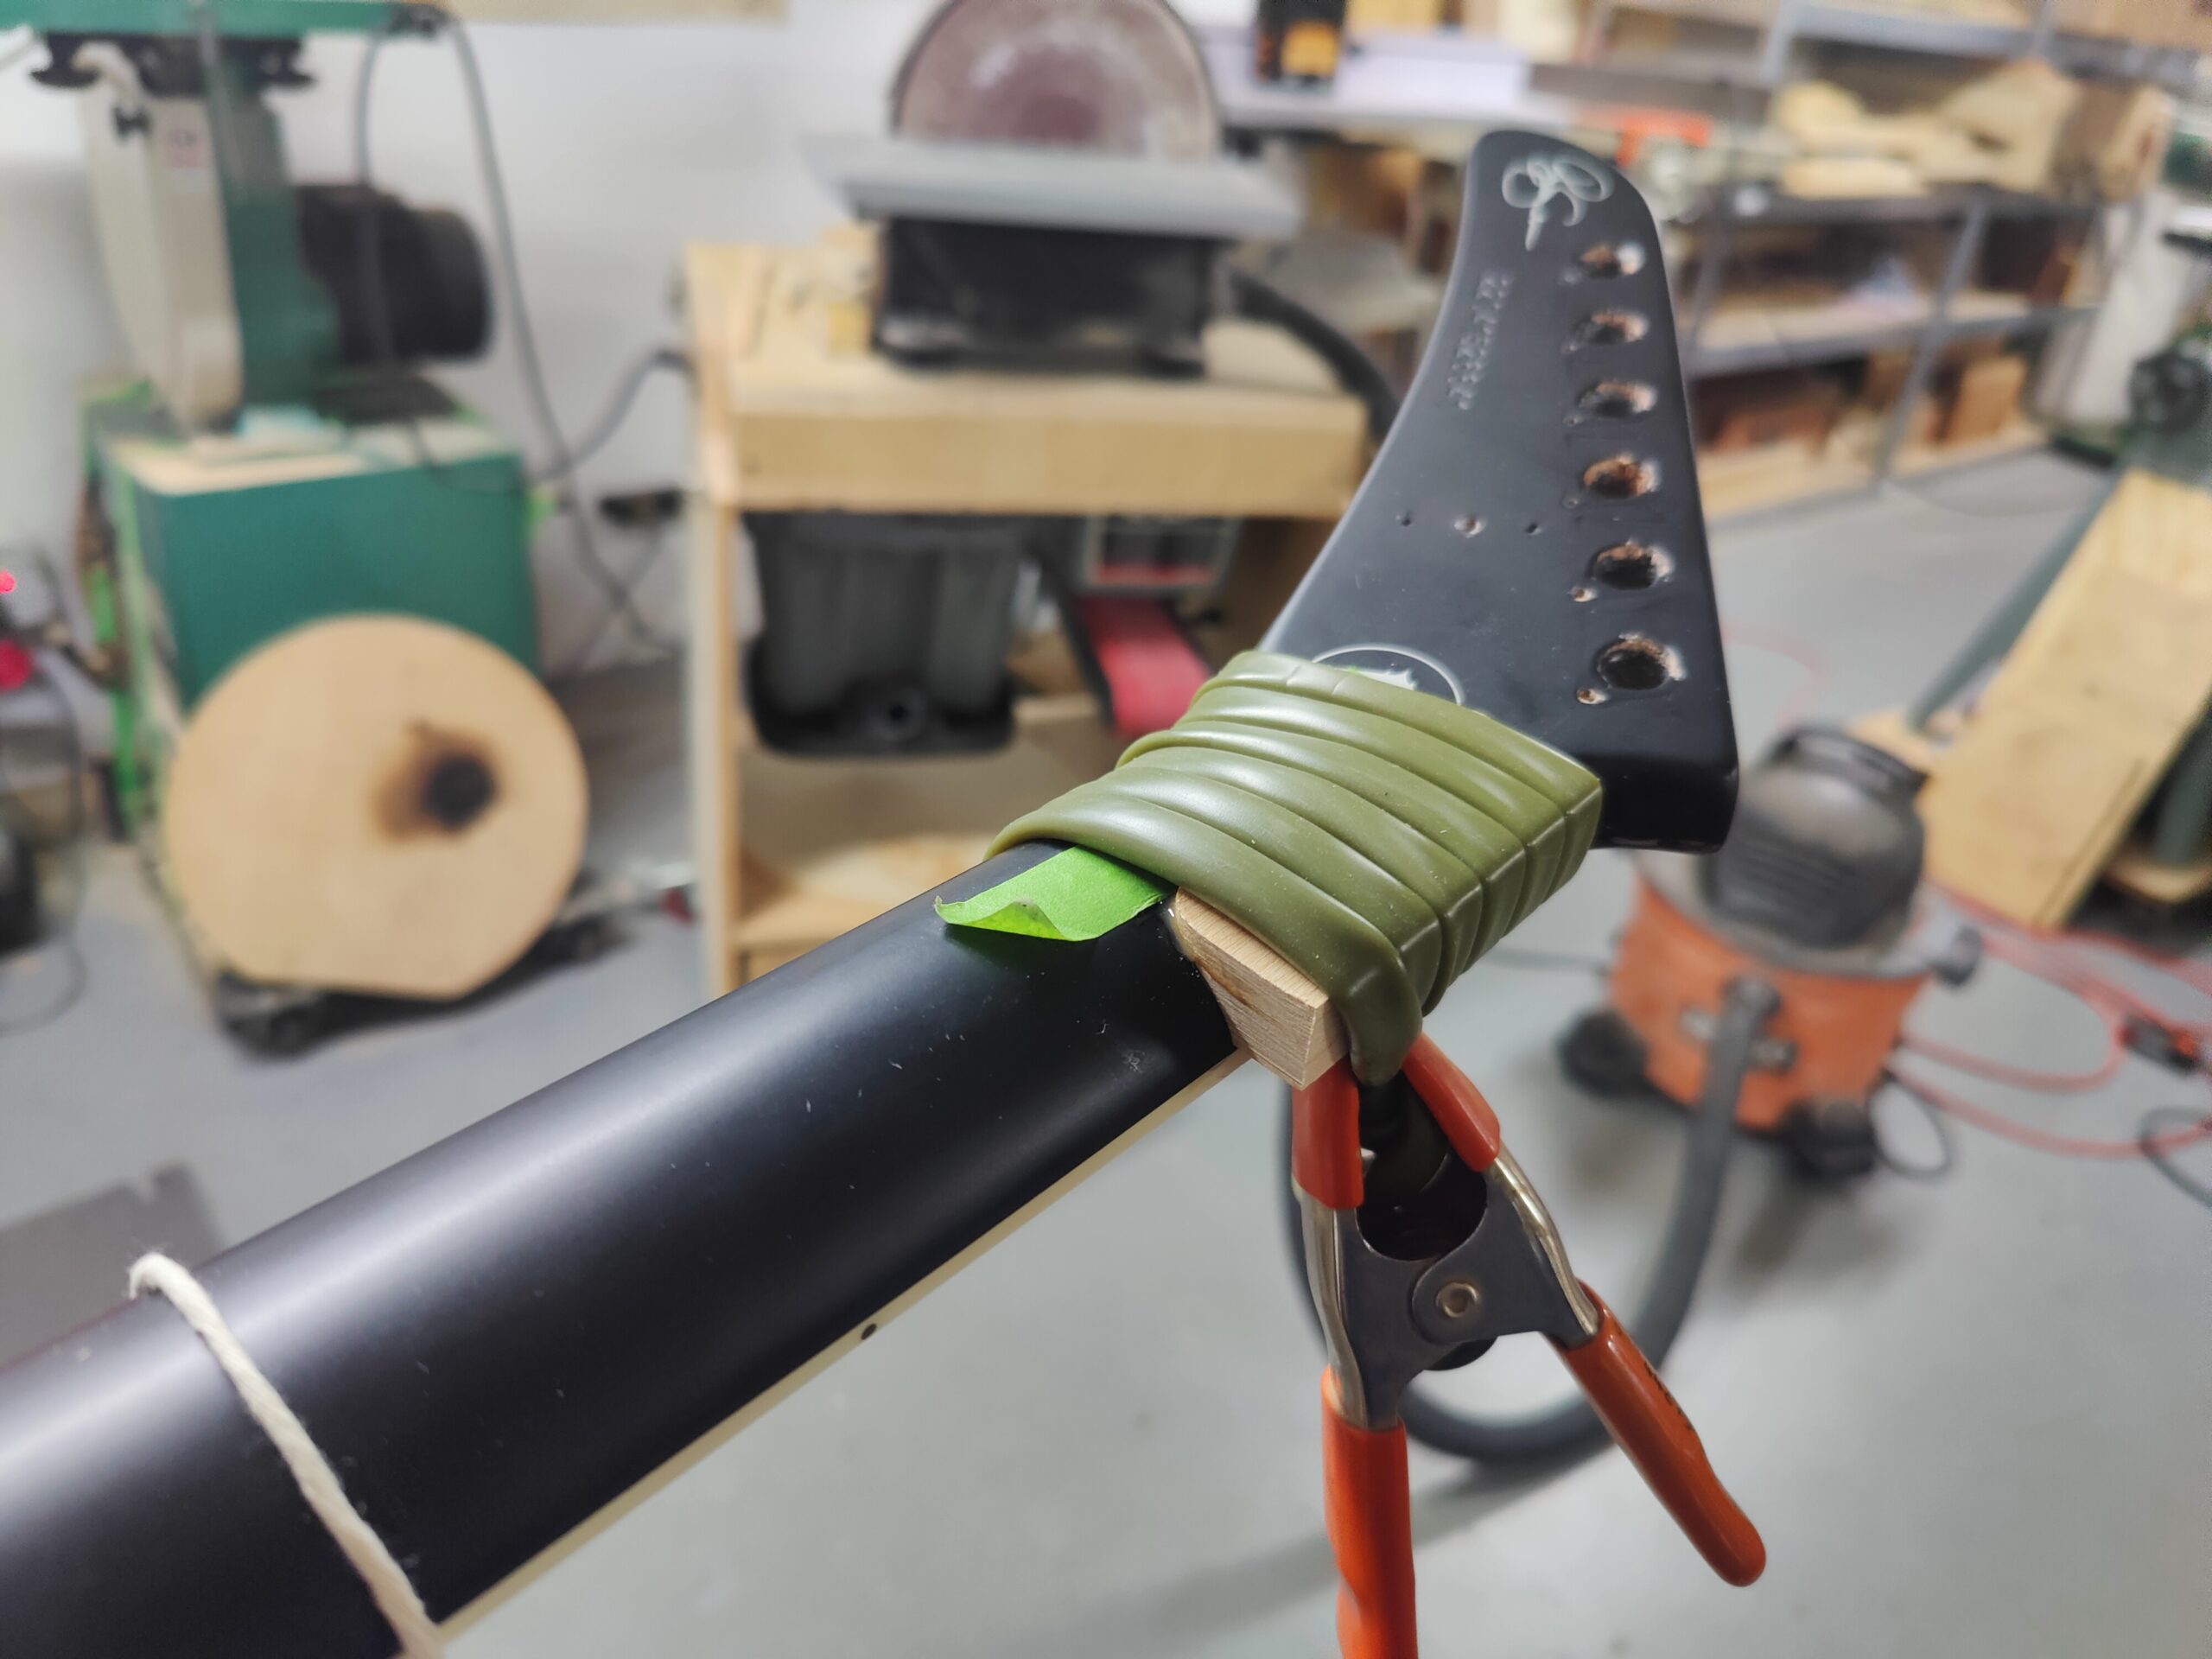
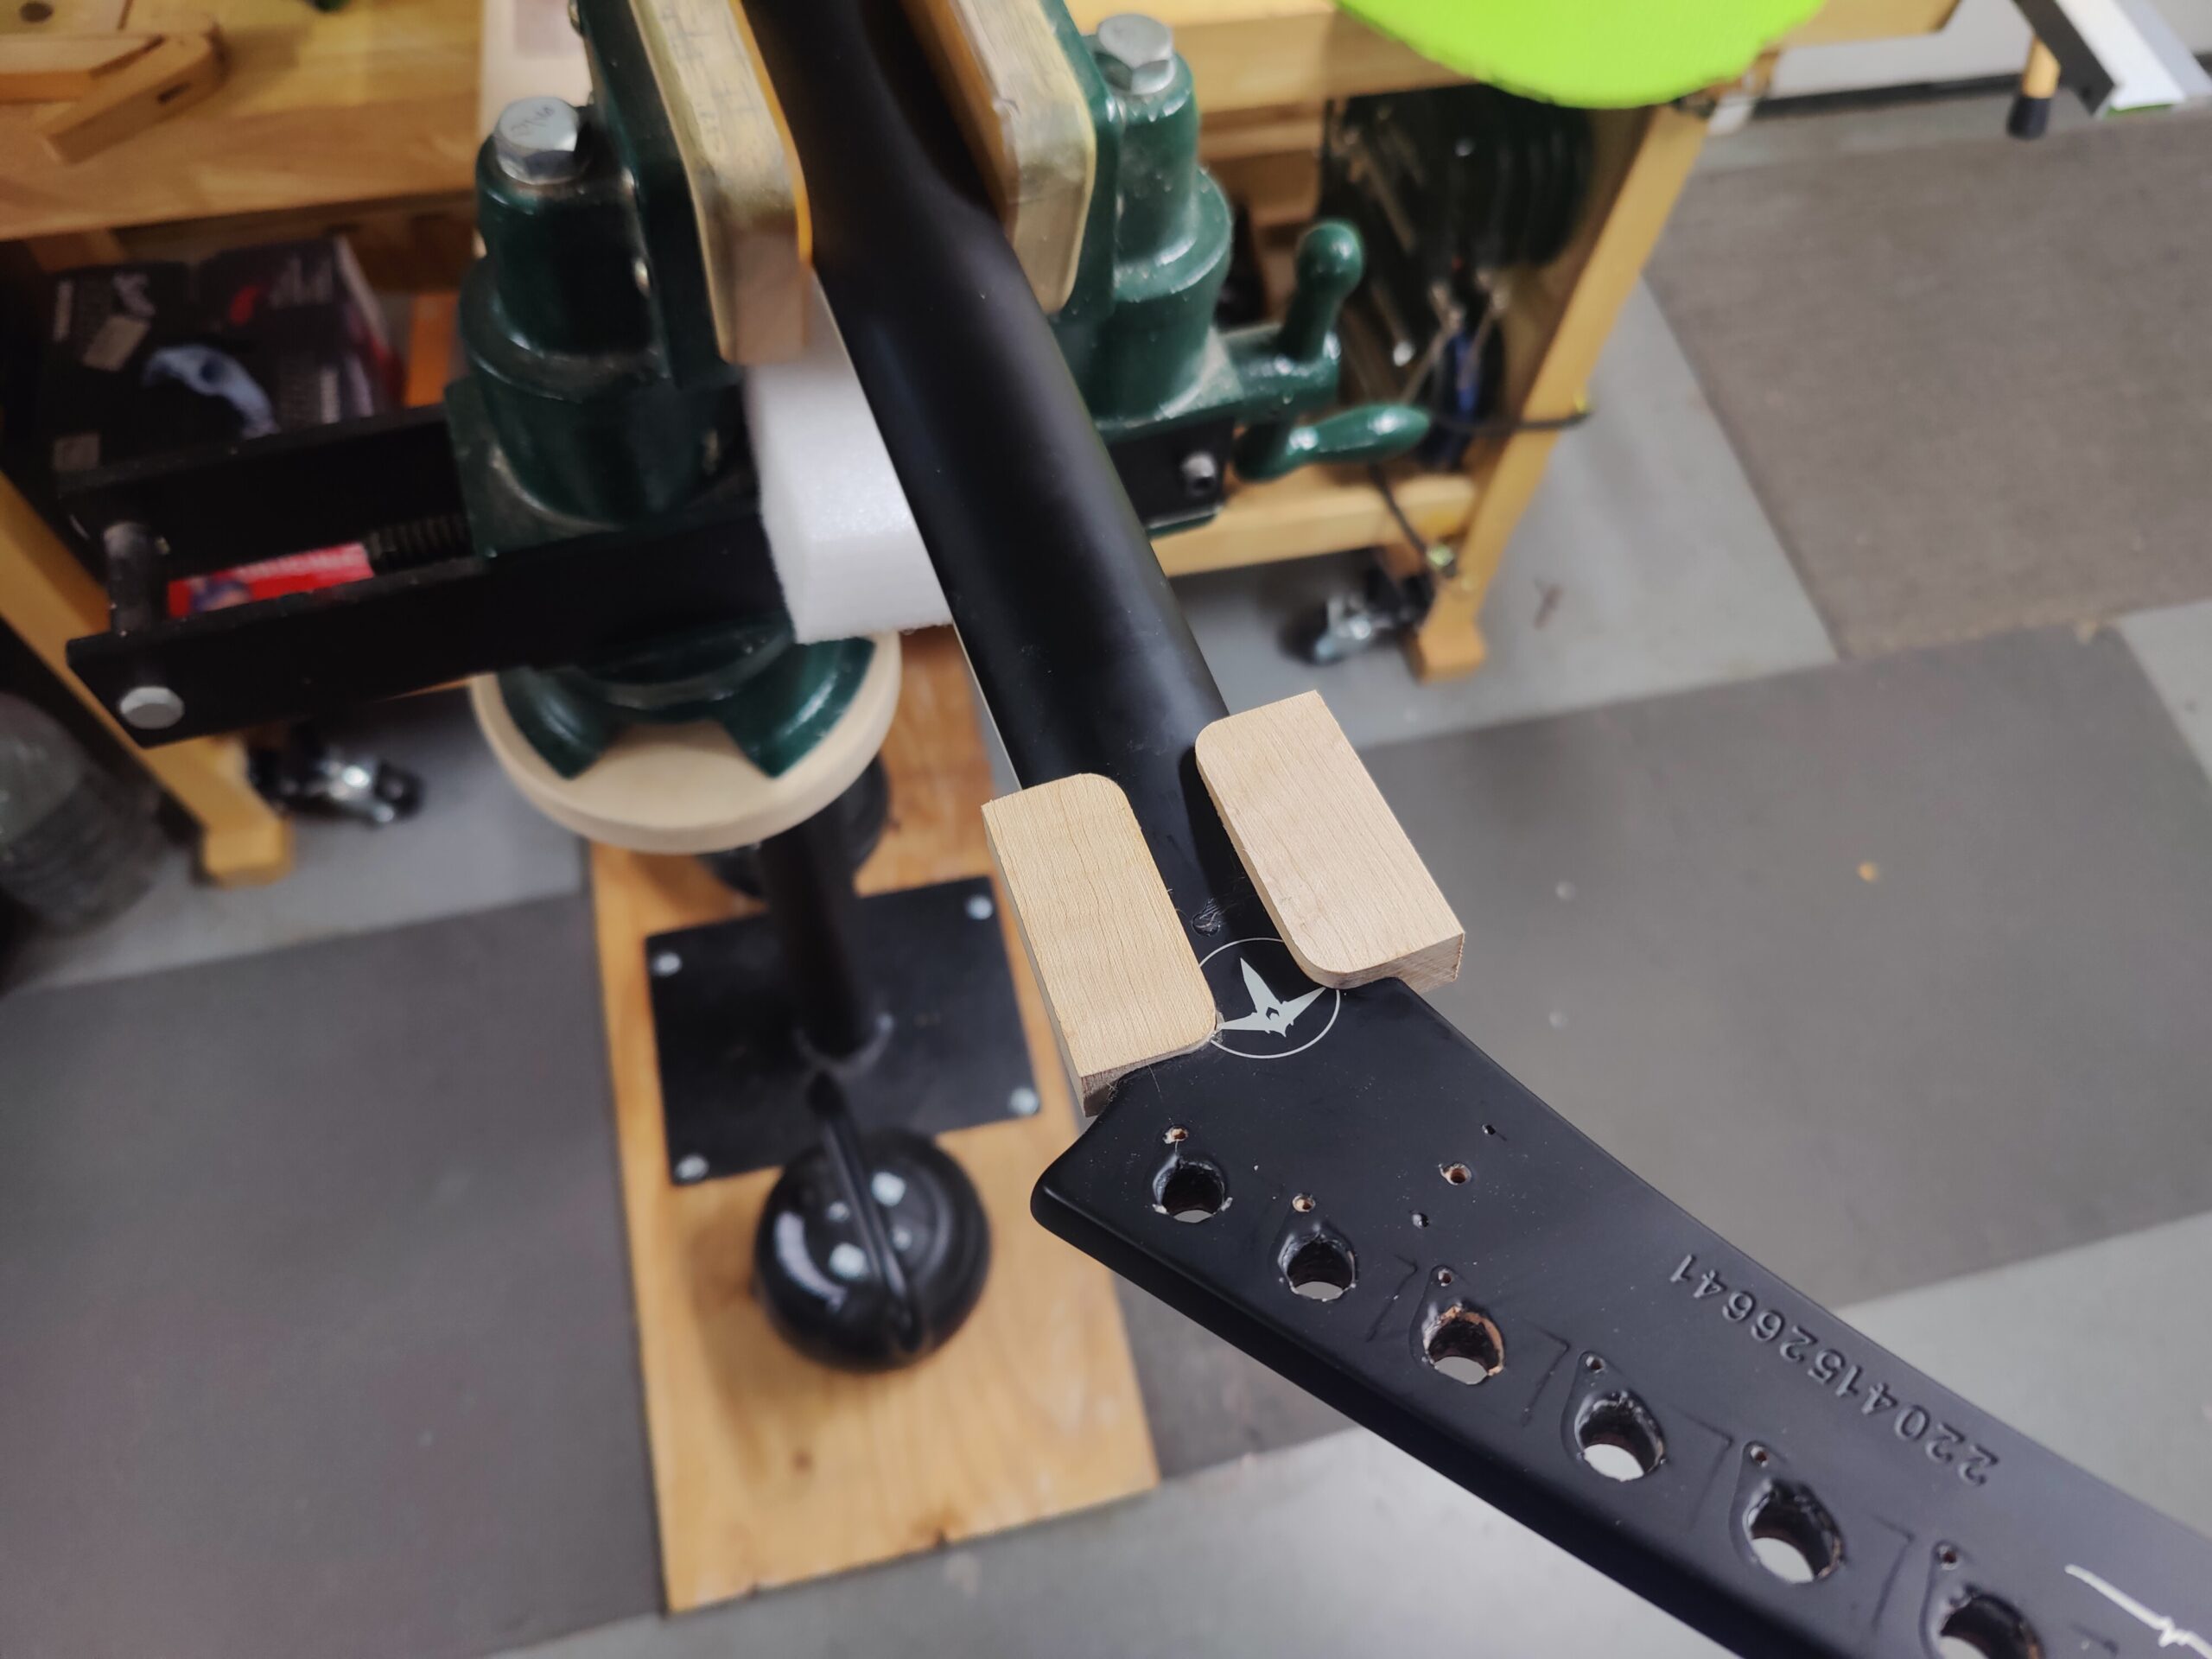
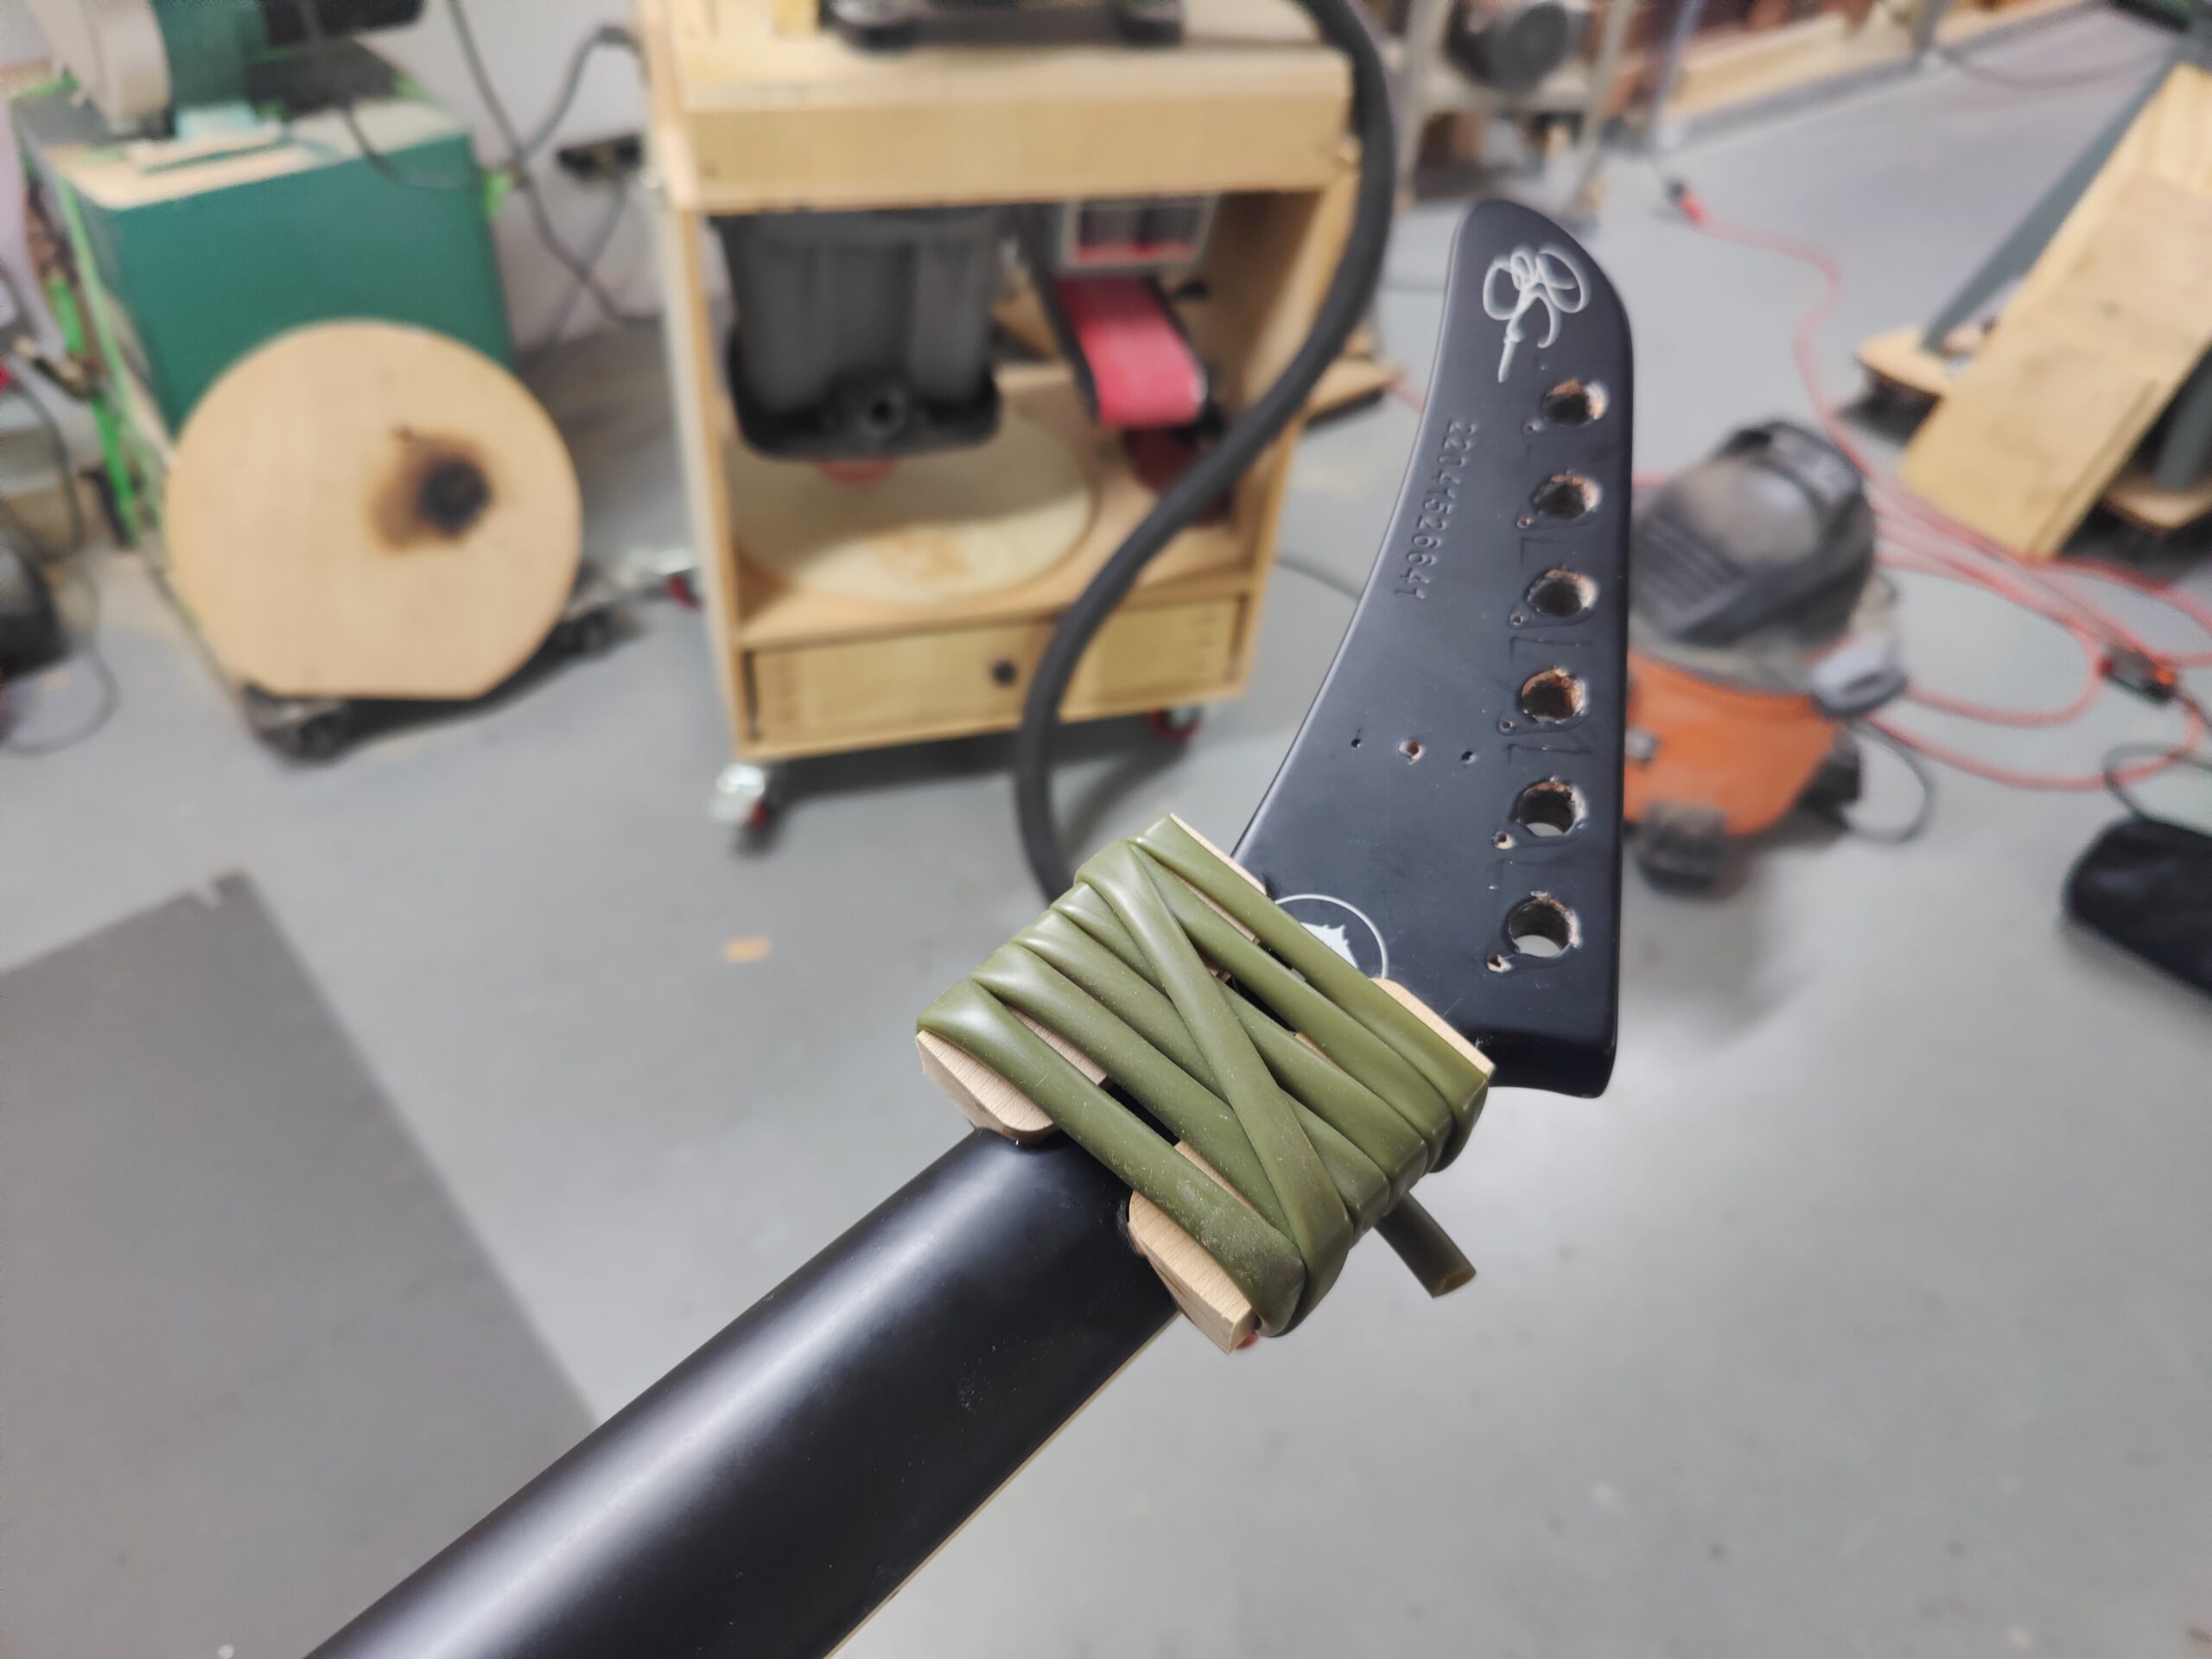
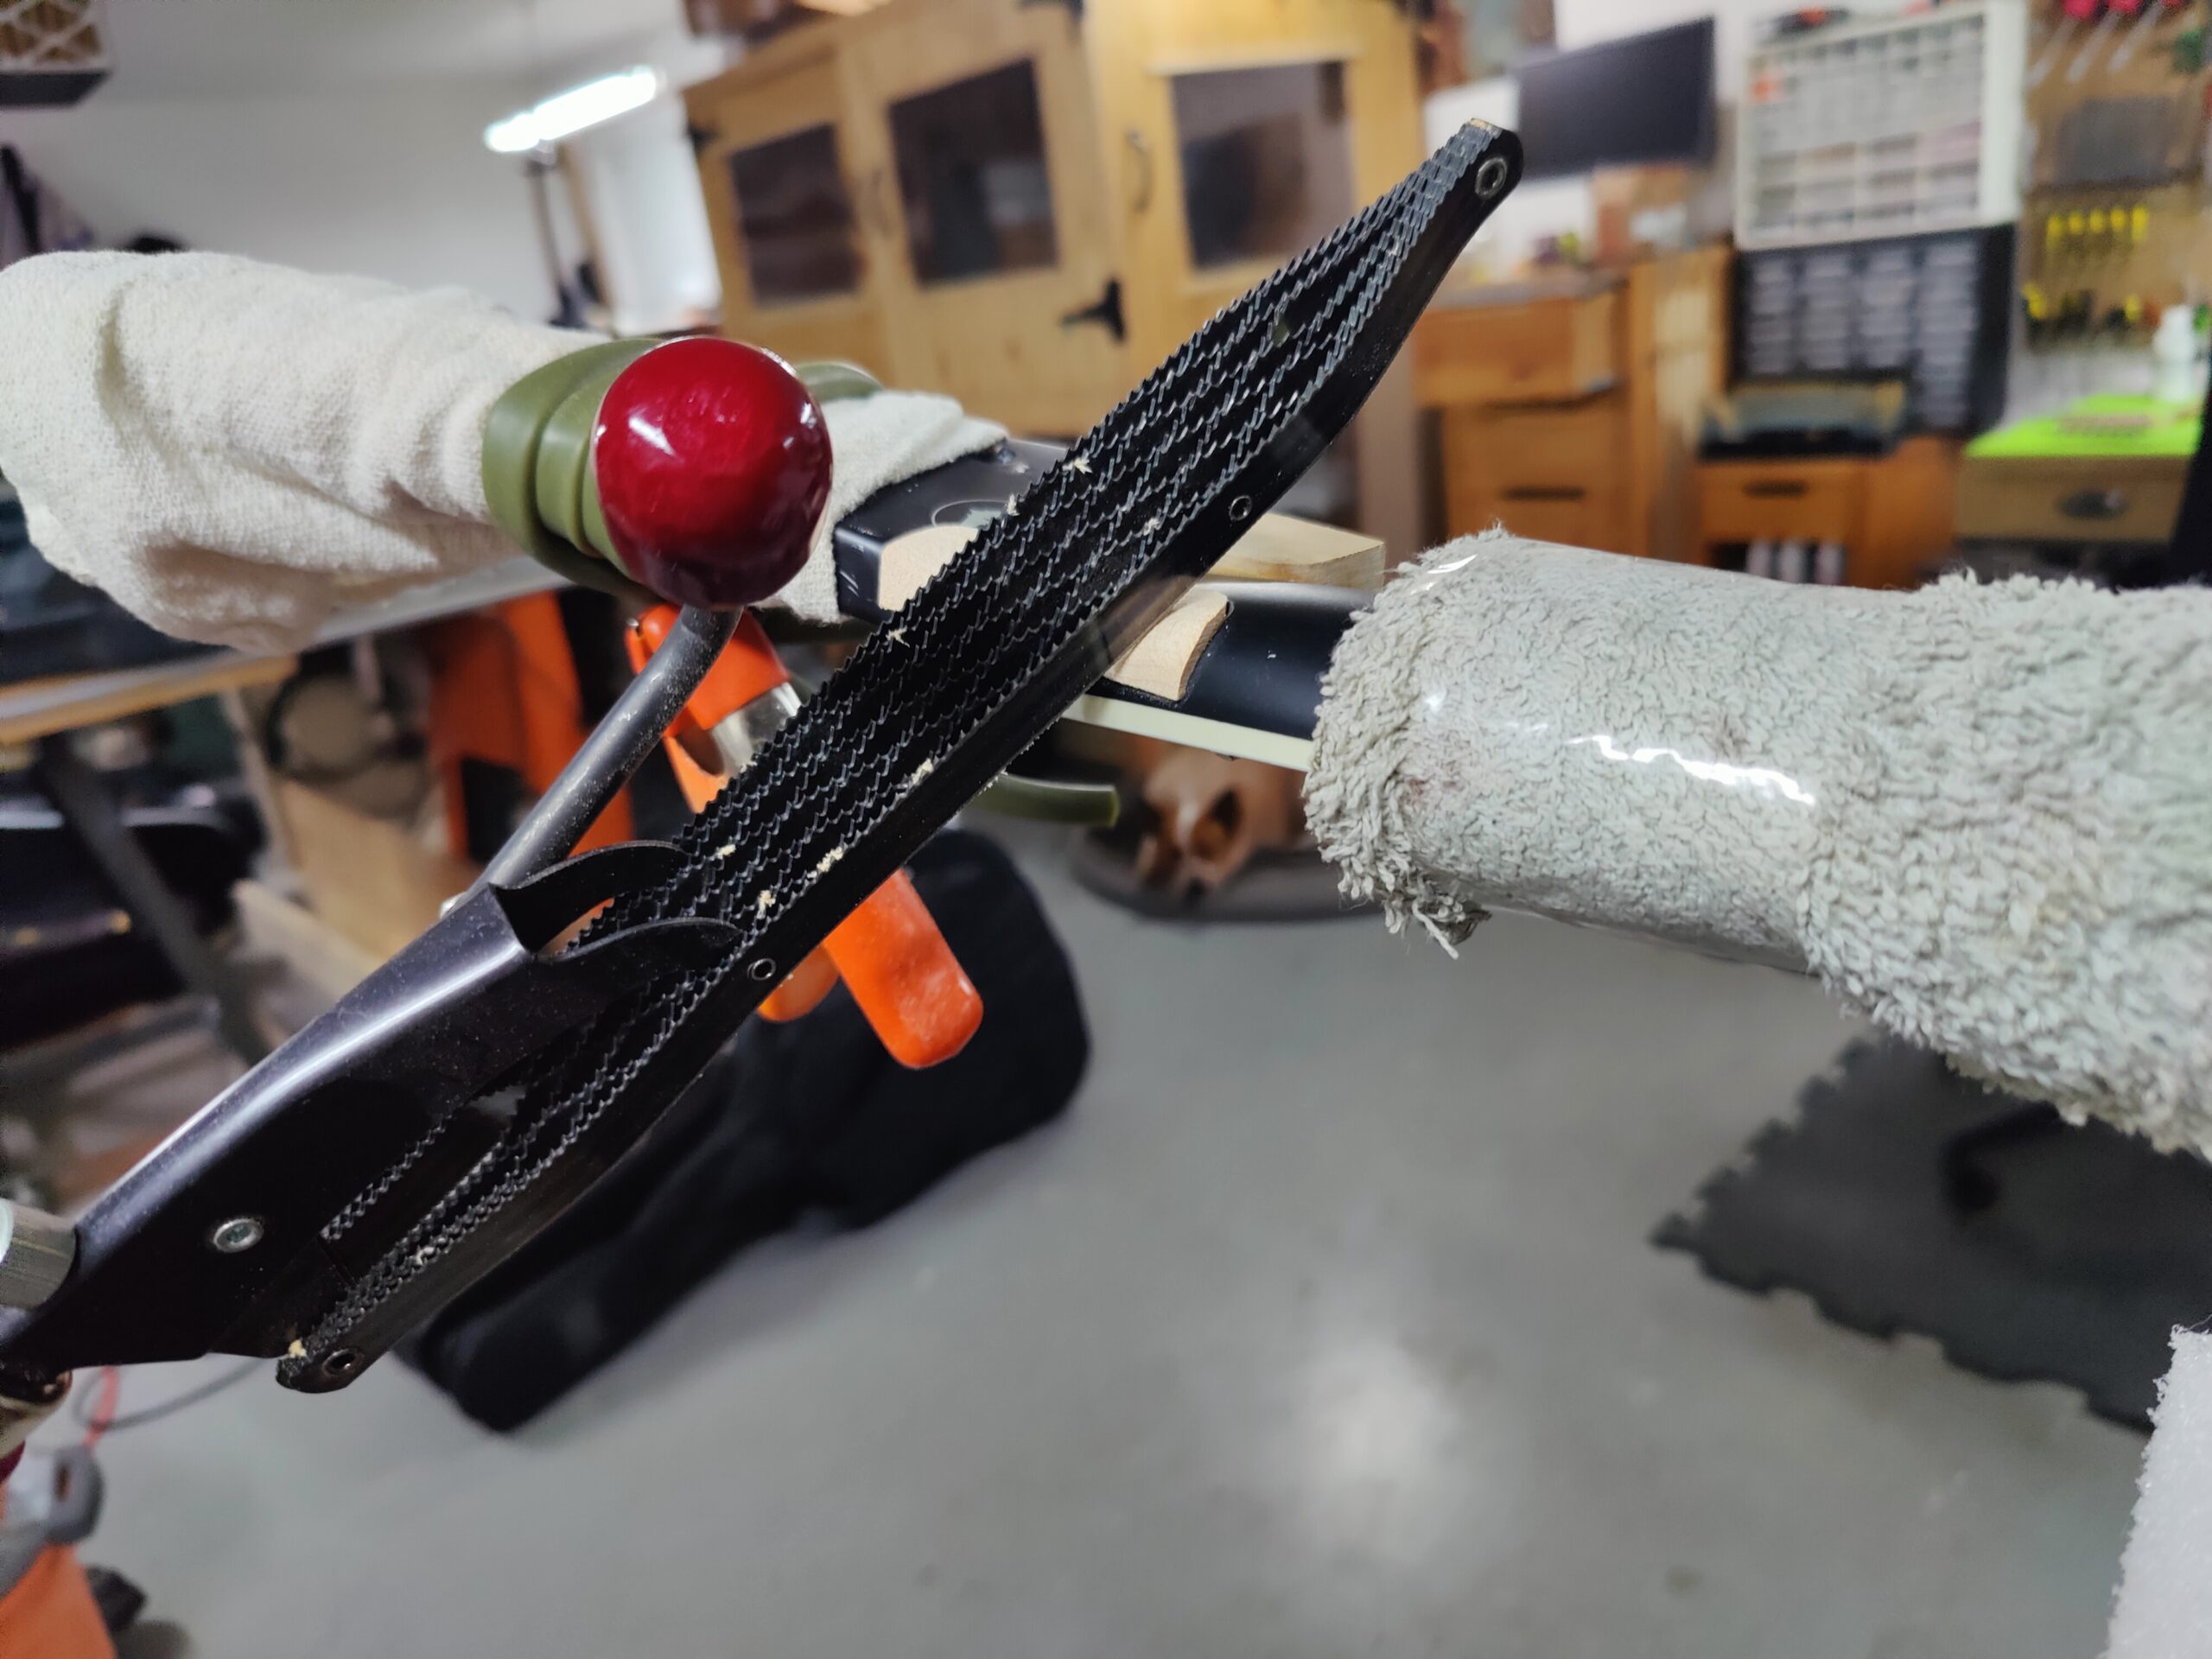
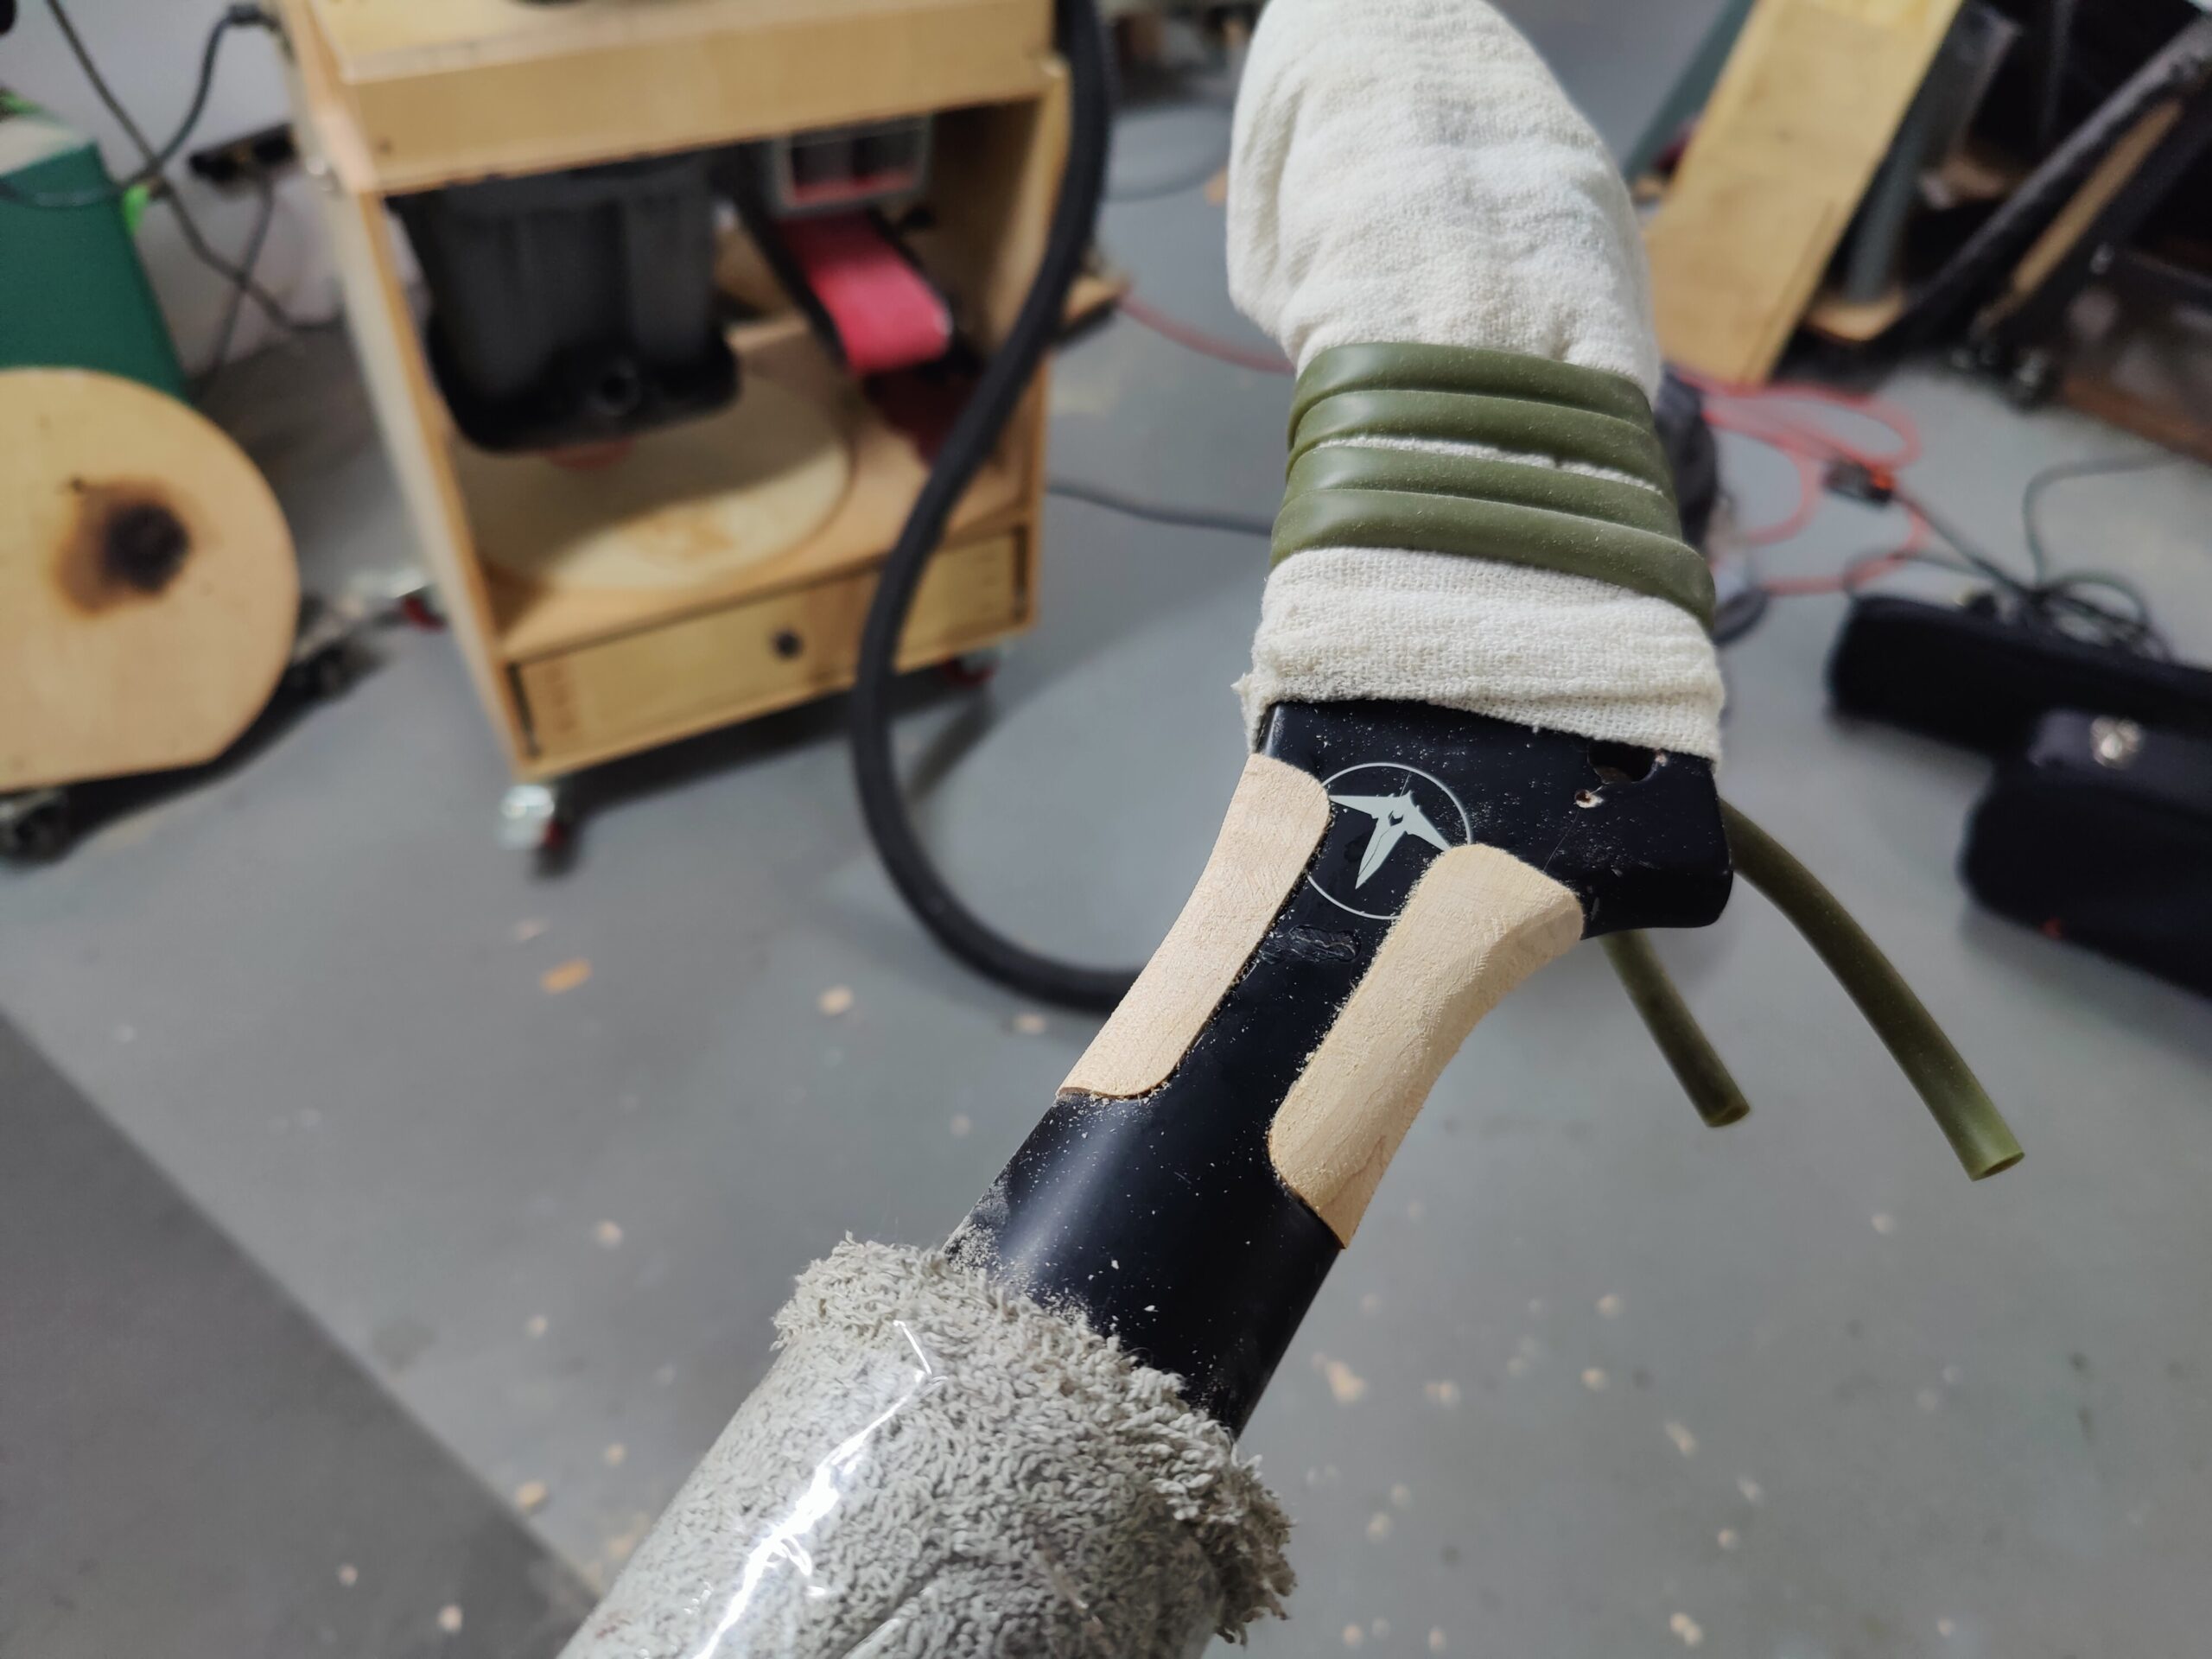
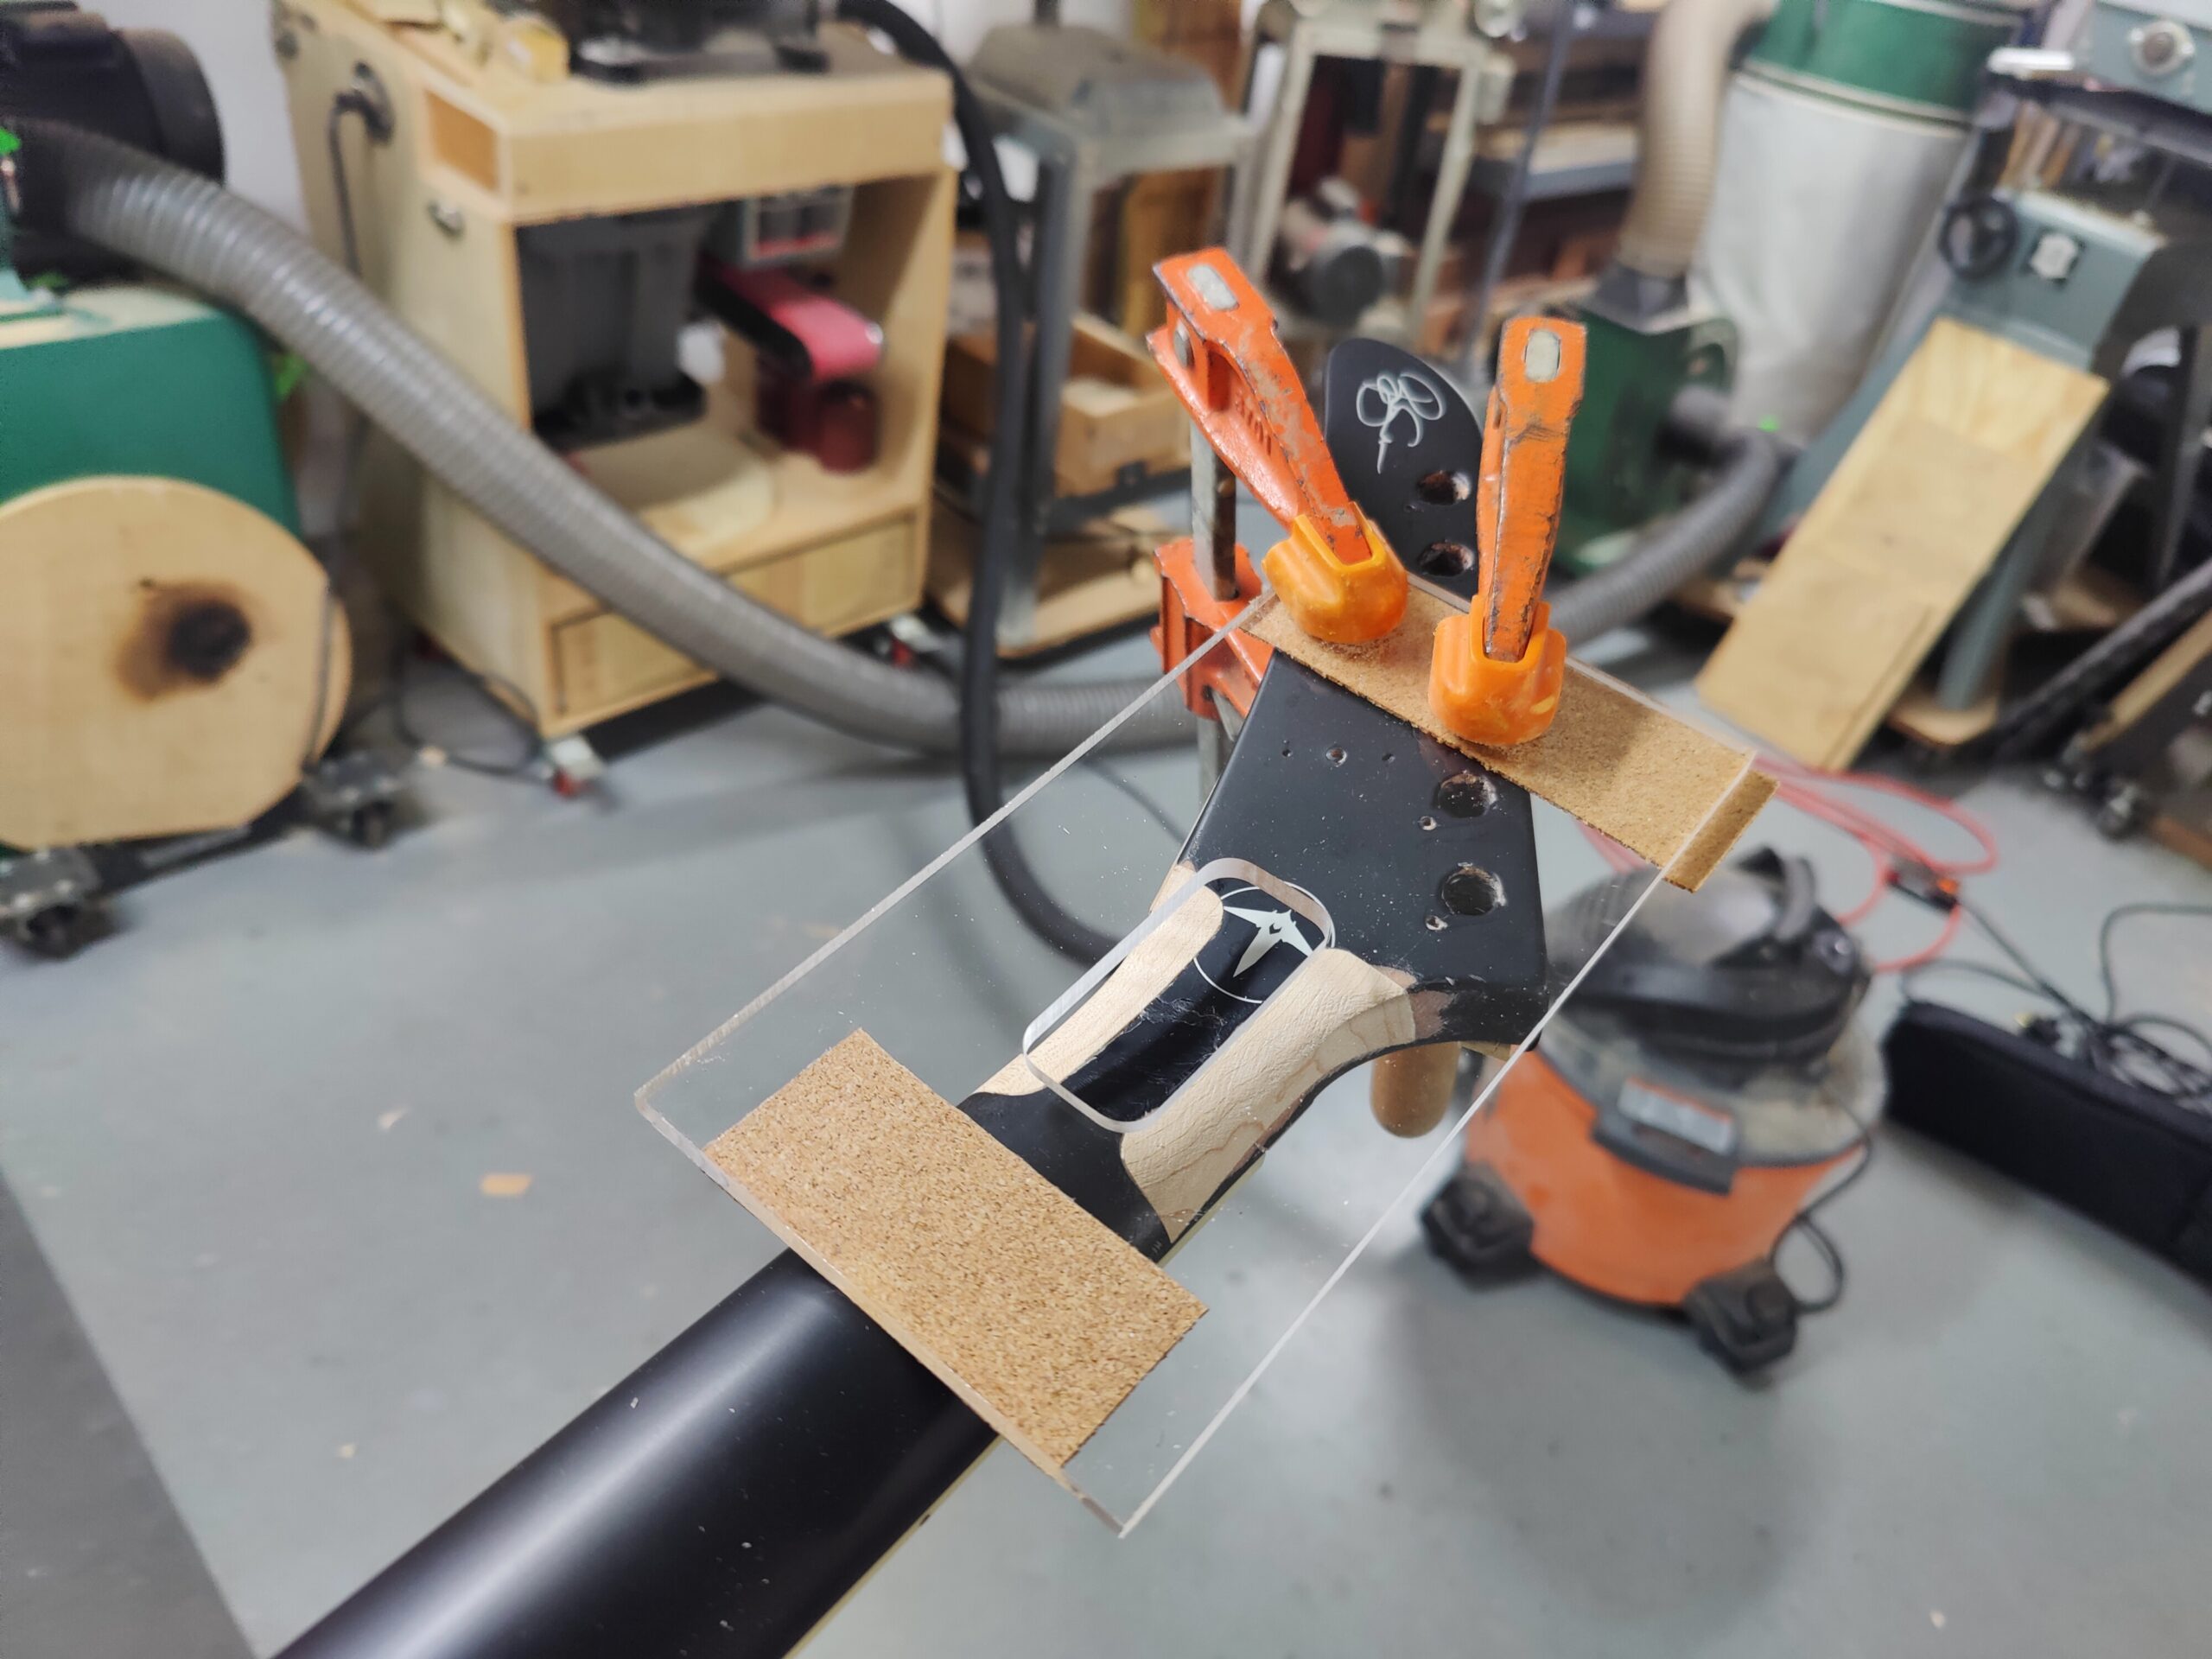
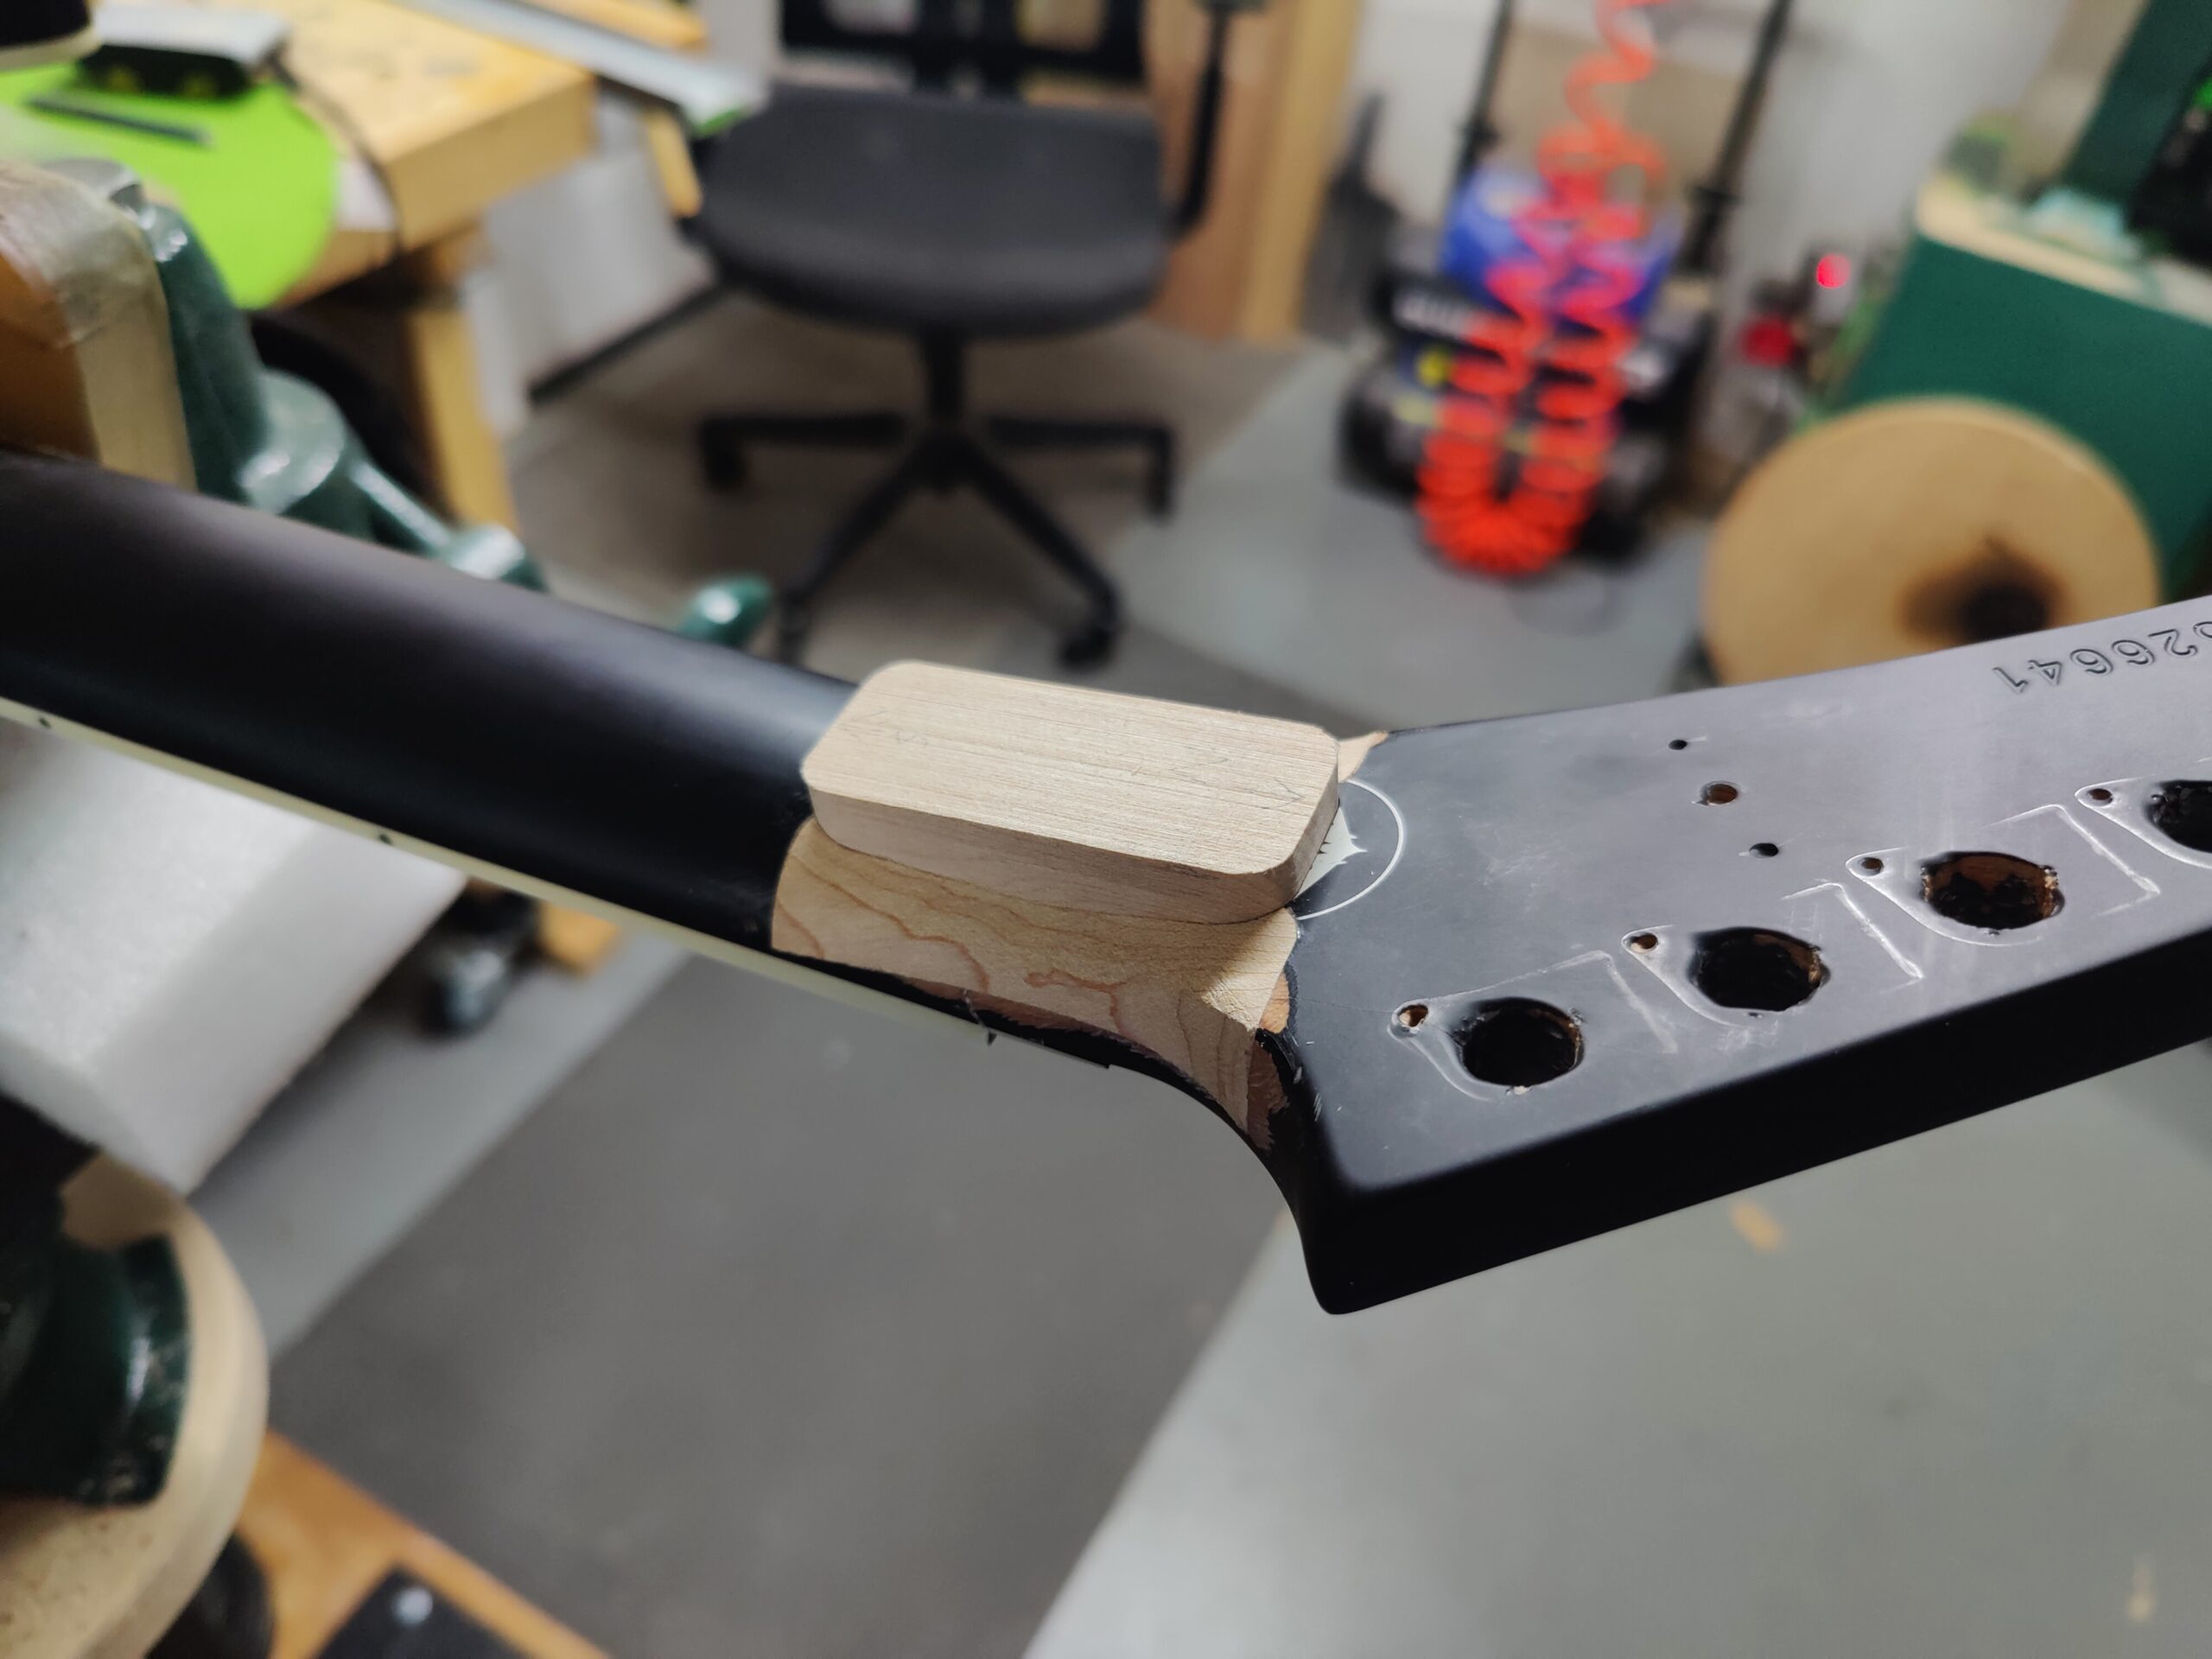
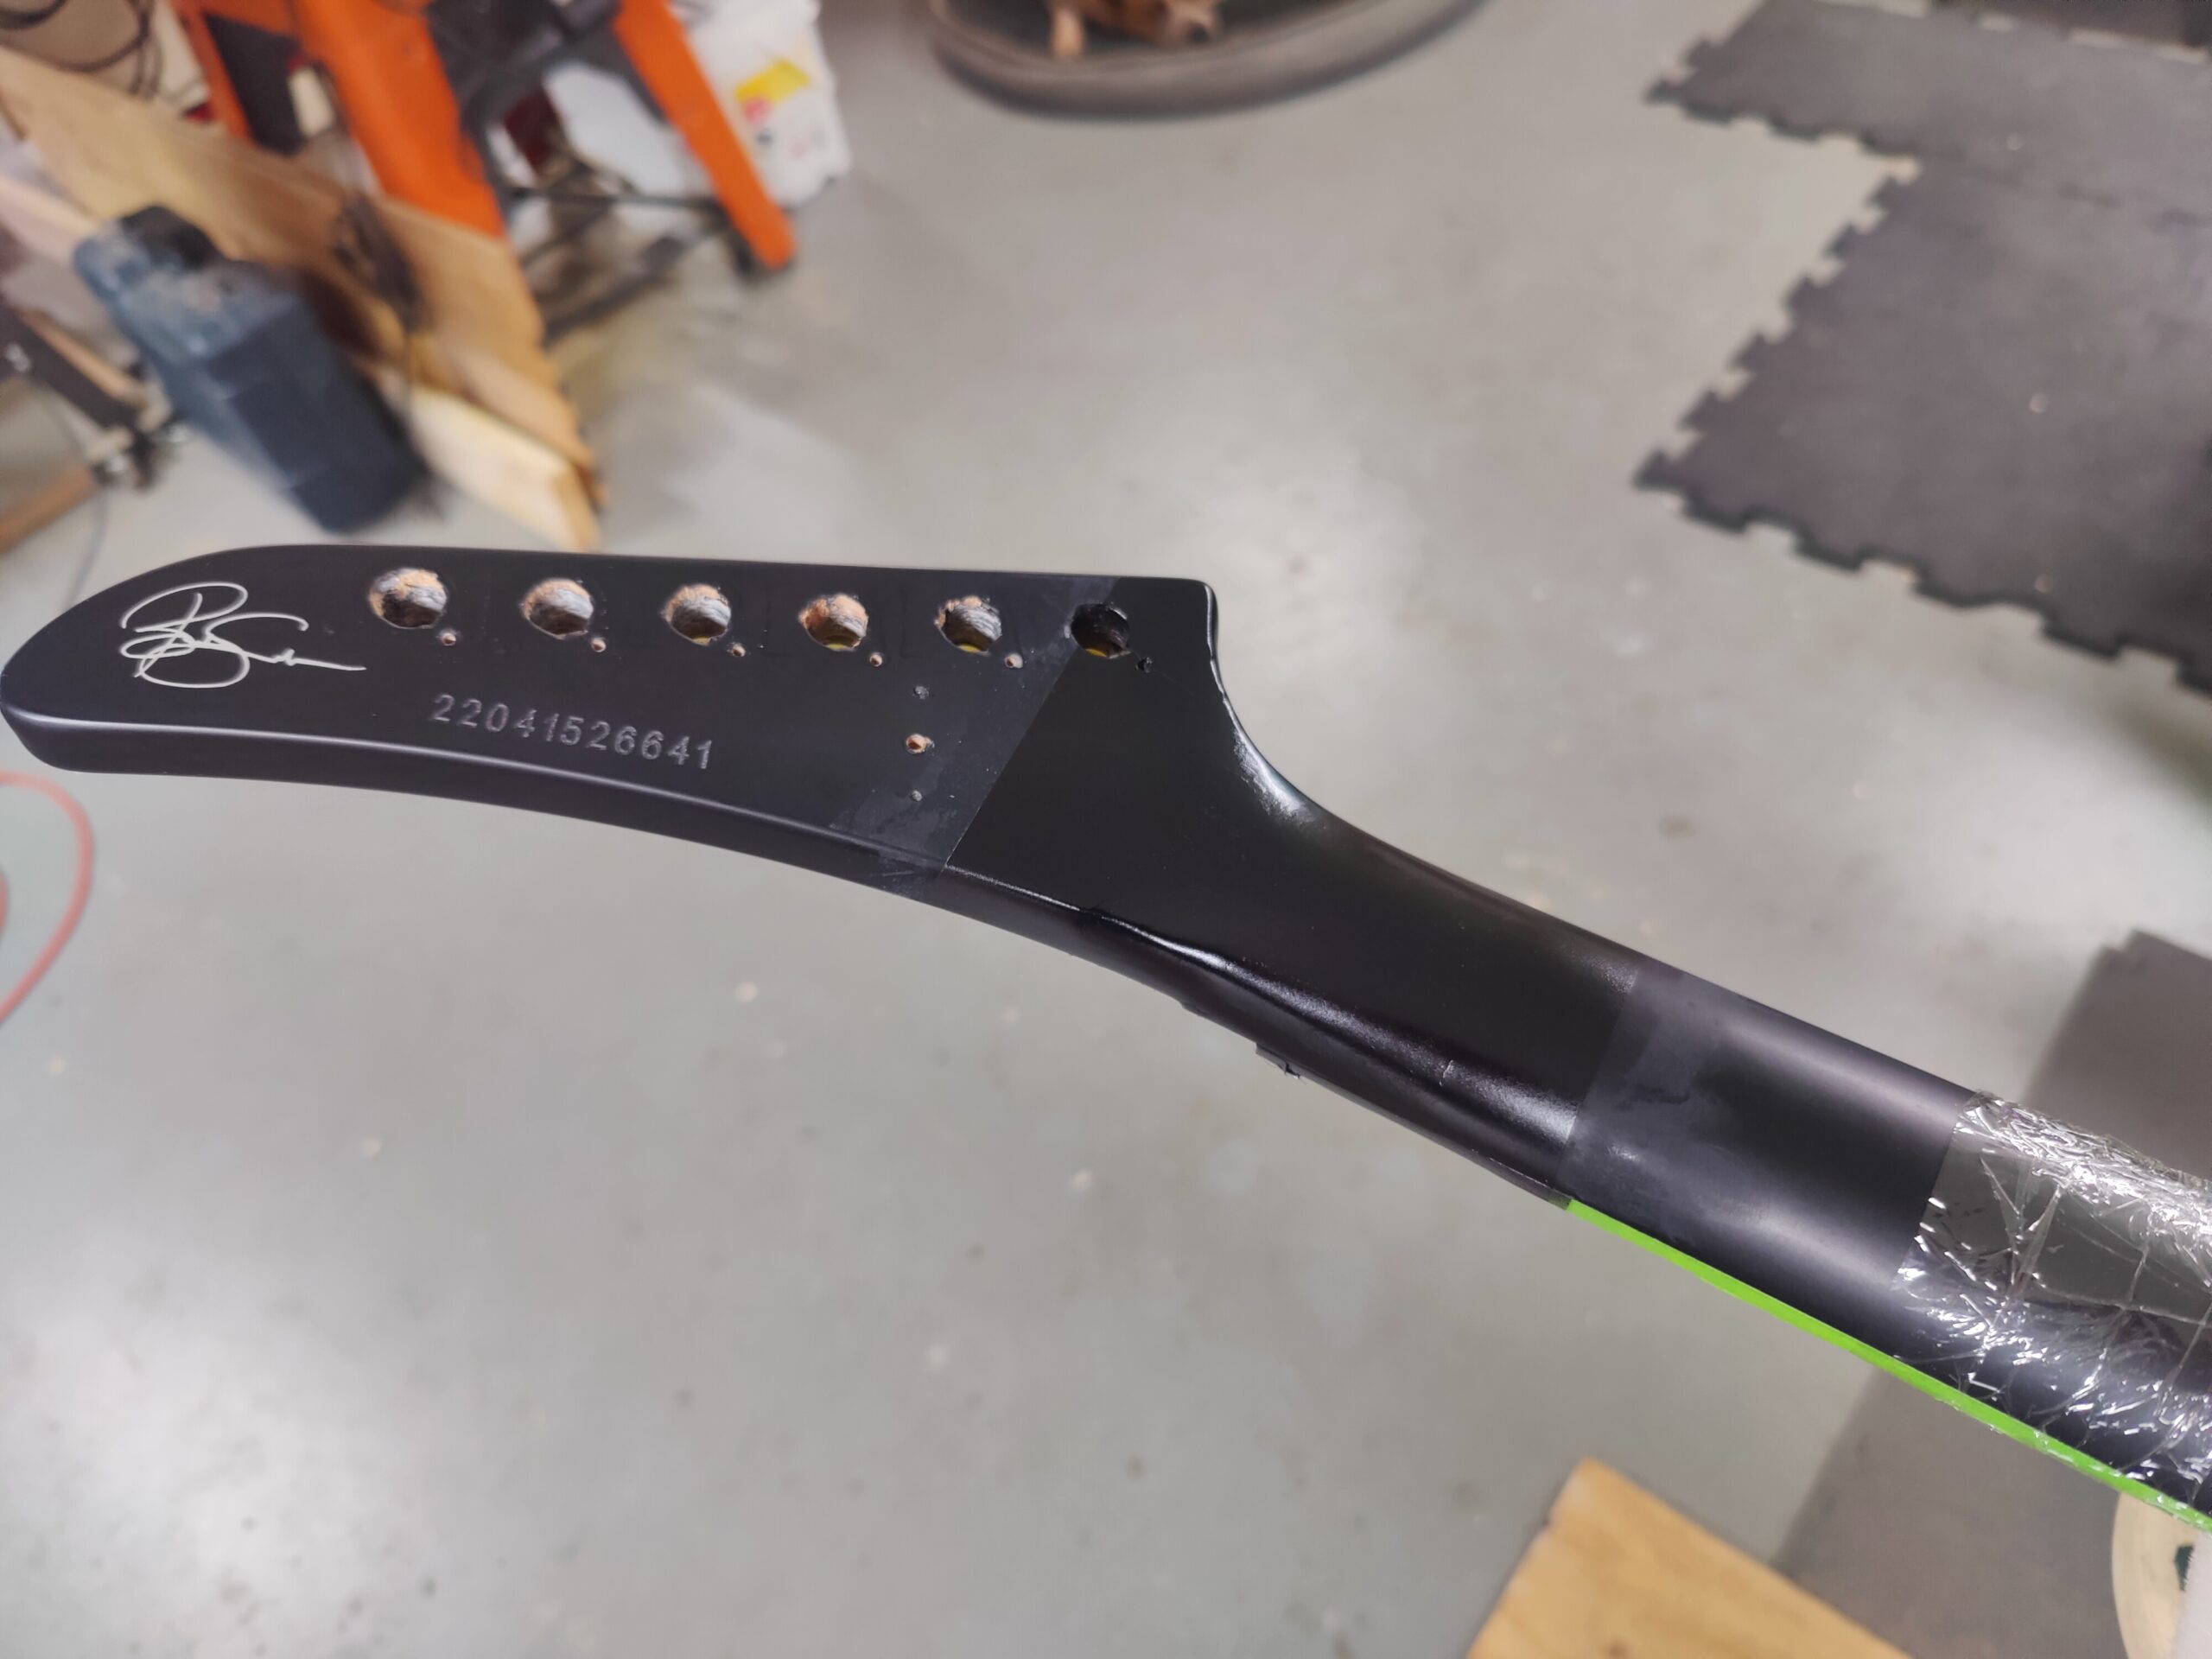
To join the headstock back to the rest of the neck, I glob on gel super glue and use my own two hands as a clamp while it dries. The super glue is merely there to act as a temporarily hold before surgery. There’s about to be a whole lot of routing to happen. I create a minimalist routing template and center it with the break. After routing a rather sizeable channel, I shape a quartersawn maple plug to fit snugly into the joint. I brush on Titebond and wrap the area tightly with surgical tube. How fitting? The process is repeated on the other side of the neck by flipping the routing template over. From there, I use a collection of hand tools to shape the plugs with the neck.
 |
 |
 |
 |
 |
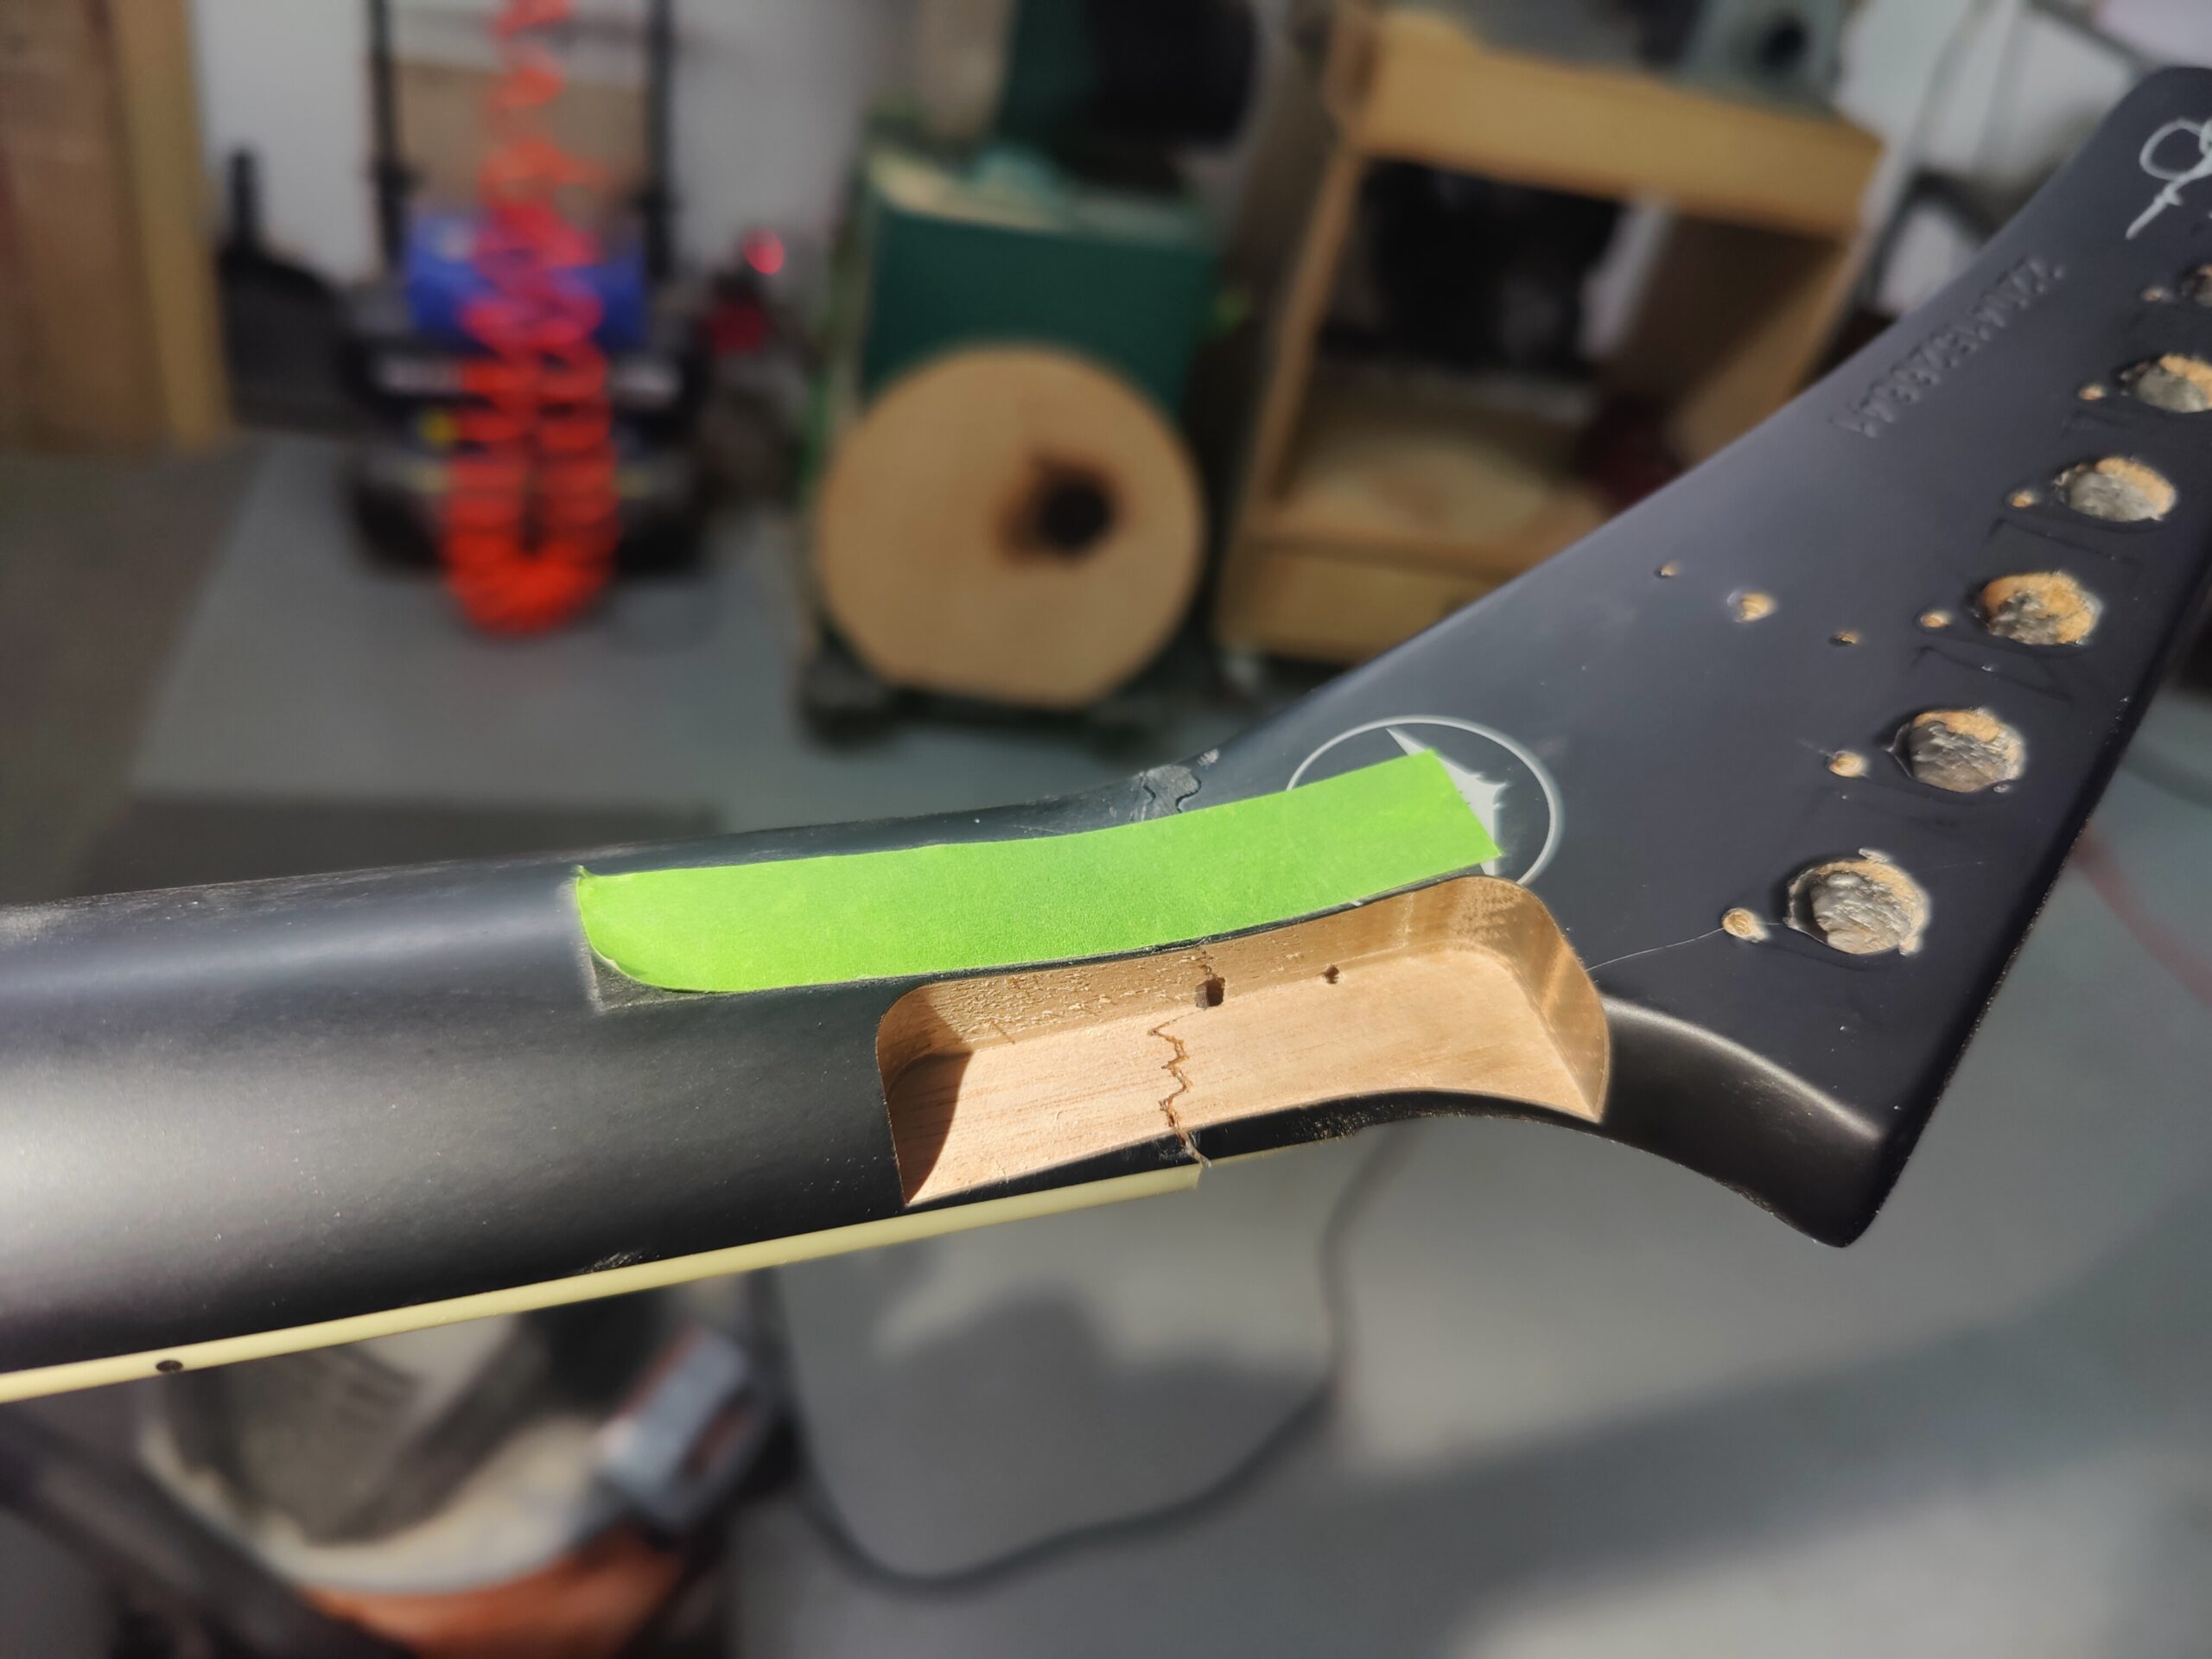
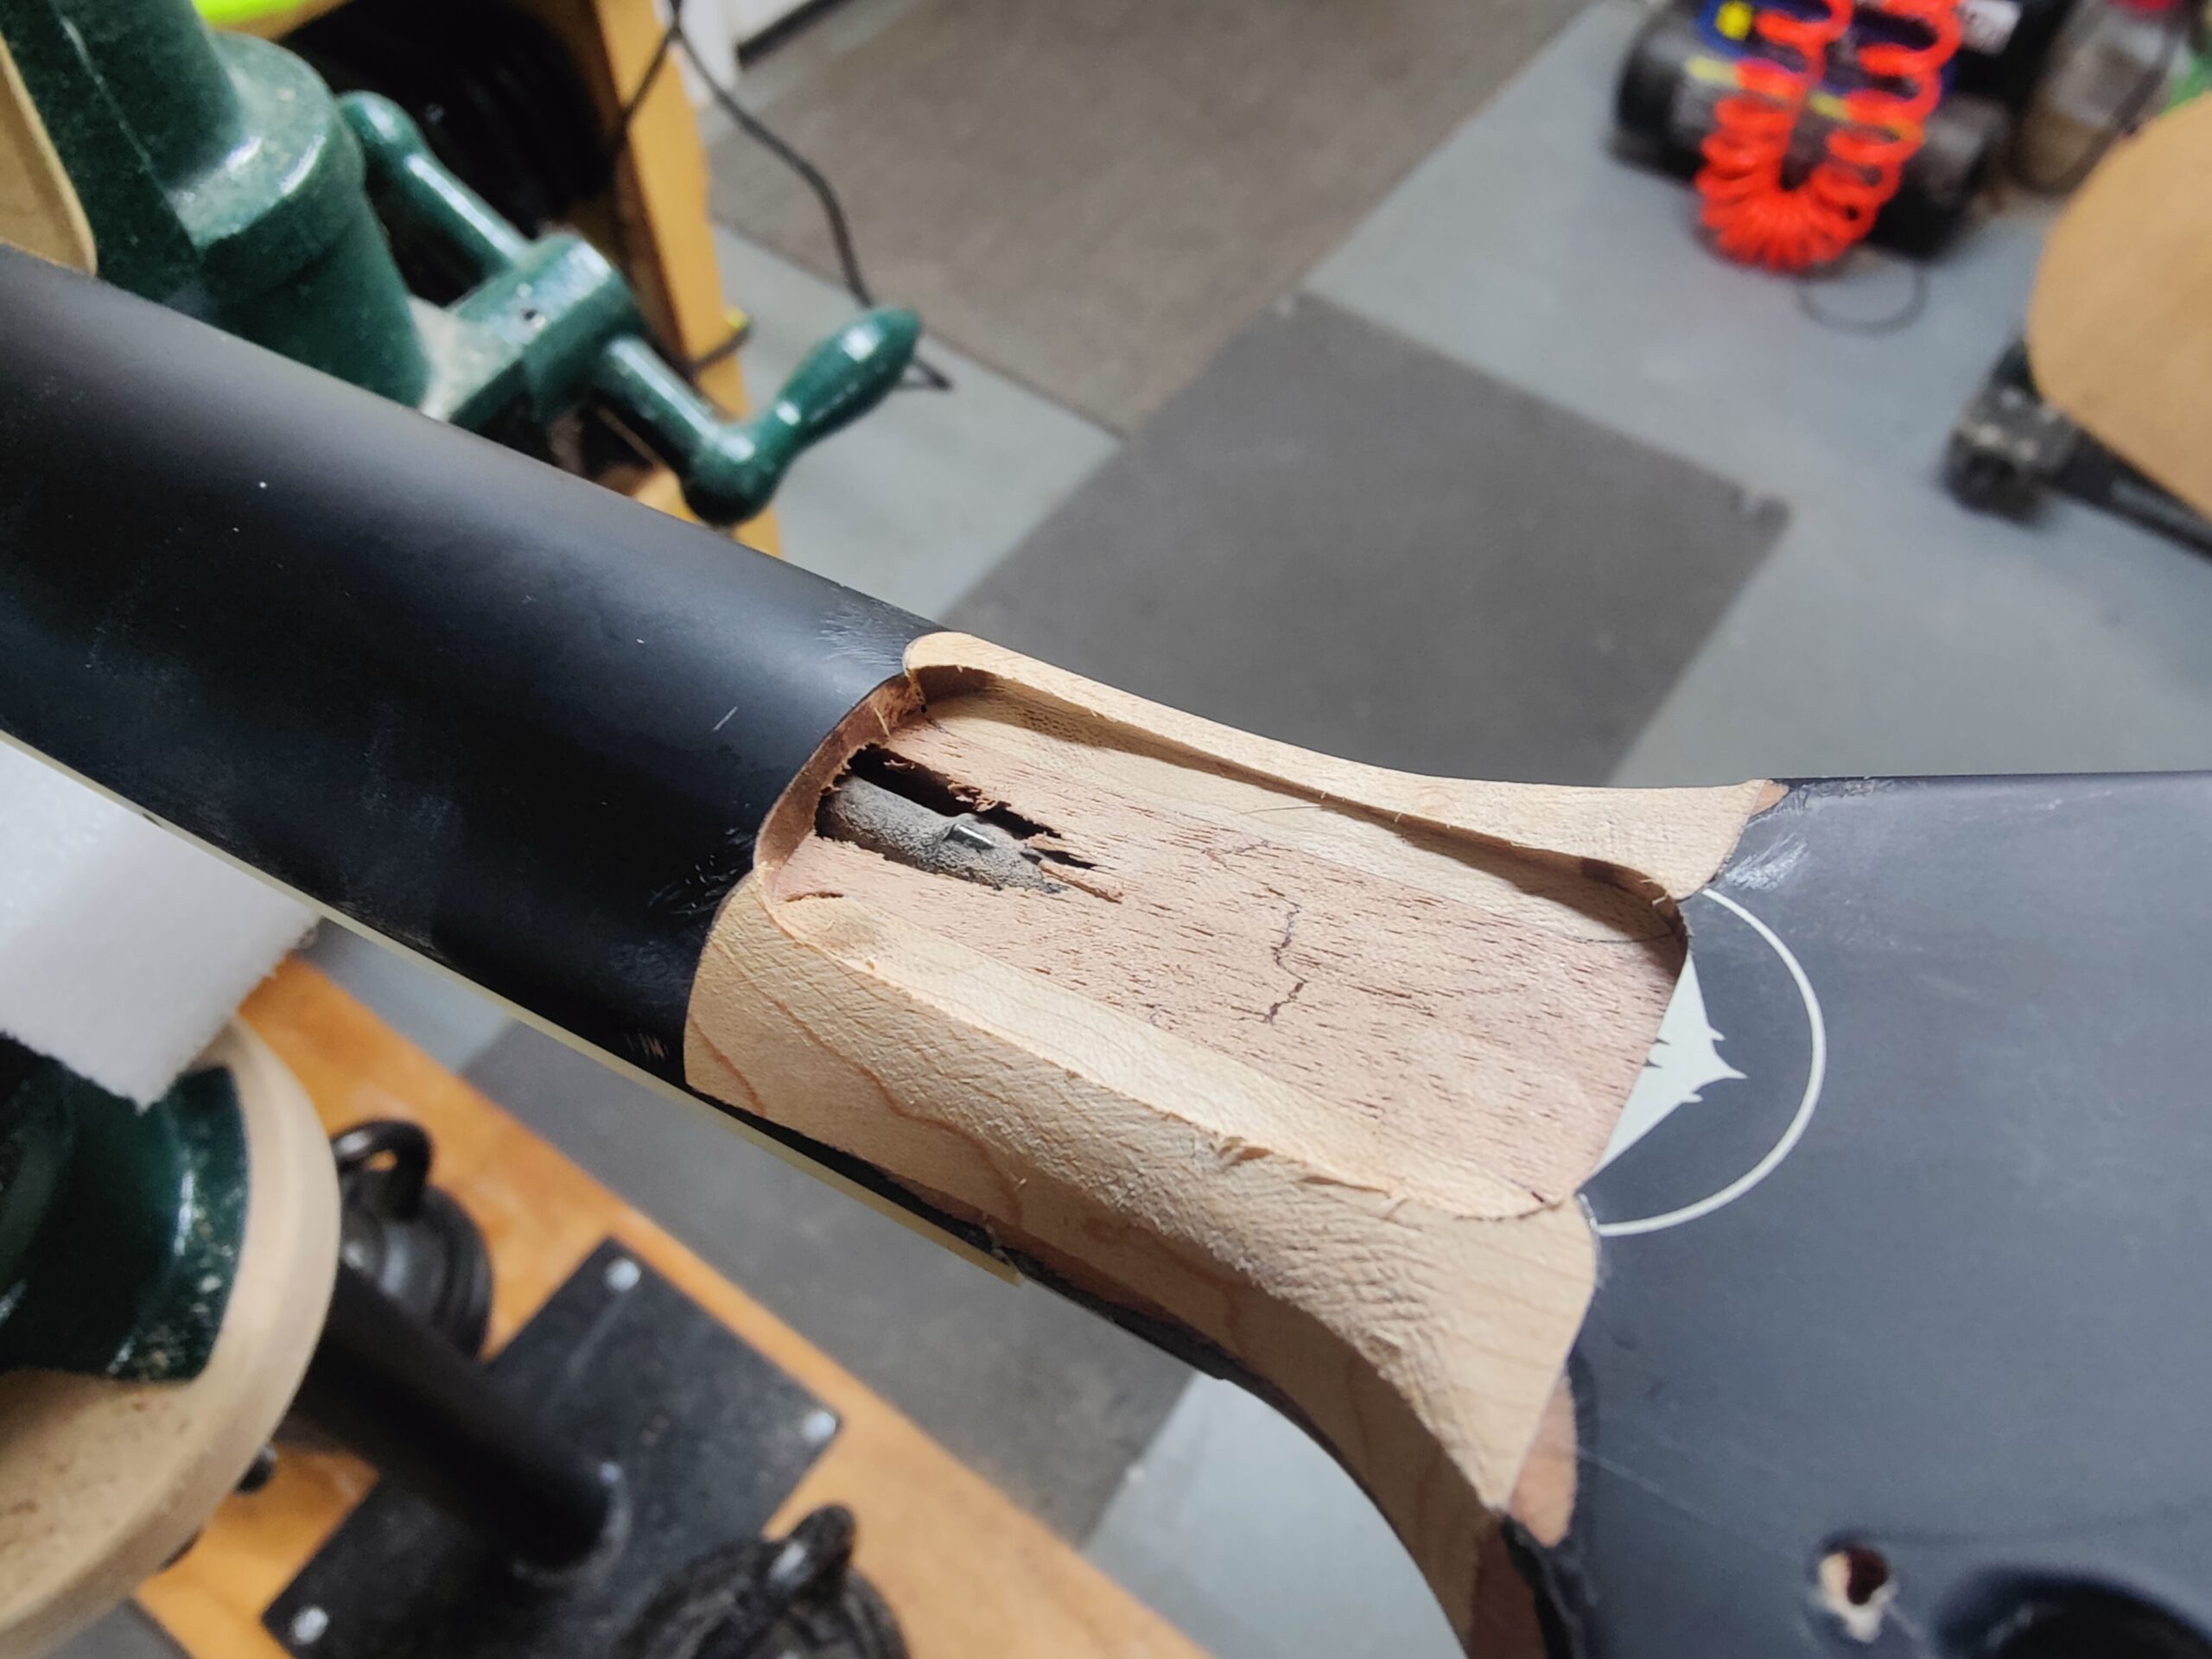
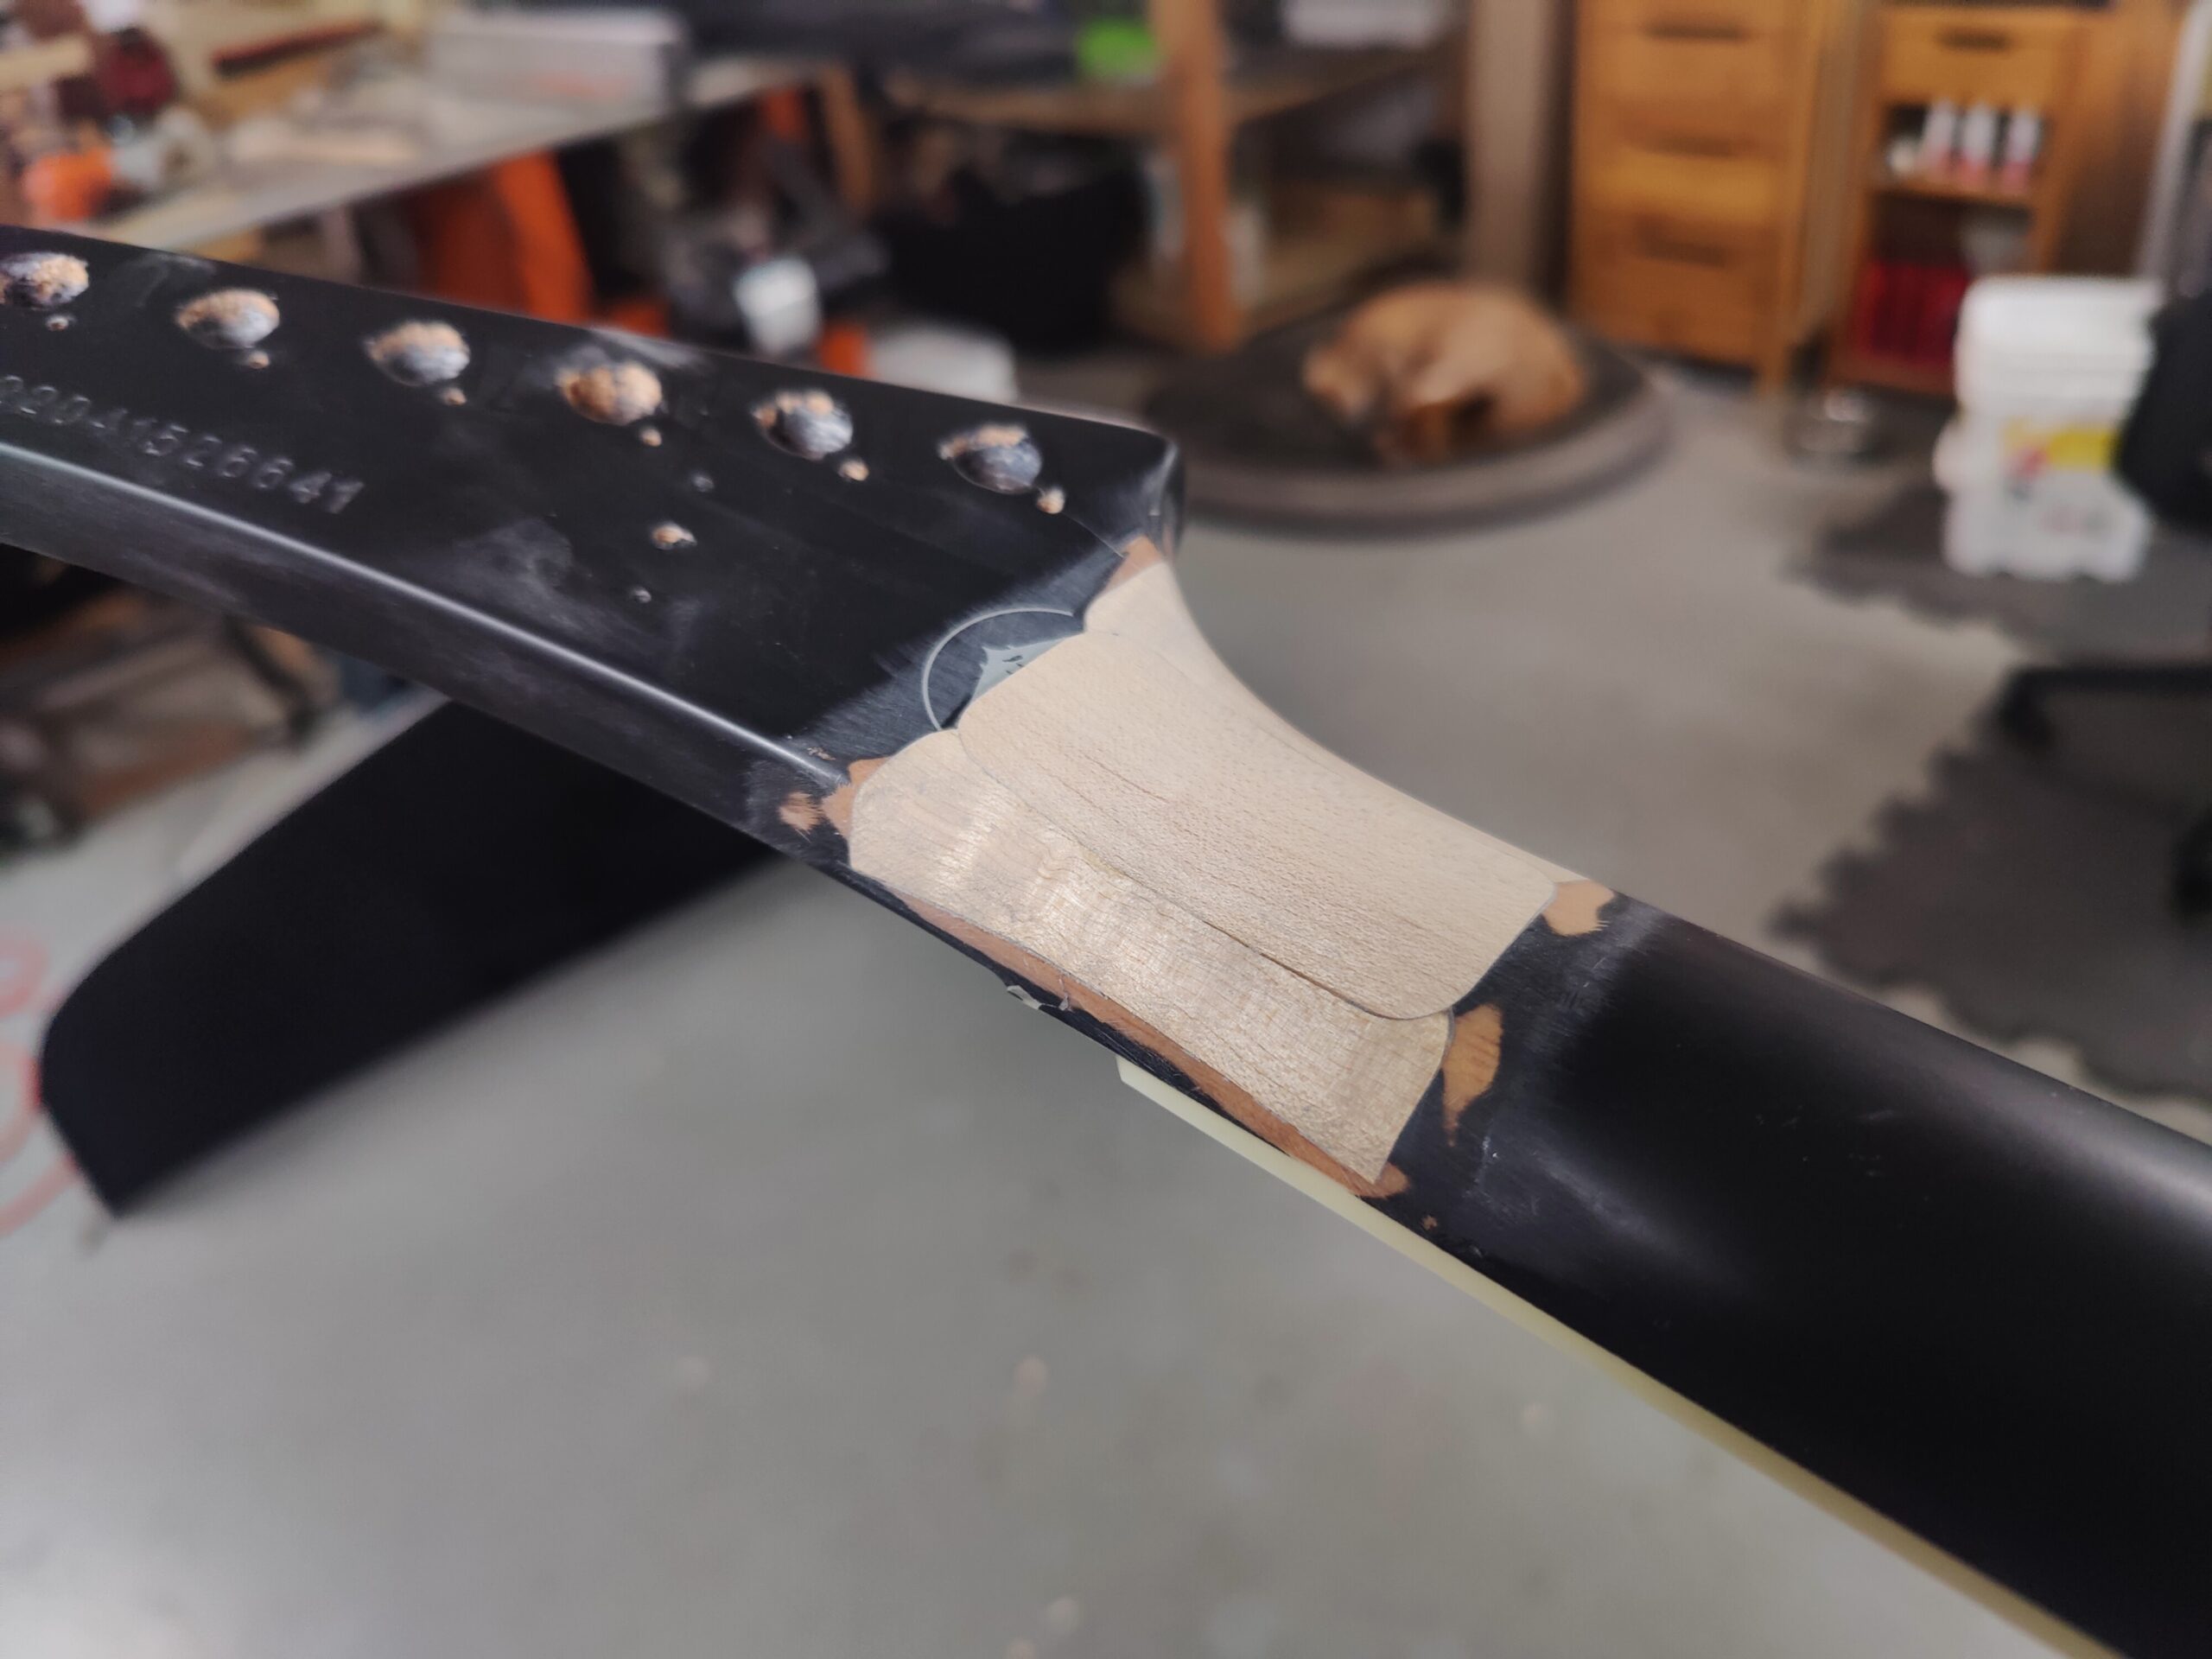
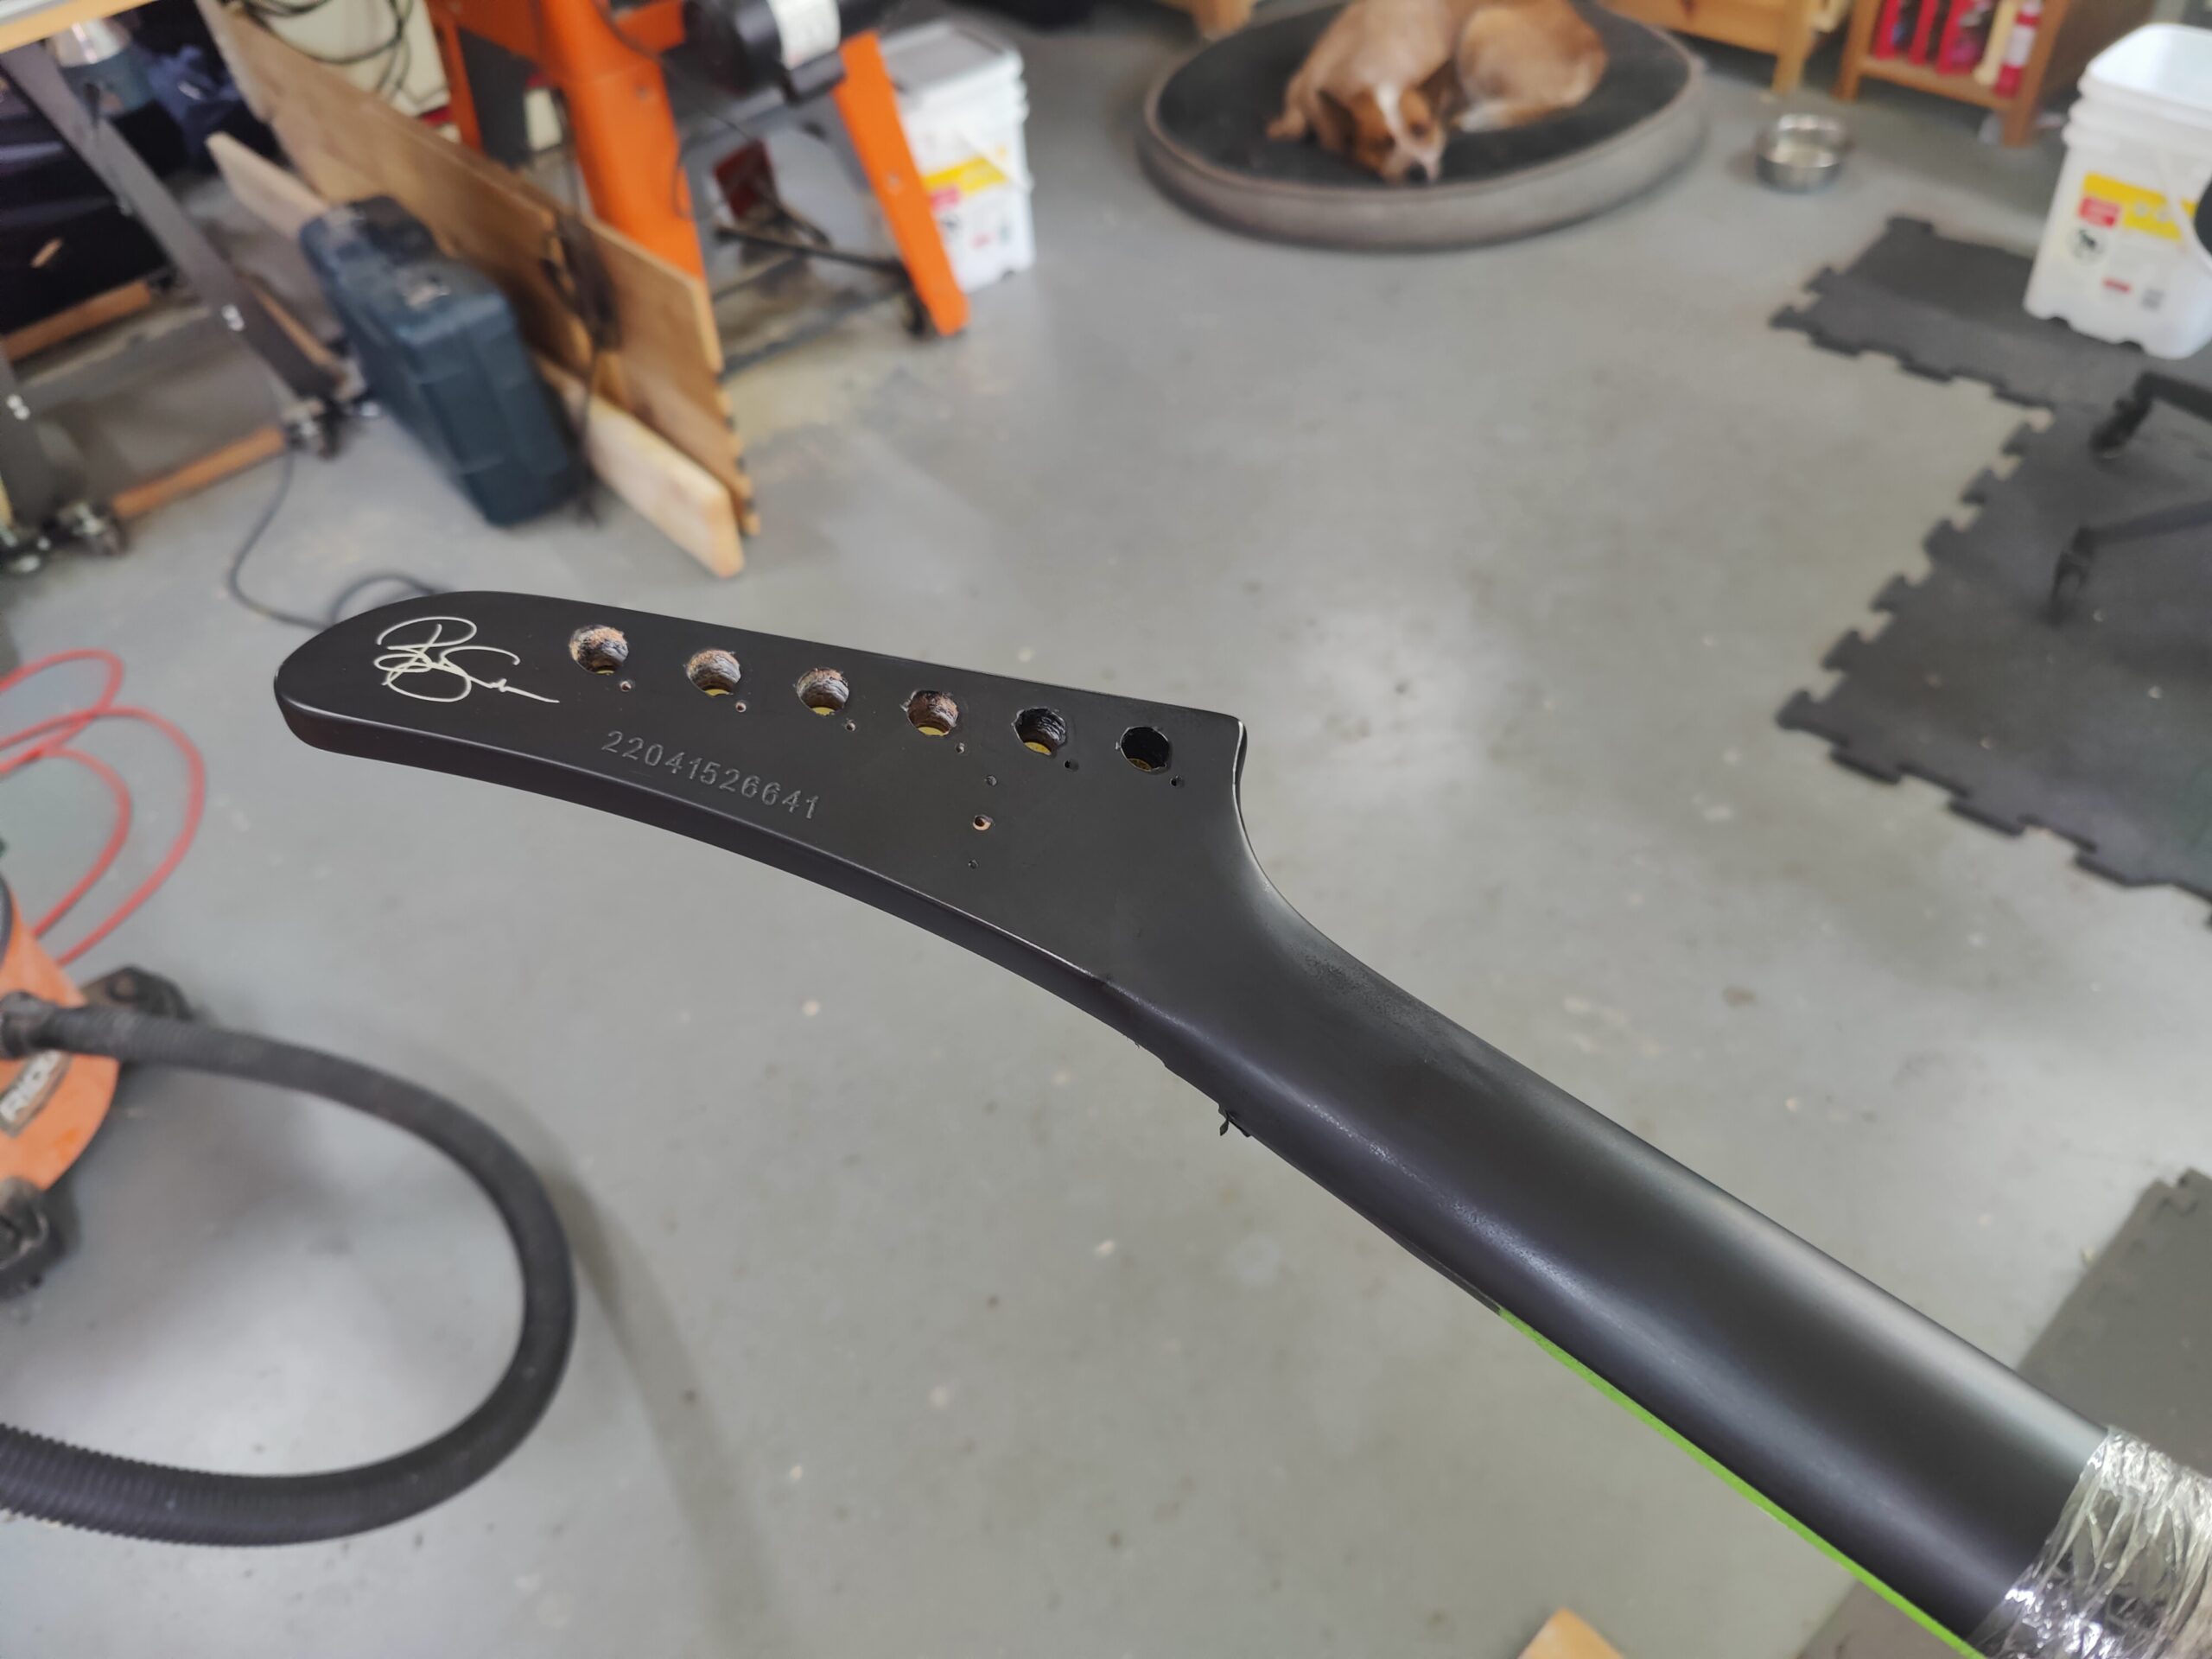
When the contours are complete, I route an additional channel in the middle of the break. In most circumstances, there would be more wood available to create a snug joint all around. This particular neck had very little wood from the truss rod channel to the exterior of the neck (no wonder it broke like this). As pictured, I nearly routed into the truss rod itself when removing material from this area. Thankfully, I take small passes and it remained in tact. Once again, I shape and glue a quartersawn maple plug and carve it to blend in with the rest of the neck.
 |
 |
 |
 |
 |
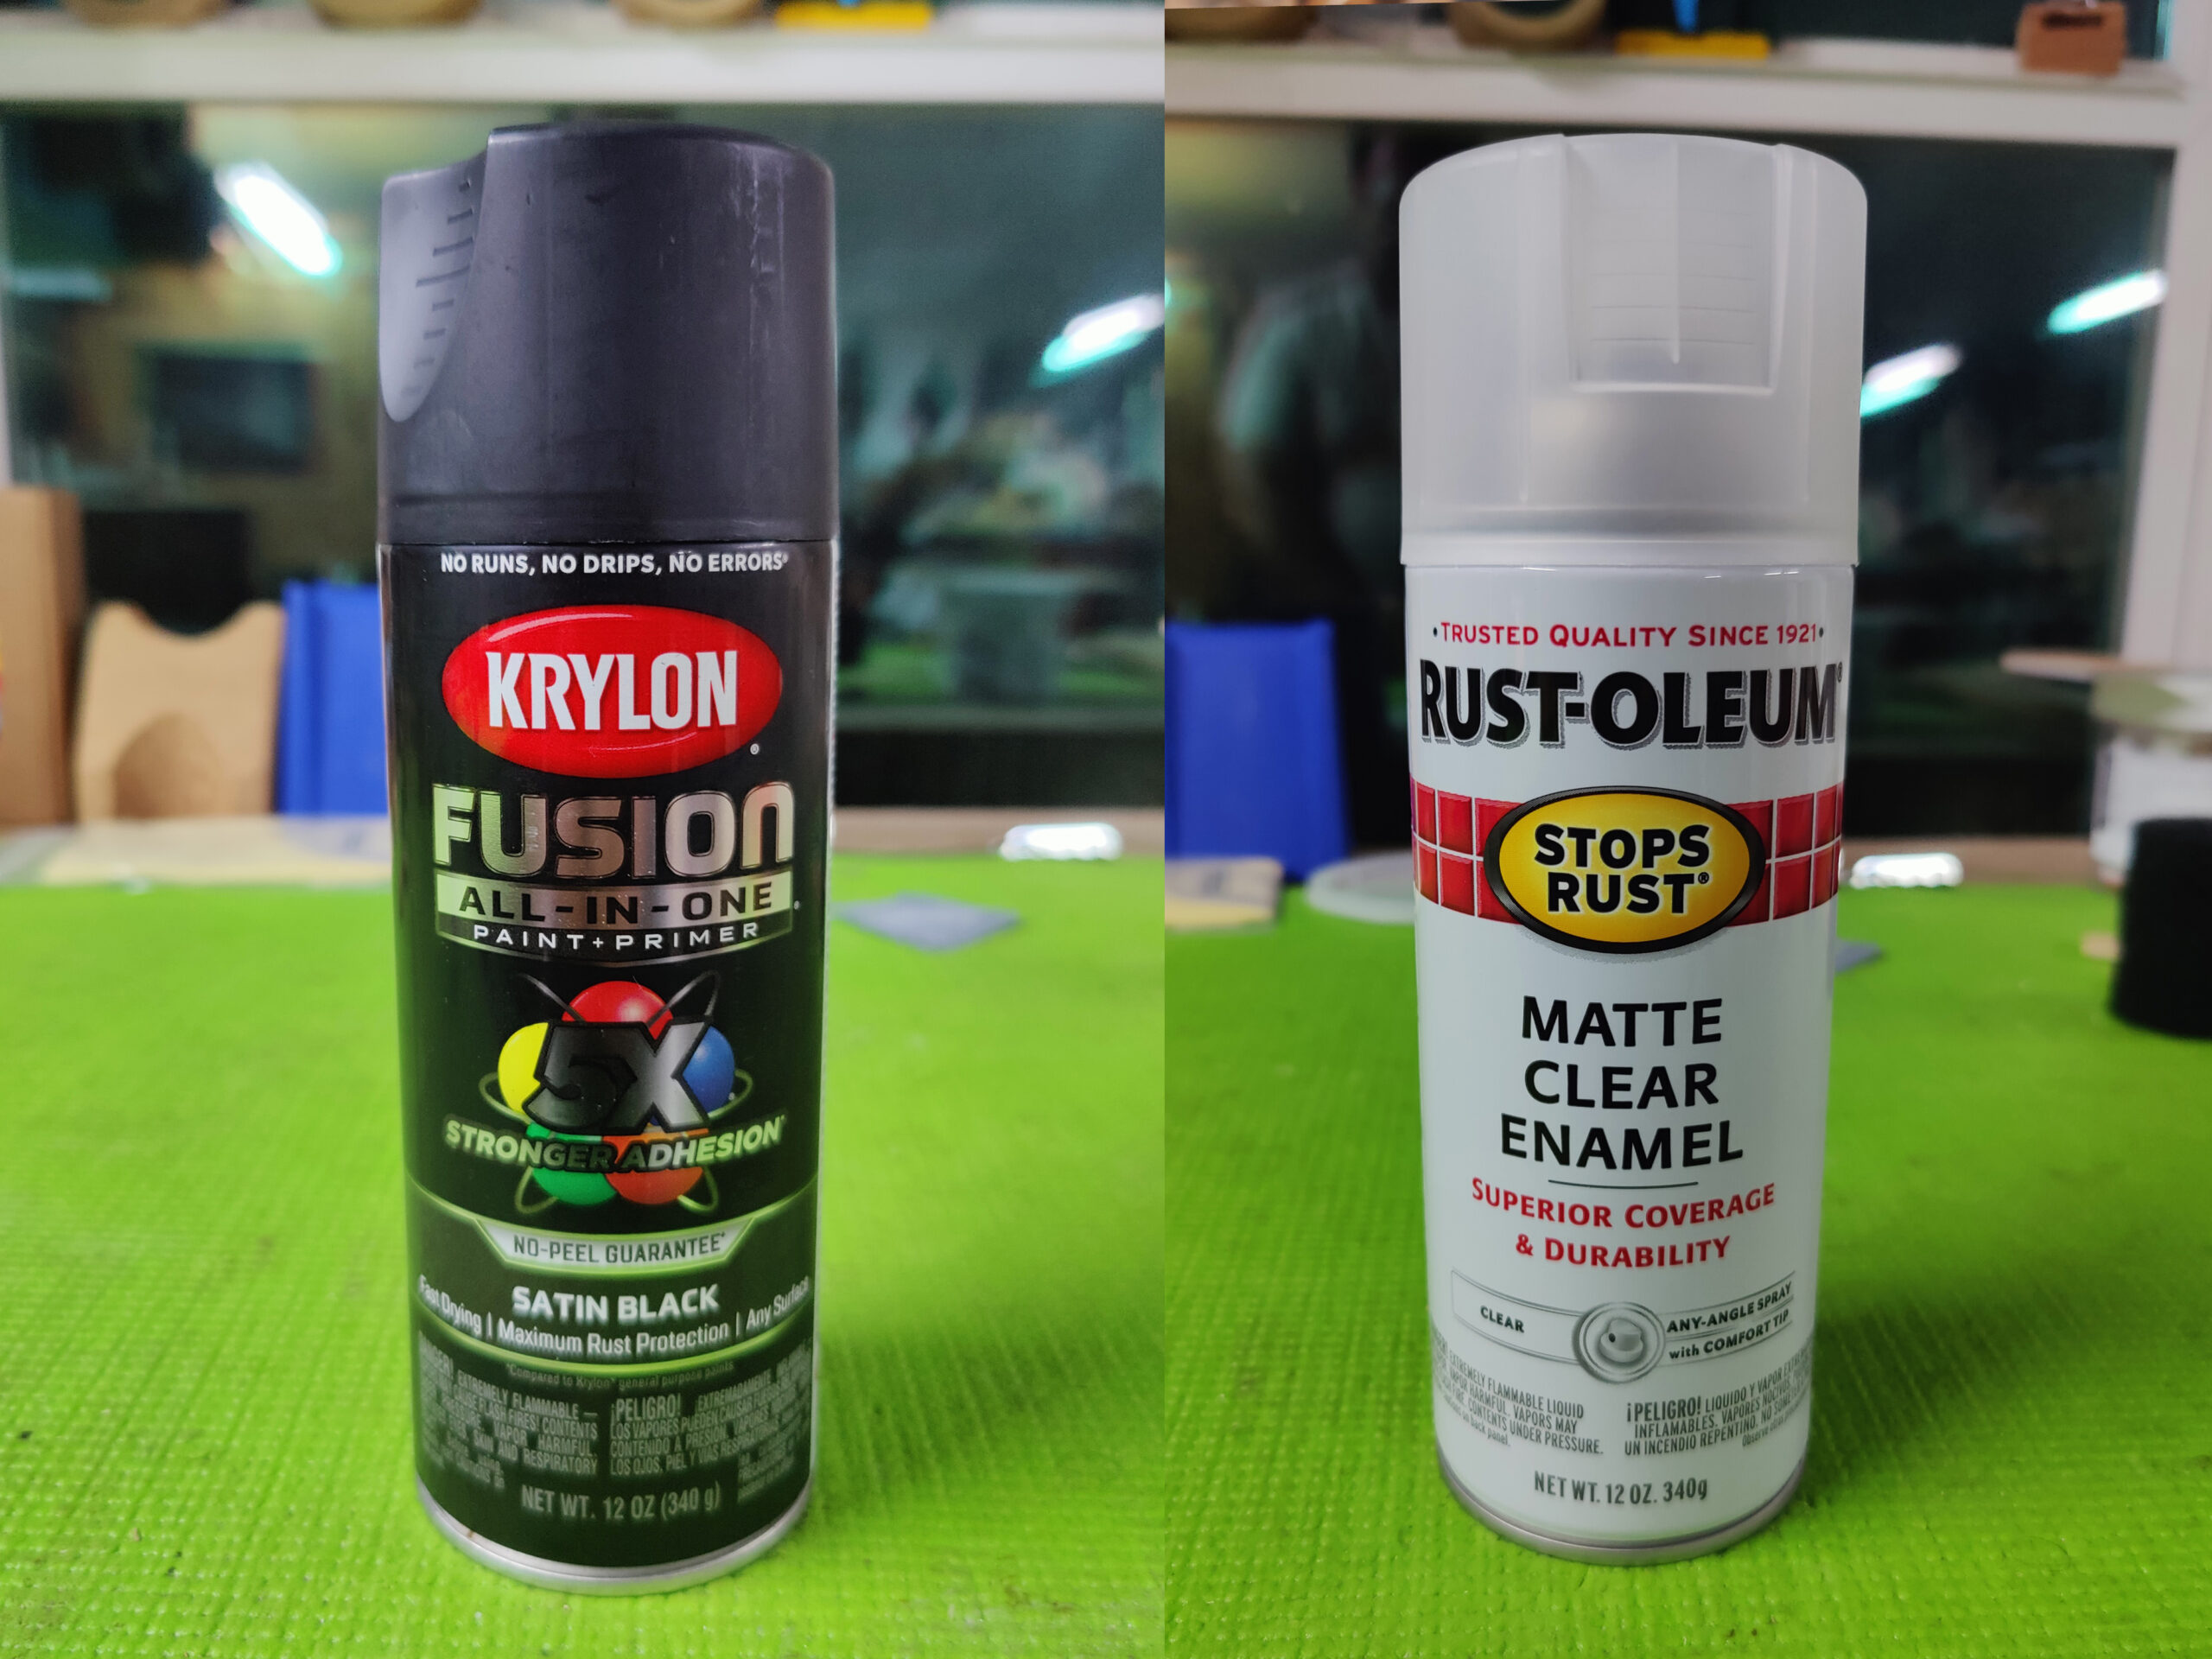
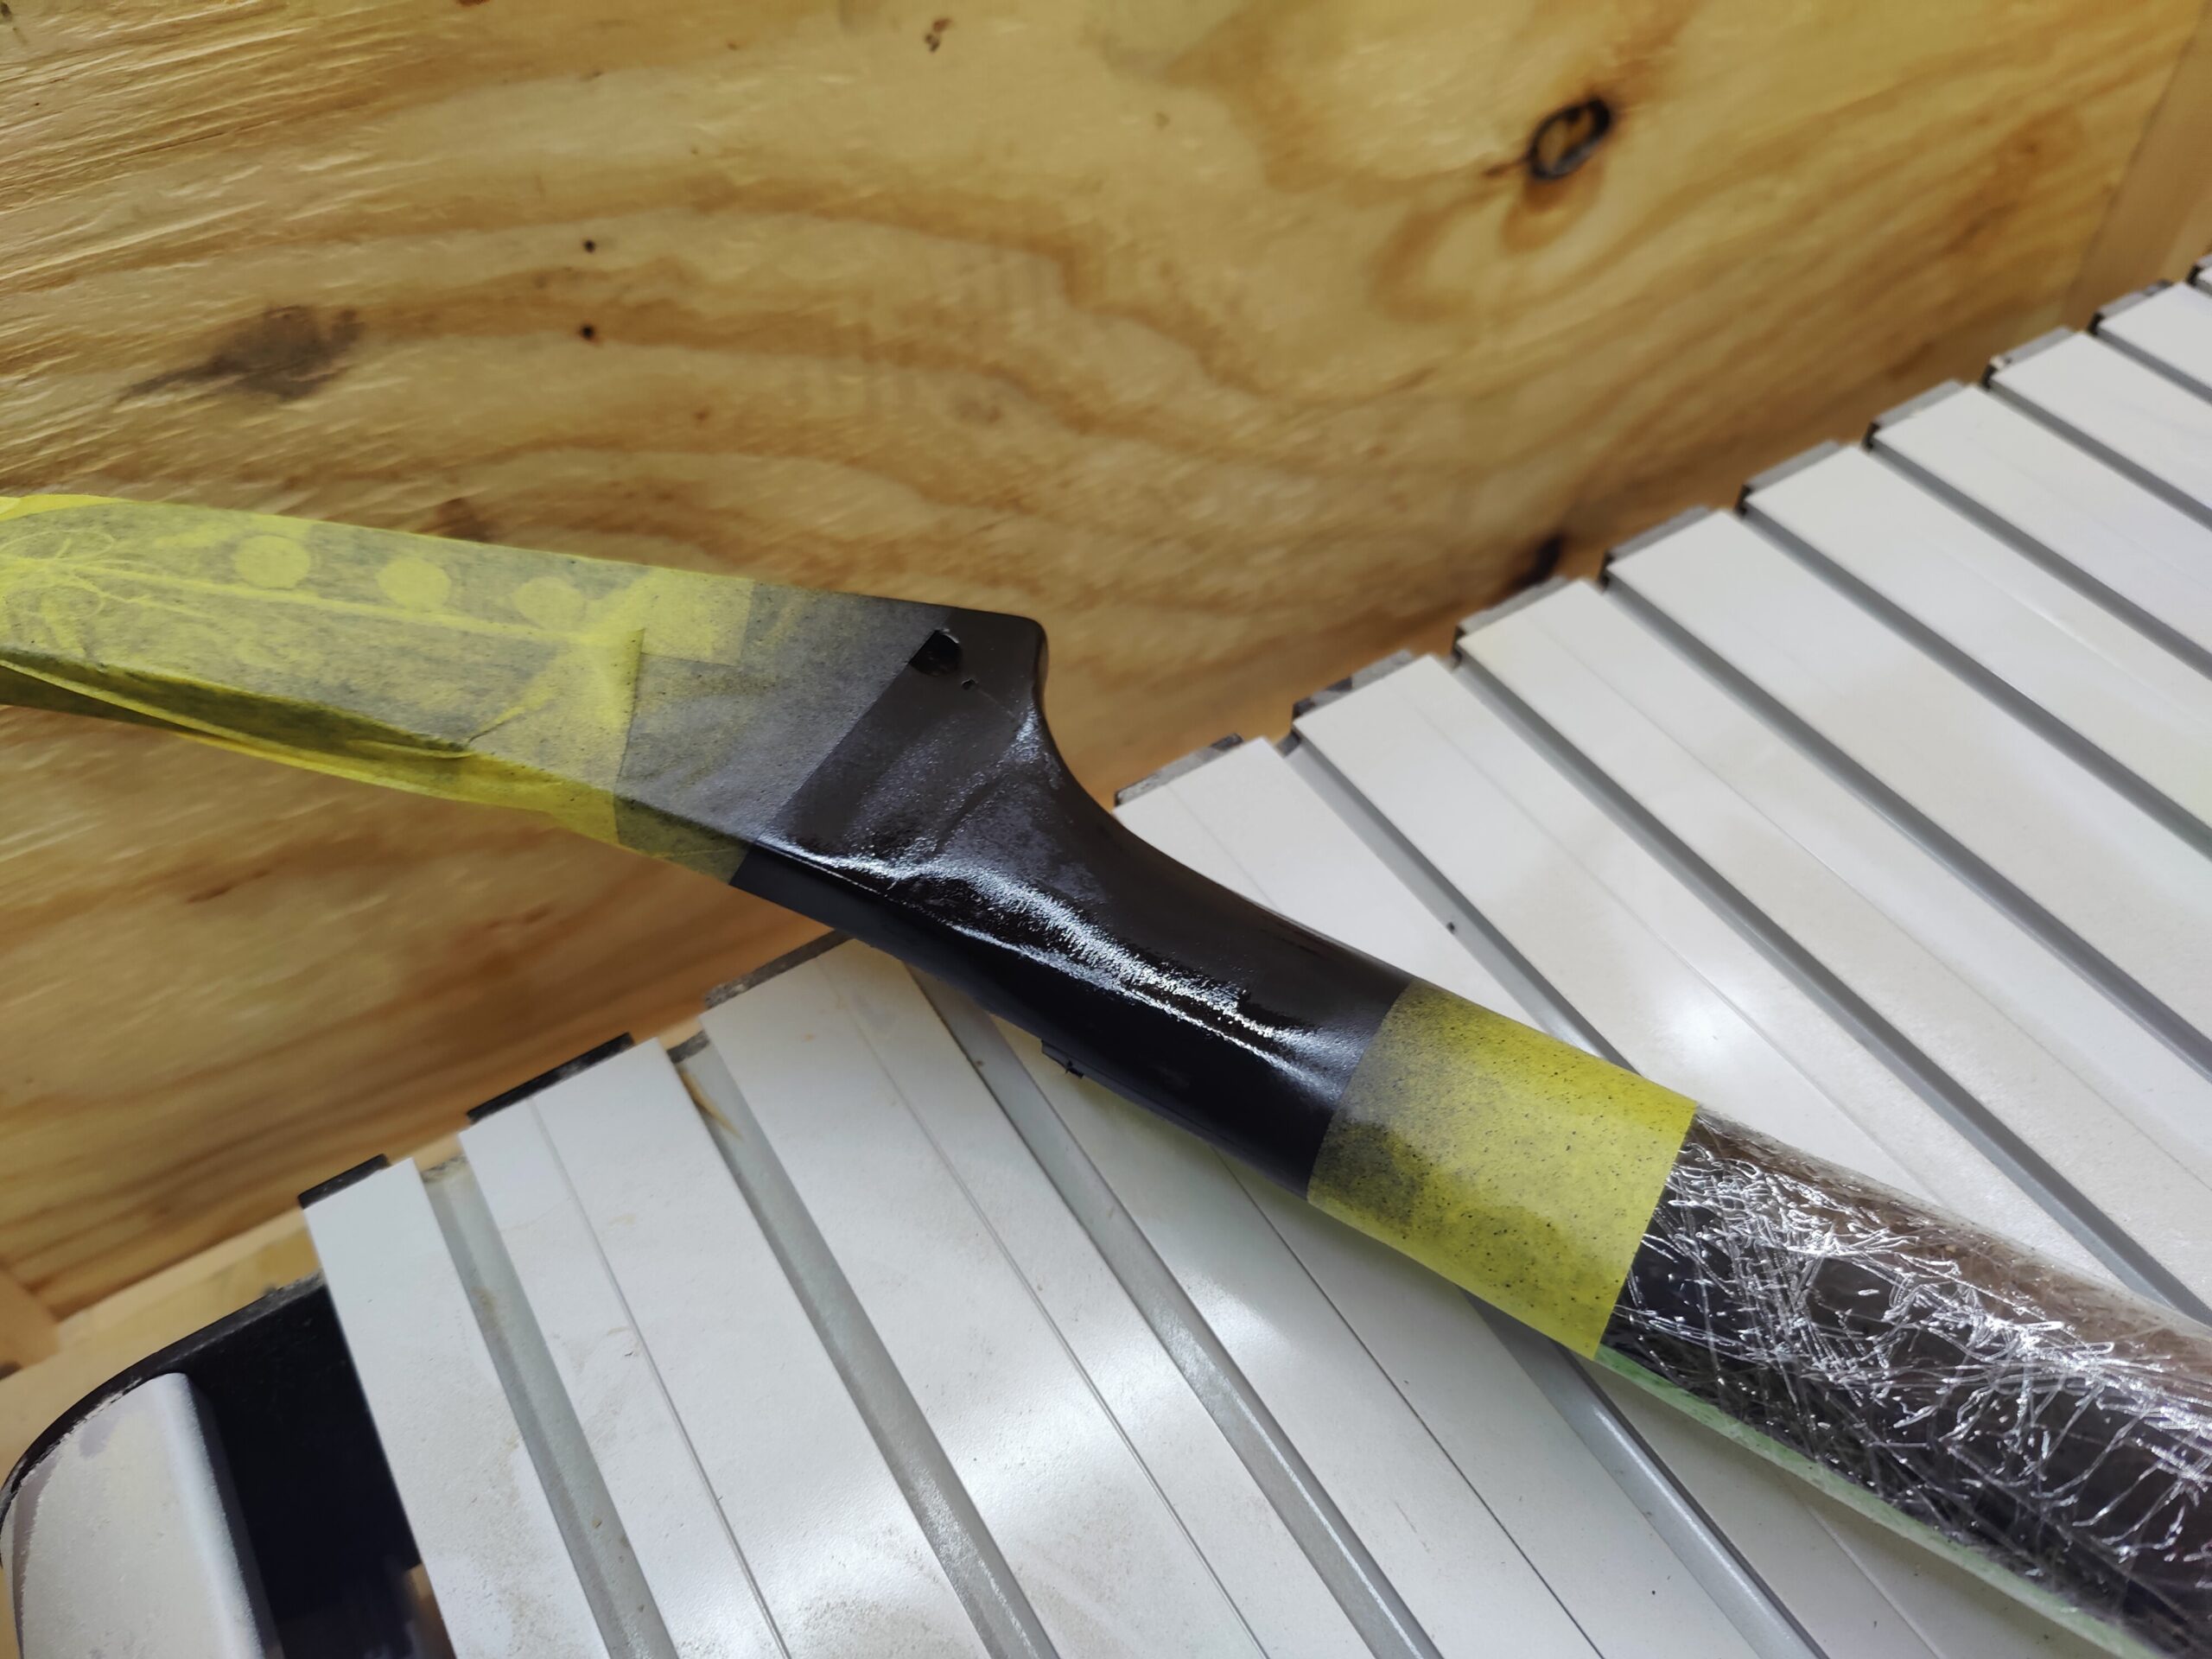
The finish on the body and front headstock of the guitar were gloss polyurethane, the back of the neck was matte poly. I couldn’t seem to find the right sheen from my usual luthier paint suppliers but was in luck at my local hardware store. Krylon to the rescue!
 |
 |
 |
 |
 |
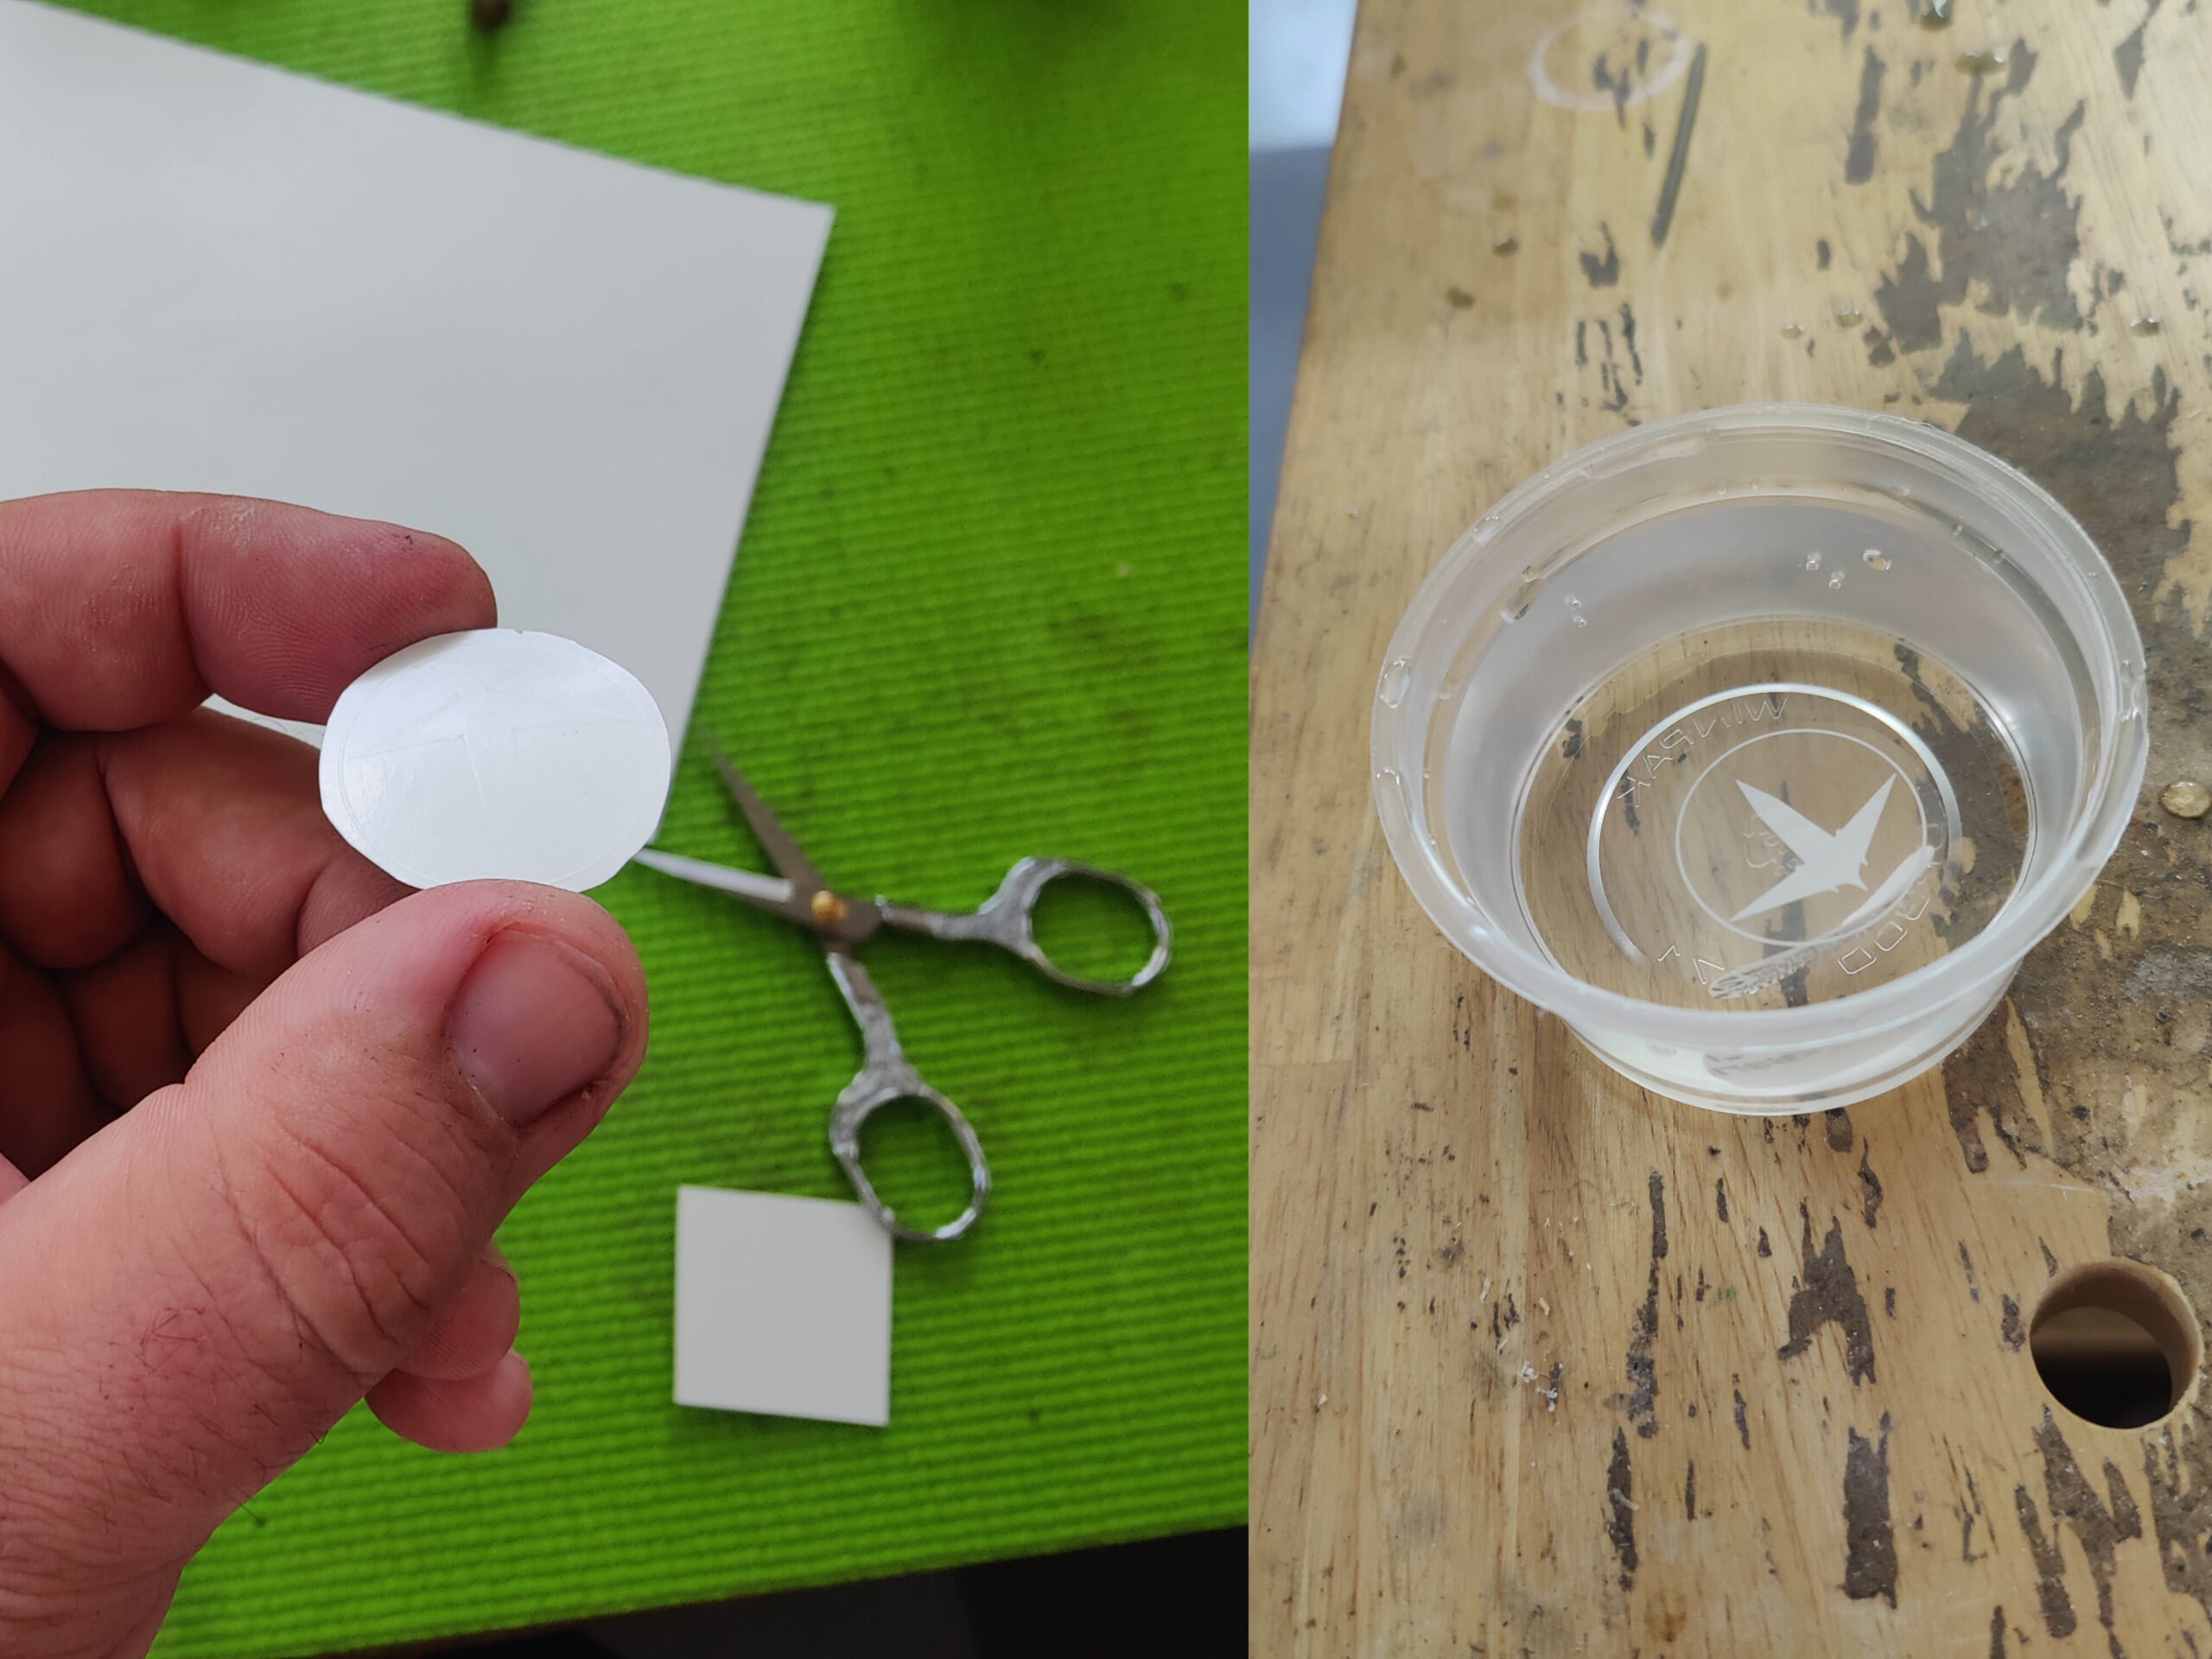
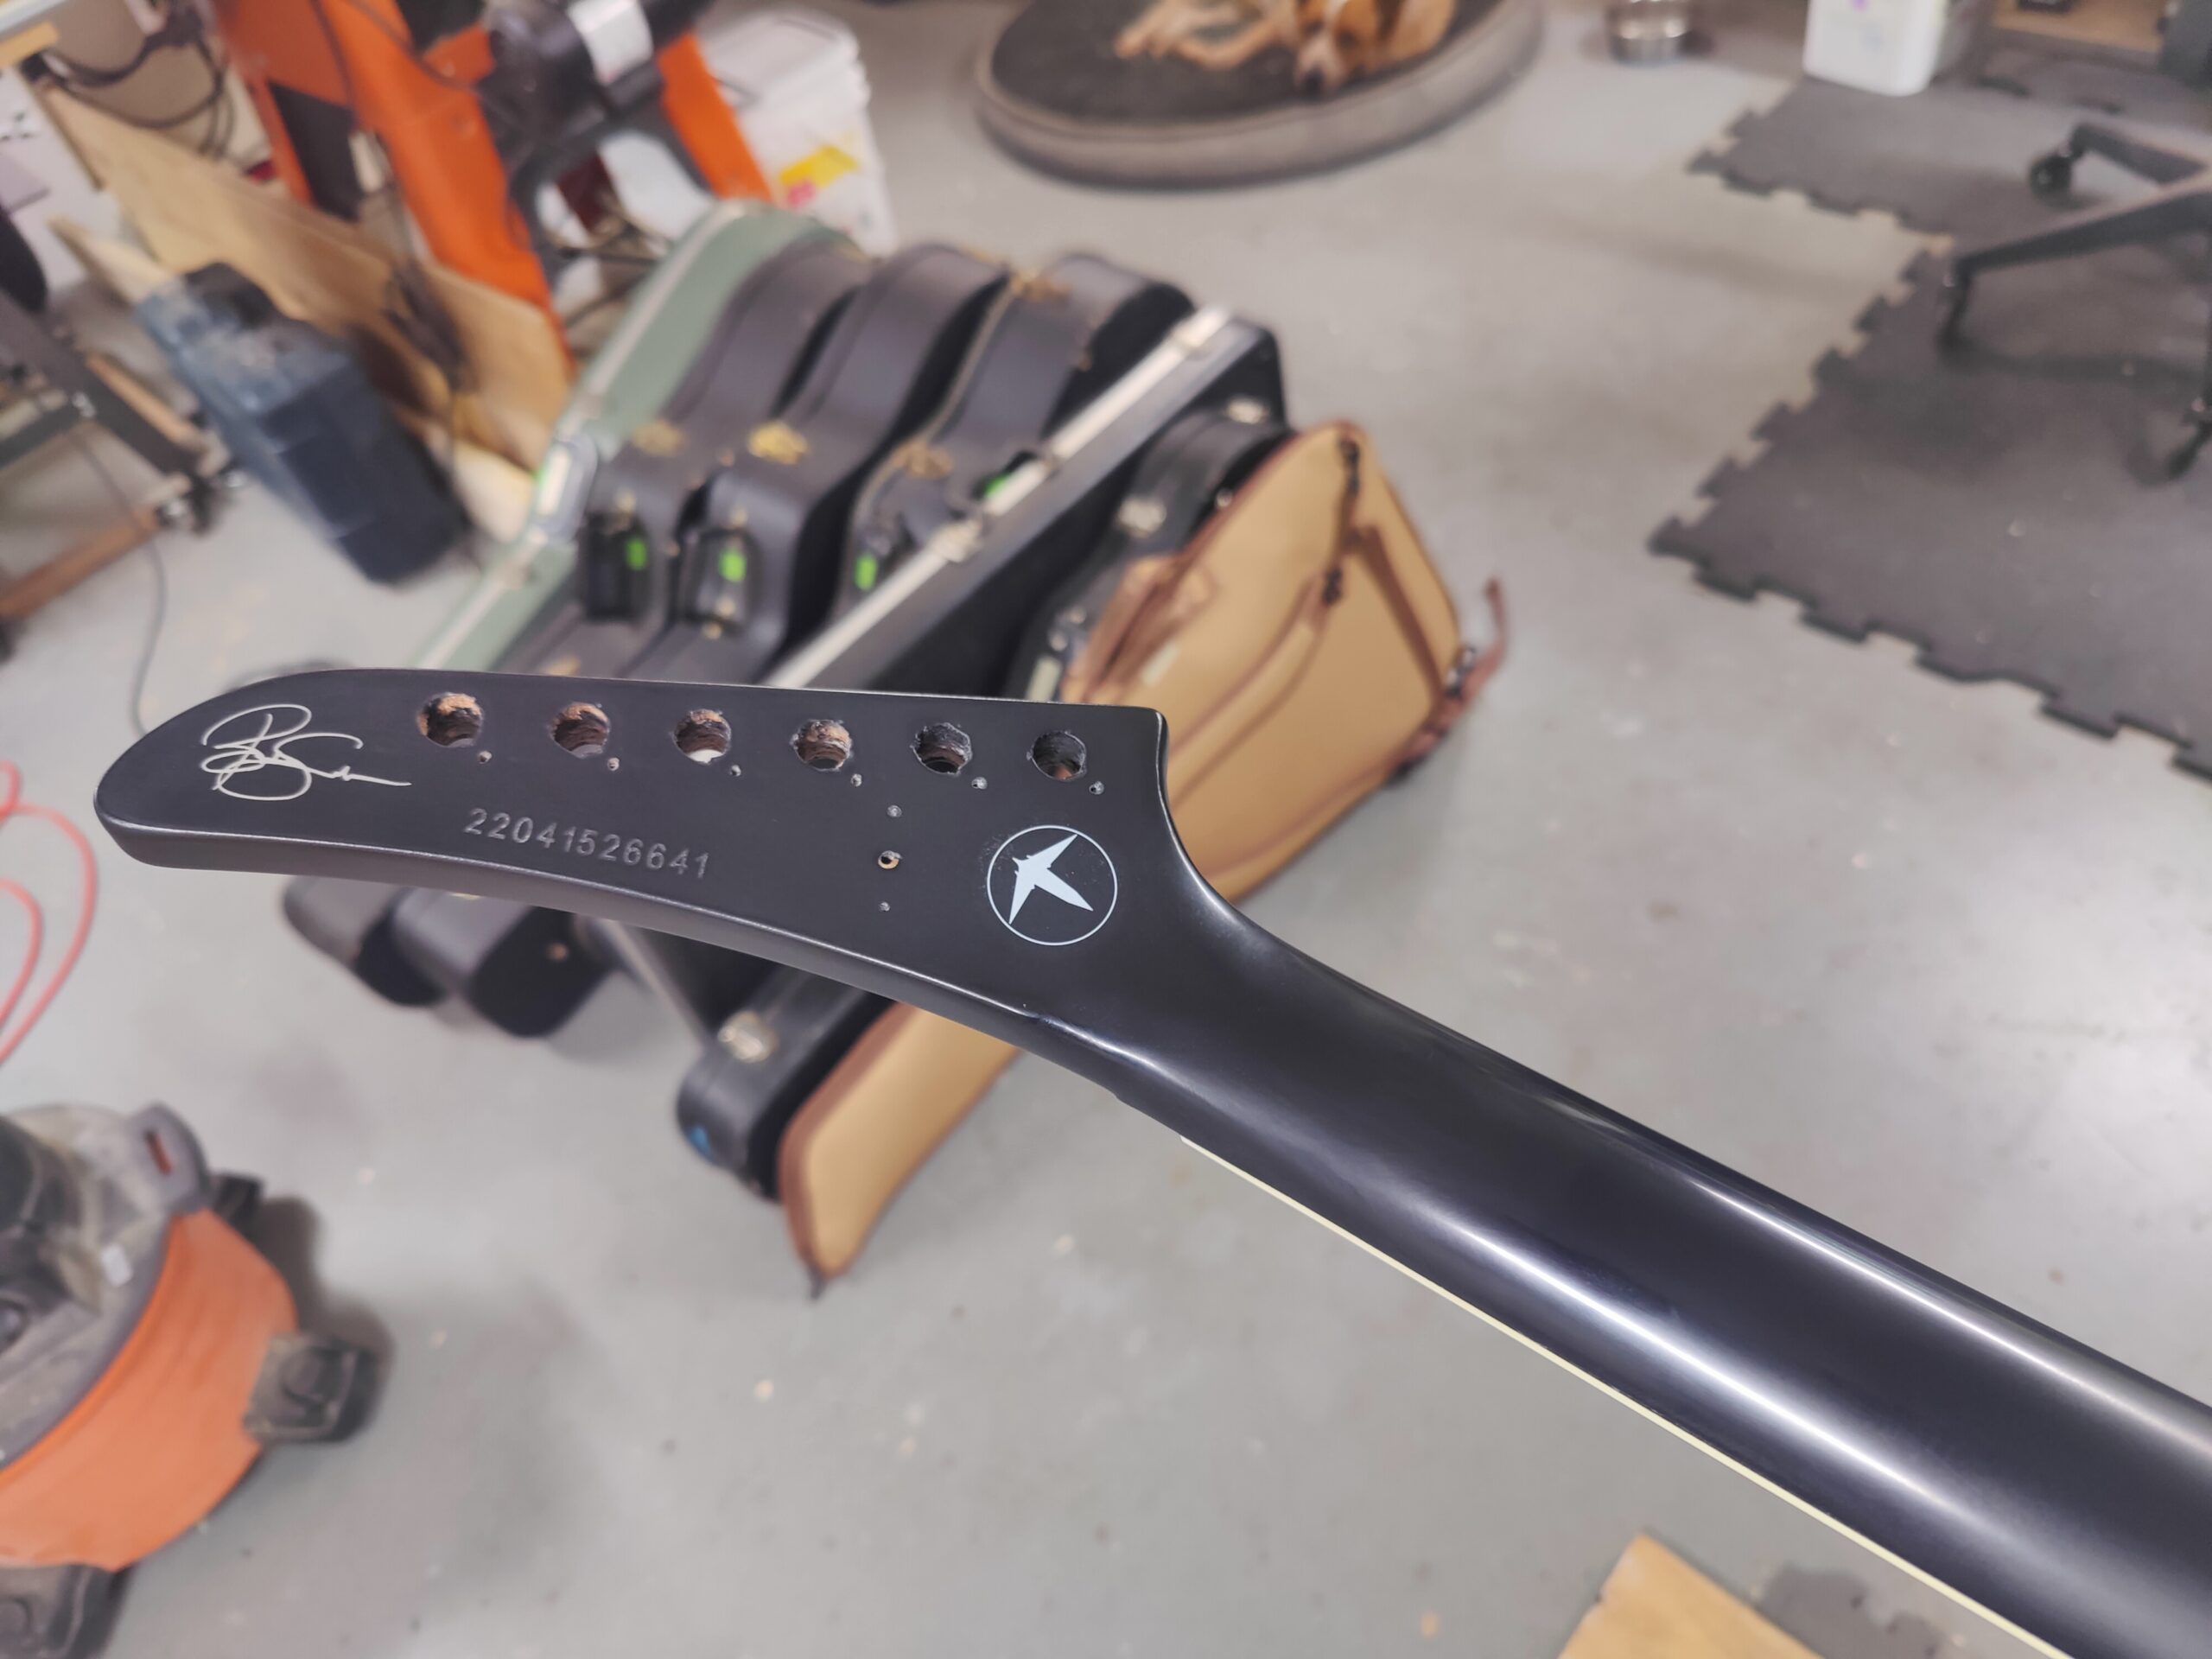
After some build coats, the finish was level sanded and ready for the cherry on top to this repair. When routing, the “Icarus” medallion decal was necessarily lost. While there are some common decals available for purchase, I knew I was on my own to create this. I scoured the internet trying to find anything I could use to create this graphic. I ended up finding the cover image from a FBook page for Brendon Small’s side project, “Galaktikon” and traced the graphic in Illustrator. I then picked up a waterslide decal sheet and sent both off to a print shop capable of transferring white onto the print stock. After receiving it, I cut around the decal and place it in warm water to separate the backing. Once the decal was applied and residual water had dried, a dozen clear coats were sprayed to seal it in and the repair was complete. The end.
 |
 |
 |
 |
 |
 |