Bass Build. Alembic style design, Nordstrand Big Splits Pickups, ACG EQ-02 Preamp, ETS Bridge
South Austin Guitar Repair
I haven’t built anything from near scratch in a long time. At least 4 years? I’ve missed it. It’s one of the things I’m able to do that defines me. Granted, when I was last building things, I was still at Chico state and had more free time on my hands. But nonetheless, this project turned out to be my best work to date in creativity, style, aesthetic and patience. I’ve already gigged with it a few times, and yes, it sounds and plays every bit as good as it looks.
 |
 |
 |
 |
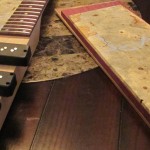 |
I’ve always had a love for Alembic basses. Who doesn’t? They pioneered the artistry in boutique instruments. But who has $5,000 lying around that would best be put into purchasing an instrument? I think I’d rather pay off my car loan before I can justify something like that. So begins my journey to create my next instrument.
 |
 |
 |
 |
 |
I never build the same thing twice and am always trying different things. However, I do stick with what I like when I find it. I’ve built 2 basses using the Carvin neck-through blanks. They’re great. Though since the last time I built with them, they weren’t offering the ebony fingerboards as the default. It’s now plain ol’ rosewood. Oh well. Di minimis on this project!
 |
 |
 |
 |
 |
When shopping around for woods, the best and most beautiful in my opinion is buckeye. When I came across this top, it was love at first sight. I’ve also never worked with purpleheart before but always had some interest in it. I mean, it’s purple wood. That’s hilarious and gorgeous at the same time. I needed a wood for the back though. I was toying with cocobolo, ziricote and a few others. After some searching around, I came across OregonWildwood.com. They had a pretty cool collection of woods cut for guitar making. But they had one wood which ended up being EXACTLY what I was looking for. Beautiful grain, variance of colors, and the tree is comes from produces my favorite nut. Pistachio! I had no idea these trees had this kind of grain, but when I saw it, I knew I had to do it.
 |
 |
 |
 |
 |
The bridge was another journey in its own. I wanted to stick with the Alembic approach and have a bridge + tailpiece combo but wasn’t having much luck finding anything available for single purchase. Eventually, after enough googling, I came across a really cool site out of Germany. BassParts.de They sell a brand “ETS” which machines parts to your specs. They have sleek and stunning designs and seem to be used by a lot of manufacturers throughout Europe. The only bummer is, from the time I ordered to the time the bridge finally came took about 3 months. That put the project to a bit of a halt since I wasn’t able to measure certain things to cut without it.
 |
 |
 |
 |
 |
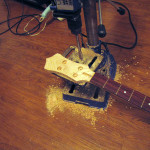
Electronics are my favorite part of bass building. I love to have different voices available in my basses. If I have a humbucker, I never hesitate to coil tap or series/parallel. I always use on-board preamps and of course, my favorite on-board distortion circuit made by Artec. I’ve heard a lot of great things about Nordstrand pickups and decided to give them a whirl. I ended up using the Big Splits. I was intrigued of the idea of rotating the pole pieces, and that the pickups were wound into 2 groups of bobbins versus 1 single. And certainly enough, they ended up being the right choice. Articulate, bright and beautiful 🙂
 |
 |
 |
 |
 |
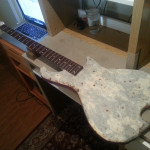
For preamps, in the past, I’ve used the Aguilar OBP series. They’re great. Awesome range to boost frequencies, different combinations of pots. No complaints. But this time, in the spirit of new, I tried using a filter-style preamp made by ACG. And I can now say, I will never go back. Alembic pioneered the filter preamp. Basically, rather than just boosting/cutting frequencies, you can select the range of frequencies you want to manipulate and boost/cut them. Doesn’t sound like much of a difference, but believe me, it makes ALL the difference. I generally like bright tone when I play. This preamp enables me to dial in the best sound for my attack, and lets the frequencies ring pristine.
 |
 |
 |
 |
 |
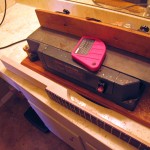
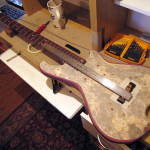
I had a bit of an unconventional approach when putting the body woods together. I lived the idea of a neck-thru design, but plain ol’ maple isn’t exciting to look at. Additionally, the way this neck blank was cut, it was meant for wood to be glued to the top and bottom. I had to use a table saw to cut off the 3/8″ to accommodate the buckeye top and maintain a reasonable height for the bridge. I also had to factor in the height of the purpleheart and shave off another 3/8″ on the bottom side of the blank for the pistachio wood. For that, I used a jointer (surface planer).
 |
 |
 |
 |
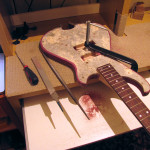 |
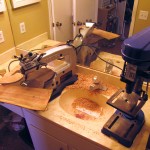
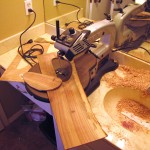
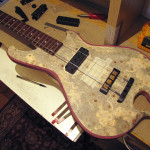
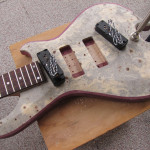
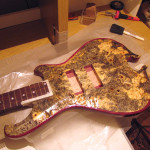
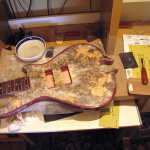
Again, unconventionally, I first glued the neck blank to the pistachio wood. Next, I glued the purpleheart wings to each side. I meticulously aligned and refined the positions as they were being glued to ensure they didn’t shift while the glue dried. It ended up working out very well! Also, you notice I cut out the electronics cavity from the pistachio with a scroll saw? Pretty sweet!
 |
 |
 |
 |
 |
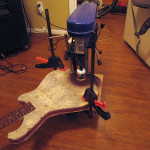
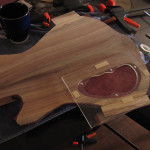
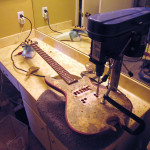
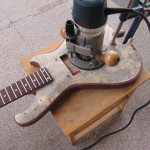
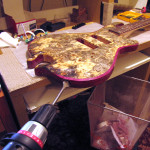
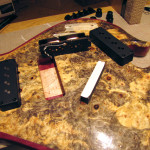
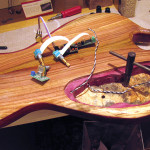
After the pistachio and purpleheart were glued together, I needed to lighten the load. I do this by routing out some wood before gluing the top on. As long as you leave a solid piece of wood down the center of the body for the pickups and bridge to mount, you won’t lose any tone or sustain. But you can’t get too crazy with routing out wood. There’s many things to keep in mind. Buckeye burl is not a very strong wood. You can’t just route out a large area and hope for the best. All it takes is the bass to fall on a corner and you have a hole in the guitar top. You can’t route too deep, or you just might end up with a hole in the back of your guitar. My router crapped out on me half way through this step. The bit kept slipping down and I was afraid that it would go through the back of the bass. I ended up having to finish this out with a boring bit on my drill press. Not the prettiest to look at, but then again, it did the trick to keep the weight down and it’s not going to be seen after I glue on the top.
 |
 |
 |
 |
 |
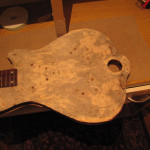
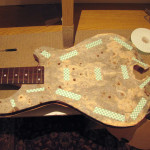
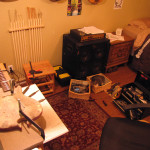
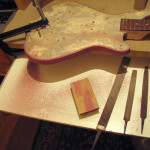
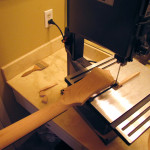
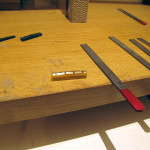
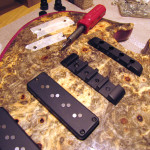
After top was glued on, I used a 2″ hole saw to cut out the initial “omega” shape. I taped a template of the body shape and used a router (new one) to even out the rough cuts made on the body wood with a band saw. Using a series of hand flees, I beveled the buckeye to blend into the purpleheart and add contrast to the look. I then routed out the pickup cavities. The bass is starting to take shape!
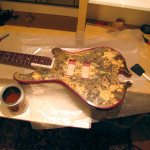
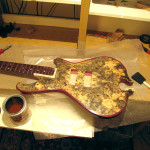
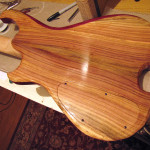
Next up is my least favorite of the process… finish work. Although, rather than just applying finish right away, I applied about 5 coats of sanding sealer. I love this stuff! It’s clear, it evens out the wood, dries quickly and really make the grain pop! Then it was onto 5 coats of the actual finish. Wet sanding every 2 coats during that whole process.
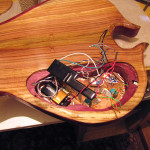
Finally came time to wire up the electronics. it was a bit of a mess in the electronics cavity and pretty tightly fit. I had to do a bit of troubleshooting to figure out some grousing issues. Ended up having to copper shield the cavity and solder some ground wires to it. In the end, it all worked out.
 |
 |
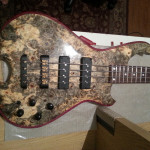 |
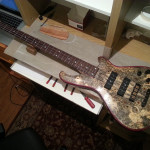
This bass, is my pride and joy. Named “Big Gino” after my grandpa whom was a woodworker for many years. He helped me on many builds before this and is an all around stand up gentleman. I’ve already gigged with this a few times and can’t be happier. I will say, no one in Austin is playing anything like this bass and for that fact alone, it’s pretty neat.
